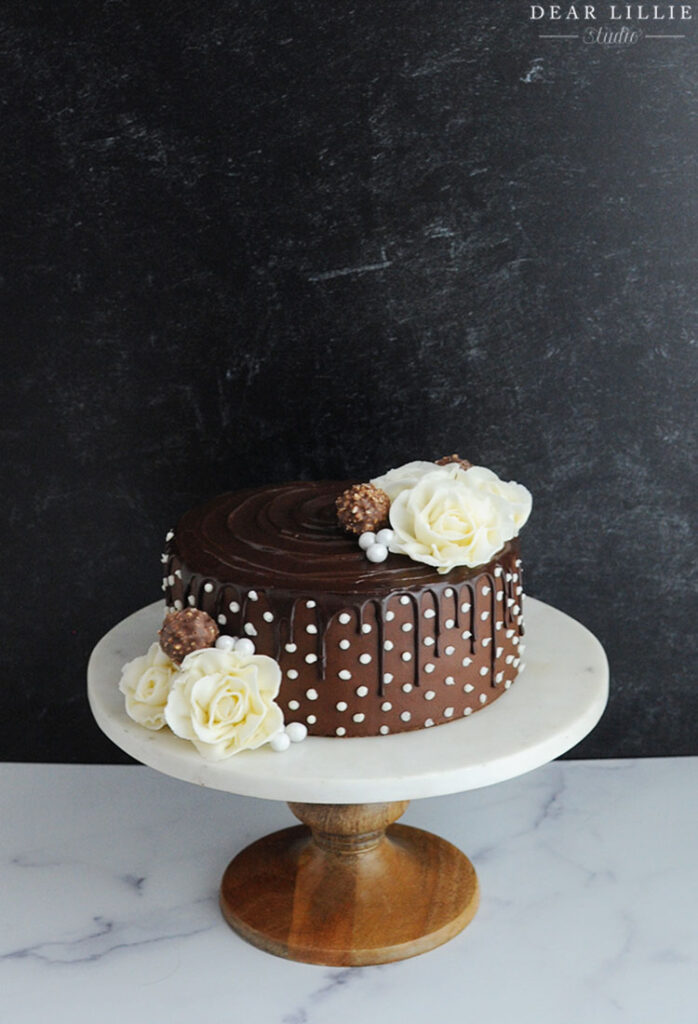
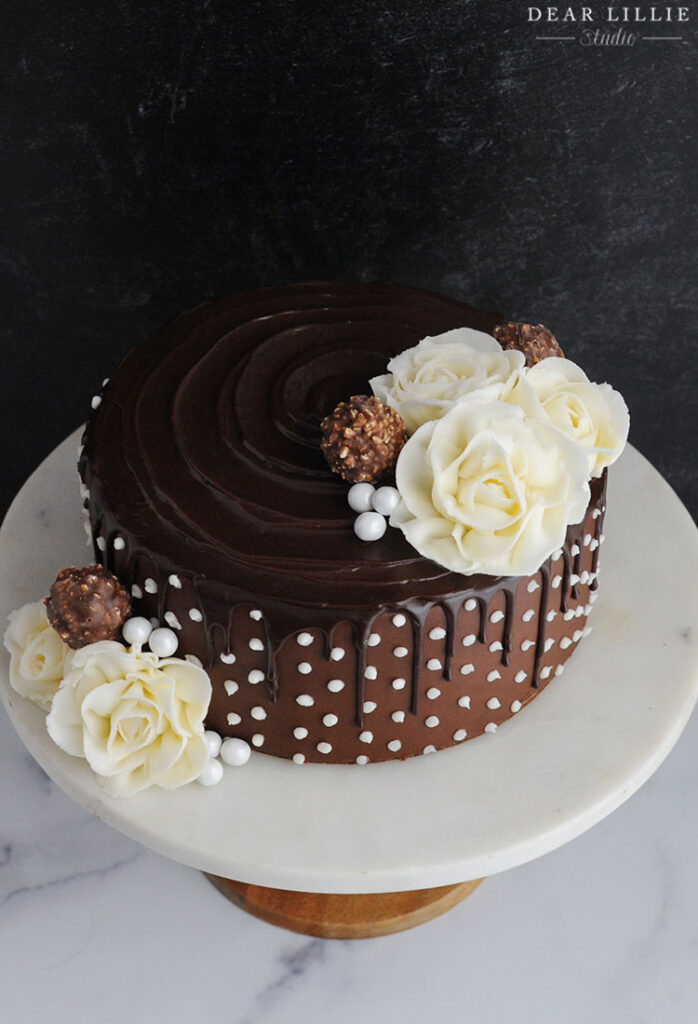
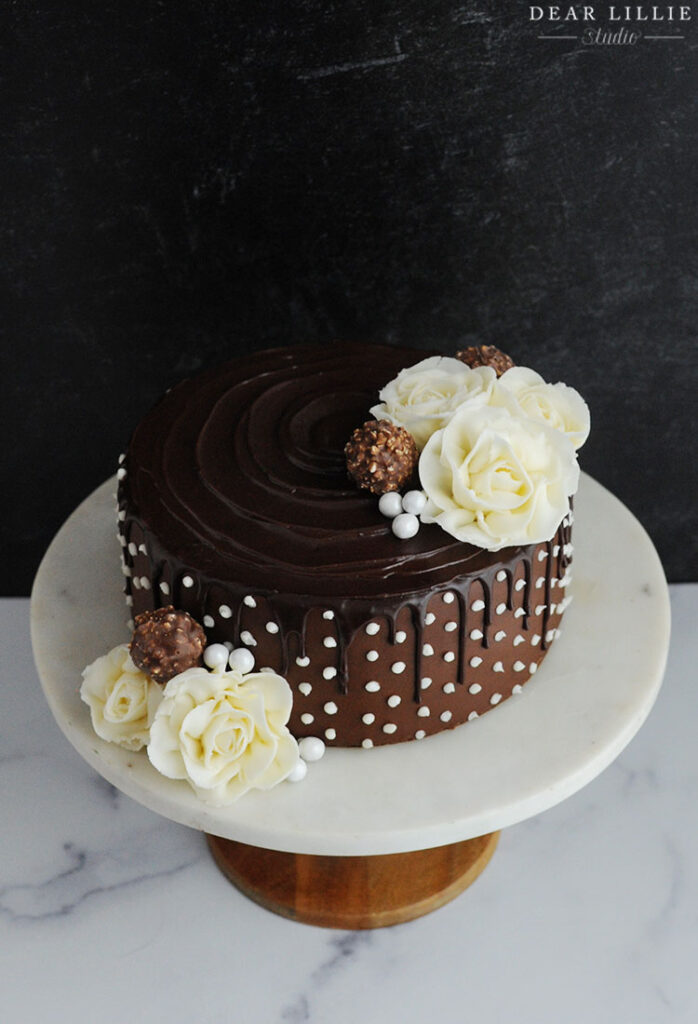
Good morning! I am continuing to play around with some cake decorating while I wait on wallpaper samples for the girls bathrooms to arrive. This Chocolate Drip Cake with Polka Dots was my girls favorite so far! I figured out how to put together my first cake video. This one isn’t really a tutorial – it’s just a timelapse because it was my first time trying to figure out how to film while I baked and decorated a cake so it was really more so I could figure out the angles and how to put together a video and add text and all of that. So this was just sort of a trial run and therefore isn’t a tutorial but it was fun to put together. Once I got it finished I then took some videos this week of some floral cupcakes I was making and once I have a chance to edit those and add text I will share those next week. For those although parts of it are sped up the actual recording of me added the design to the cupcakes is at normal speed so it is more of an actual tutorial, if that makes sense.
Here is a timelapse video of this chocolate cake. Although it is really sped up to get it to fit in a one minute timeframe I did try to add text information for each step so you can pause that and see what each step was.
1). I first baked three layers of a yellow cake. These were a little bit thinner than I usually make them because I also was making some cupcakes with the batter so height-wise it was pretty similar looking to a two layer cake.
2). I then used chocolate frosting (recipe below) between each layer as I stacked them and then used that same chocolate frosting to give the cake a crumb coat. I chilled it in the refrigerator for a bit and then added another thick layer of the same frosting and got it nice and smooth. To frost the cake with the chocolate frosting I used a basic cake spatula and a cake scraper like this one. I also highly recommend getting a cake stand that rotates. I then chilled it a bit more while I made the ganache for the drip.
3). Next I made the ganache for the chocolate drip. Most ganache’s call for heavy cream but I didn’t have any so I used butter and milk and was quite happy with how it turned out. (The recipe is below). I have heavy cream now though in my fridge that I plan on using for a cake this week so I will see which way I prefer it once I use the heavy cream. Once it had cooled I put it into a squeeze bottle and then dripped it on the cake. This part was so much fun.
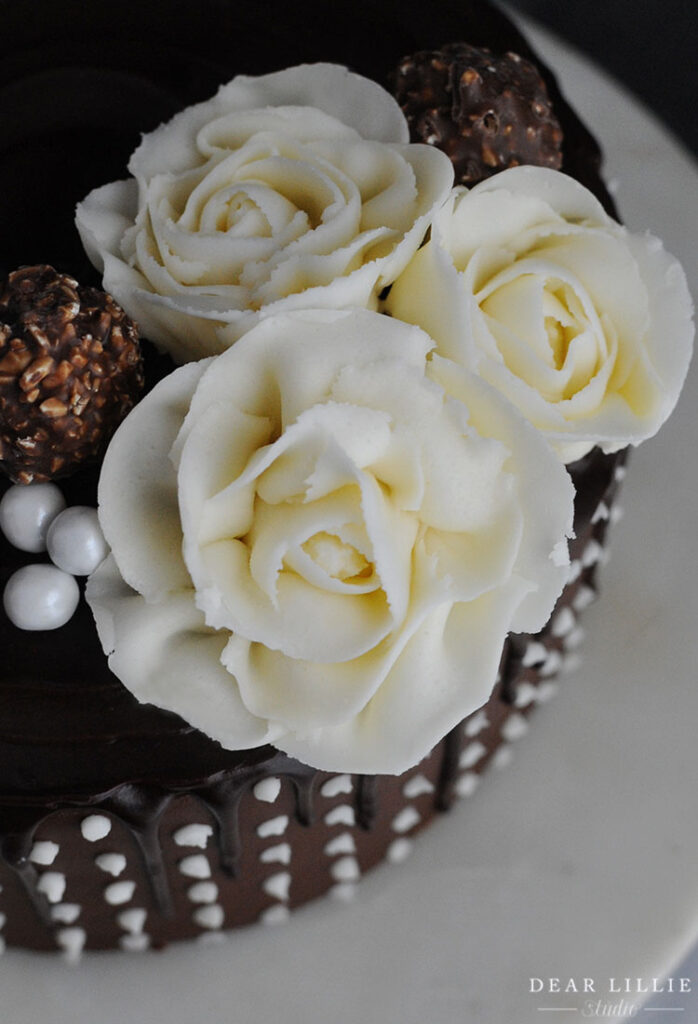
4). I made some roses from basic American buttercream (I don’t really use a recipe or really even measure for that, I just whip together cold butter, powdered sugar, a hint of vanilla and a few splashes of milk for that to get it to a consistency I like). I still feel like I don’t have my rose technique all the way down yet so it might be a little while before I feel comfortable doing a tutorial for them. These are the tips I used to make them though and this large flower nail. Once I had made those I put them in the fridge while I then added the little polka dots to the cake.
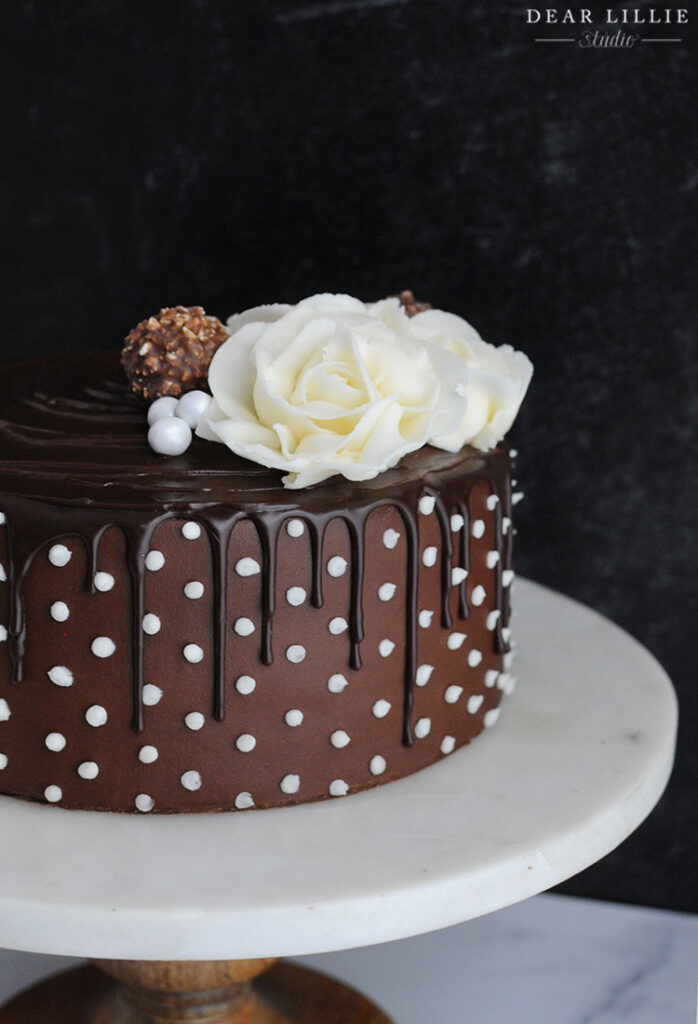
5). For the polka dots I used a size #5 tip and just kind of randomly added them around the drips.
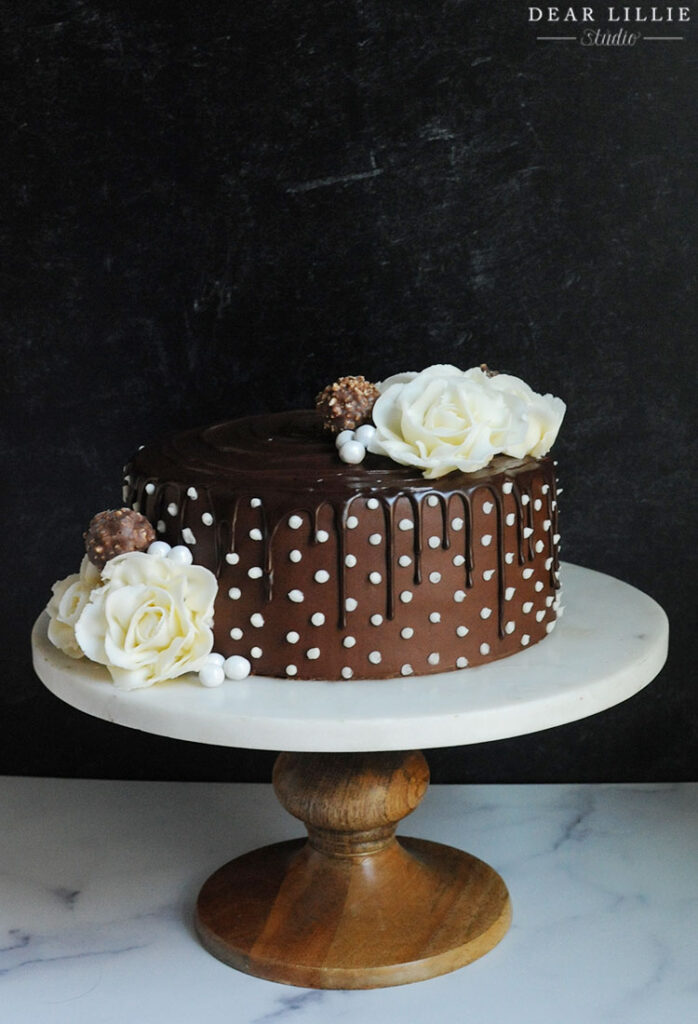
6). I then transferred the cake from my rotating cake stand to this one. To help with this I used a cake lifter and my cake scraper.
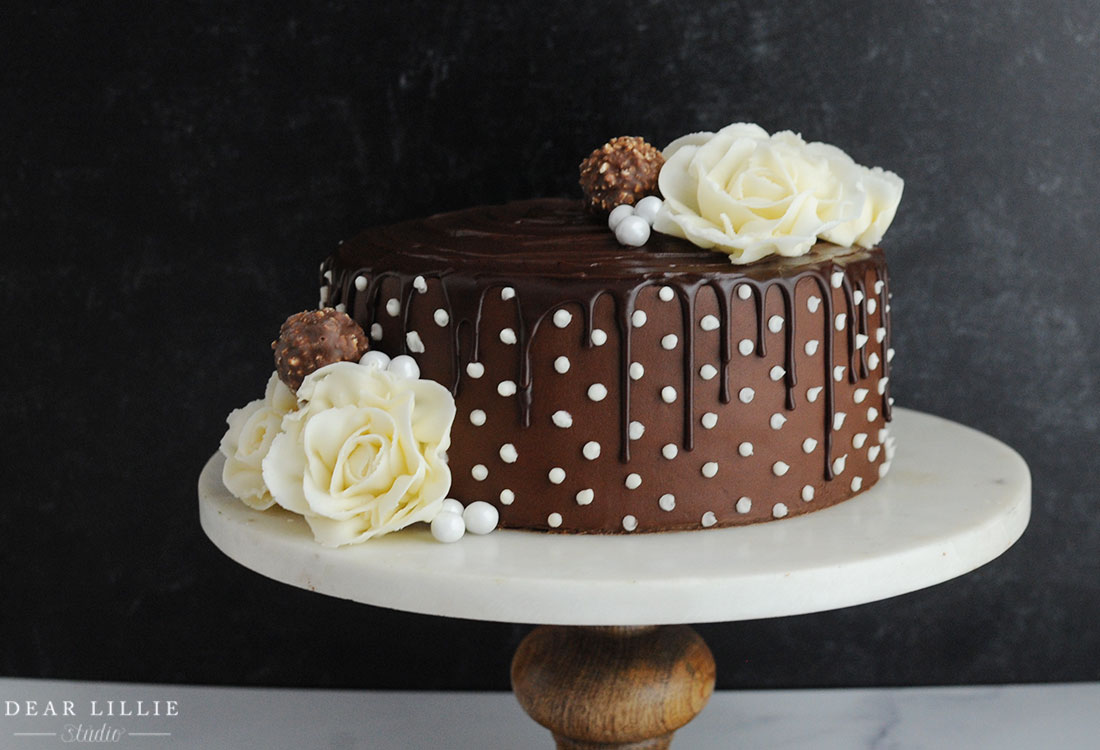
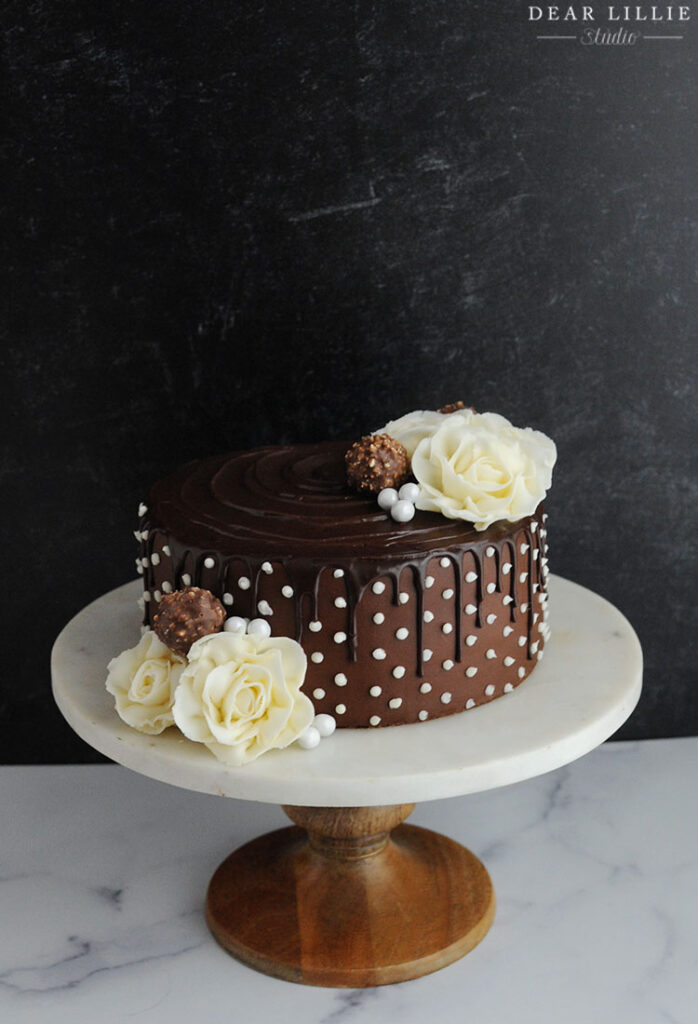
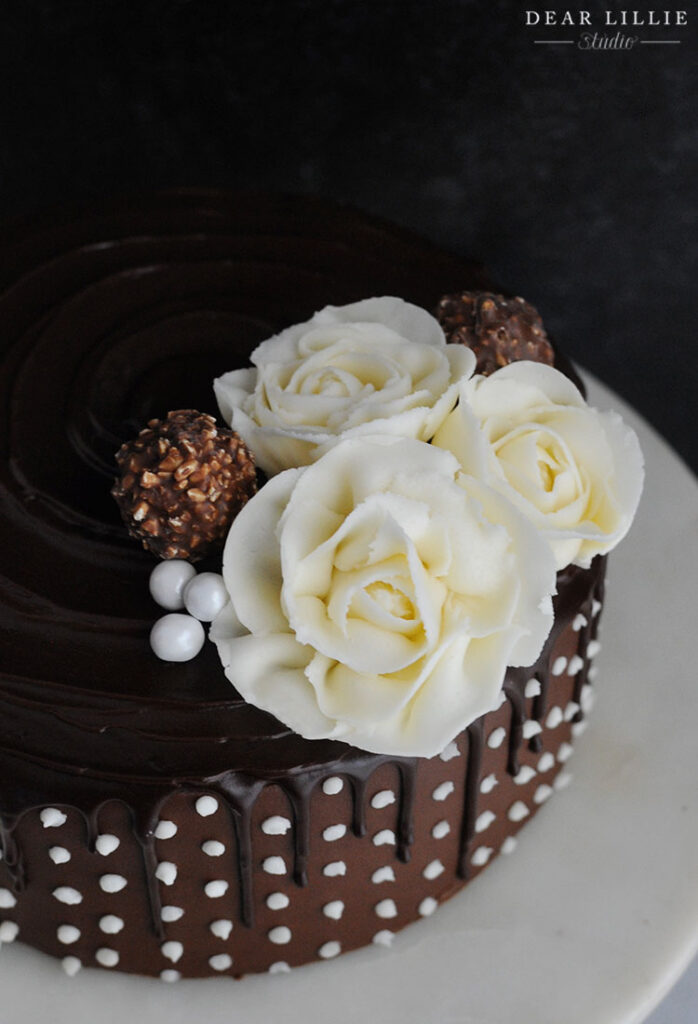
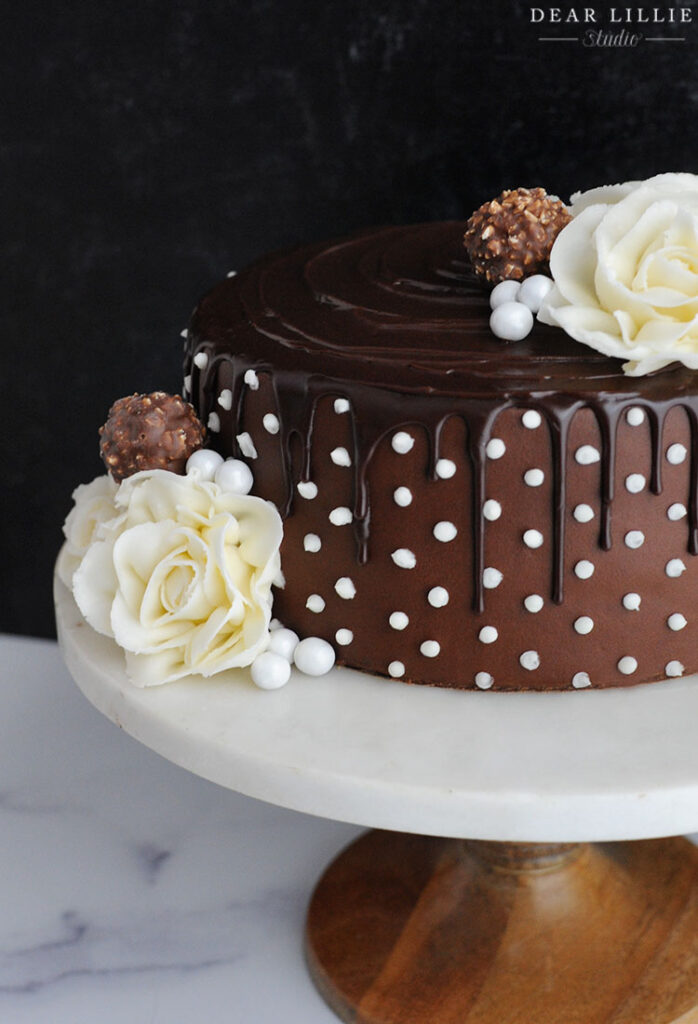
6). Finally I garnished the cake with the roses, some Ferrero Rocher Hazelnut Chocolates that came in a three pack and a few little White Sixlets that I had from on hand.
7). Then I quickly photographed it and within minutes of taking the last picture my children were inhaling their first piece.
For the 8″ round yellow cake I used this cake mix. (As I have mentioned before, my husband and children have a very STRONG preference for cake mixes vs from scratch so I pretty much always go this route if they are going to be the ones eating it – haha!)
Here is the recipe for the frosting.
INGREDIENTS:
1 cup (2 sticks) of butter or margarine
1 1/3 cup Hershey’s cocoa powder
6 cups powdered sugar
2/3 cup milk (I actually don’t always end up using all the milk)
2 tsp vanilla extract
DIRECTIONS:
Soften the butter. Stir in cocoa. Alternately add powdered sugar and milk and beat on medium speed. Add more milk if needed (I don’t usually use even close to the amount of milk in the recipe). Stir in Vanilla. Makes about 4 cups of frosting.
To frost the cake with the chocolate frosting I used a basic cake spatula and a cake scraper like this one. I also highly recommend getting a cake stand that rotates.
And here is the recipe for the chocolate ganache drip (You could probably half this recipe. This is what I used but had a good bit leftover – which is delicious poured over ice cream!)
INGREDIENTS:
4 Tbsp unsalted butter
1/2 cup milk (whole or 2% – I used 2%)
1 cup semi-sweet chocolate chips
DIRECTIONS:
I melted the butter and milk in a pan over low heat on the stove. Once the butter was completely melted I turned the heat off and added the chocolate chips. I let them sit for about 4 minutes and then once they were melted I slowly started stirring. It starts out pretty lumpy but will smooth out as you continue to stir. Once it was nice and smooth I then let it sit for ten minutes. After ten minutes I poured it into a squirt bottle and then let it sit another five minutes. Then I dripped it onto my cake.
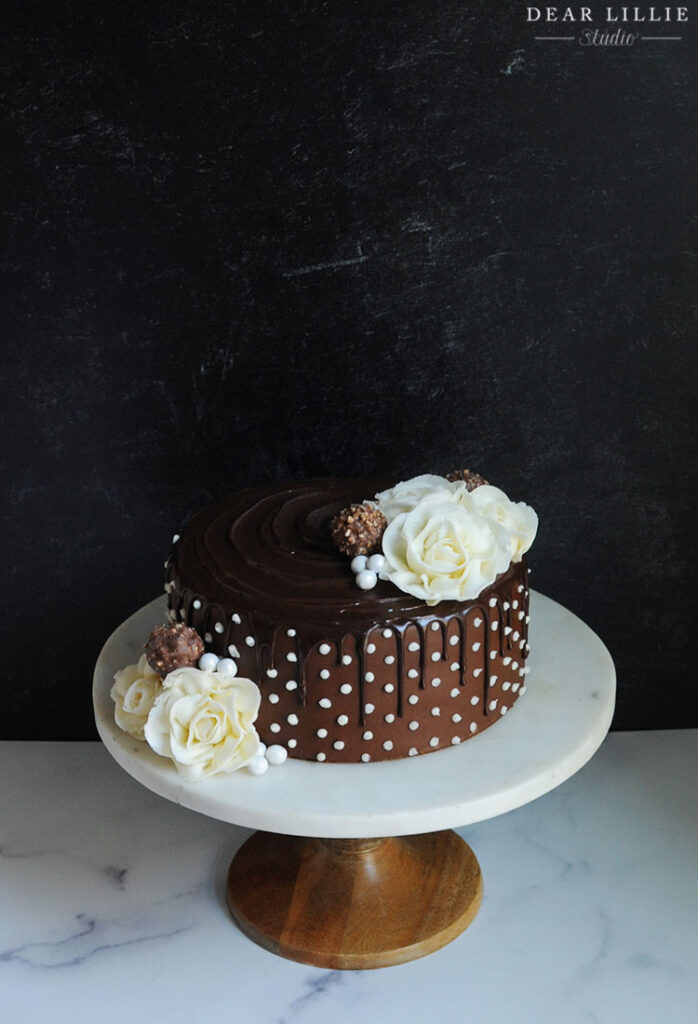
Here are a few close-ups:


Have a wonderful Thursday!
Warmly, Jenni


