Good morning! I hope your weekend is off to a good start! Today I wanted to share some pictures of a wreath I made a couple of days ago. I made two of these so they could go on our front doors. Each wreath cost me between $39 to make. That isn’t cheap but it isn’t bad because most of the wreaths I had my eye on were in the $100-$200 range for each wreath (which is why I didn’t buy them and made my own!) There are also lots of inexpensive wreath options available out there, but most of them look a bit more faux to me than I like or are a little skimpy with the greenery. I did our porch last year with orange and more traditional fall colors, so this year wanted to go with more of a green and plum look similar to what we have done inside.

Okay so here is what I started with for supplies. I got all of my stuff at Hobby Lobby. Their florals are usually on sale every other week so I made sure to get all of mine on a week when they were 50% off! I had the pods and the feathers already but purchased everything else specifically for this project.

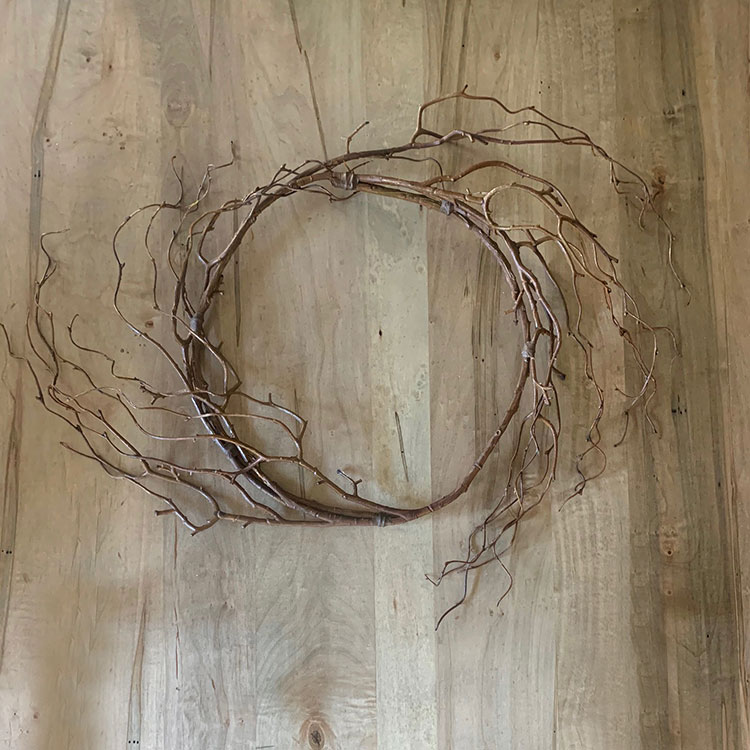
I started with this wreath as my base:
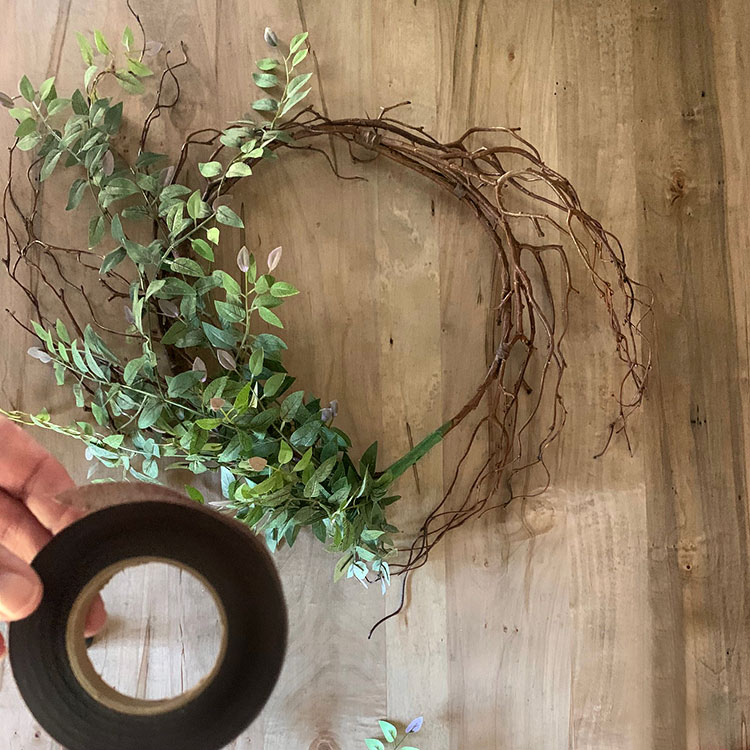
Then I added this vine. I used a vine as my base layer for the greenery because I liked the organic way it flows and the ease with which it can be wrapped around the wreath. I used a mix of both green and brown floral tape for this project and a tiny bit of wire at the very end for the one heavier flower I added.
Next I added some faux seeded eucalyptus. This came in a pretty large spray and I just cut off two to three little pieces to use for each wreath.
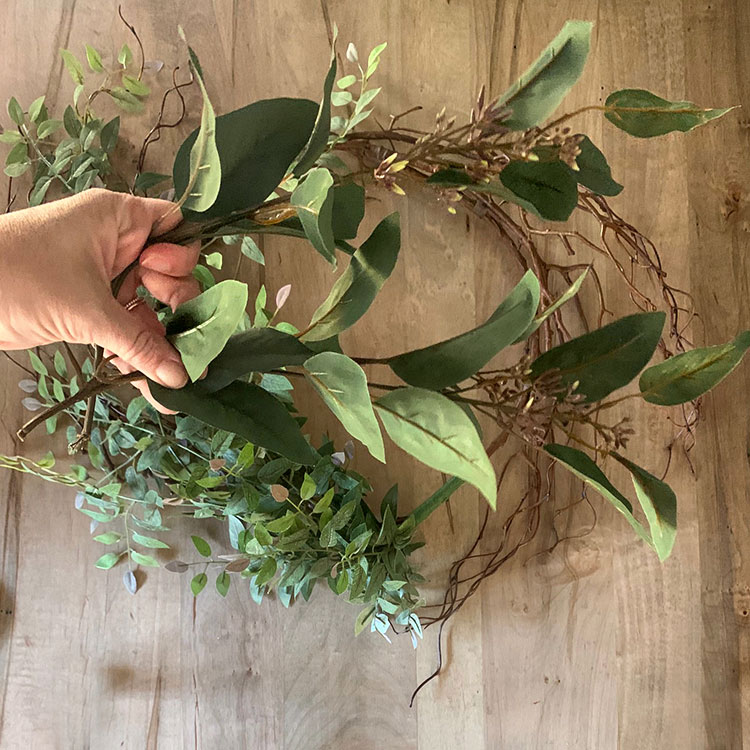
I just kind of layered these in around the vine and then attached them with the floral tape.

Next it was time to add some color. I used one of these to add some plum over to the left side:

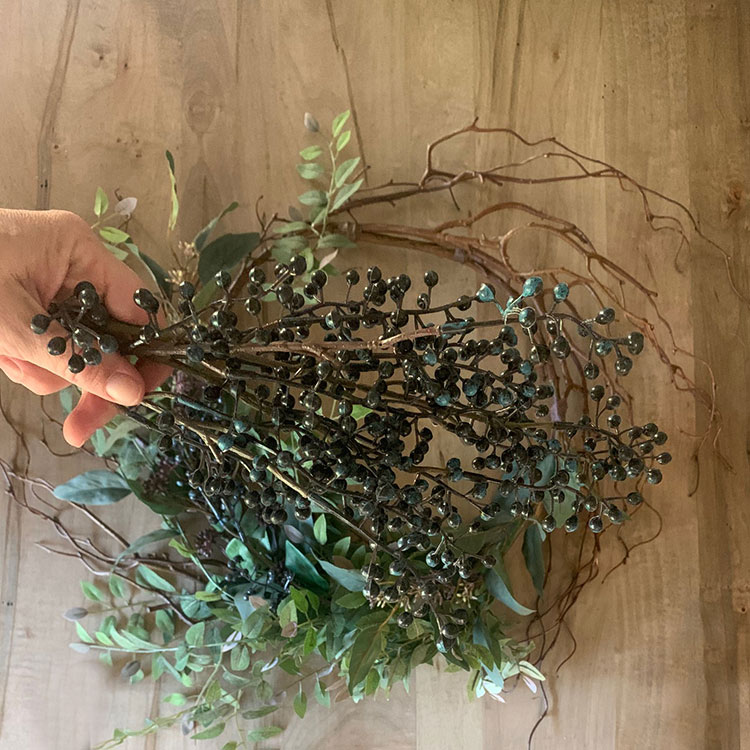
And then I used this dark blue berry like one to add a bunch of blue. The blue florals I usually buy were out of stock and so these were the next best thing I could find. They were cheap which was nice but the leaves looked really fake but I knew I could easily pull them off.

Much better once those fake looking leaves were gone! It literally took less than a minute to pop them all off.
Just like before, once I played around with the placement I attached them with the floral tape. I love the color they add to the wreath! (I took this photo and then ended up adding a few of the berries over to the bottom right side as well and forgot to take another picture of that step so a few berries are missing in this photo).

Then for a little more added texture I added one spray of this over to the bottom right side as well:

Here’s where it is at right now. I considered leaving it just like this and think I actually may make another one for the house and leave it simple like this:

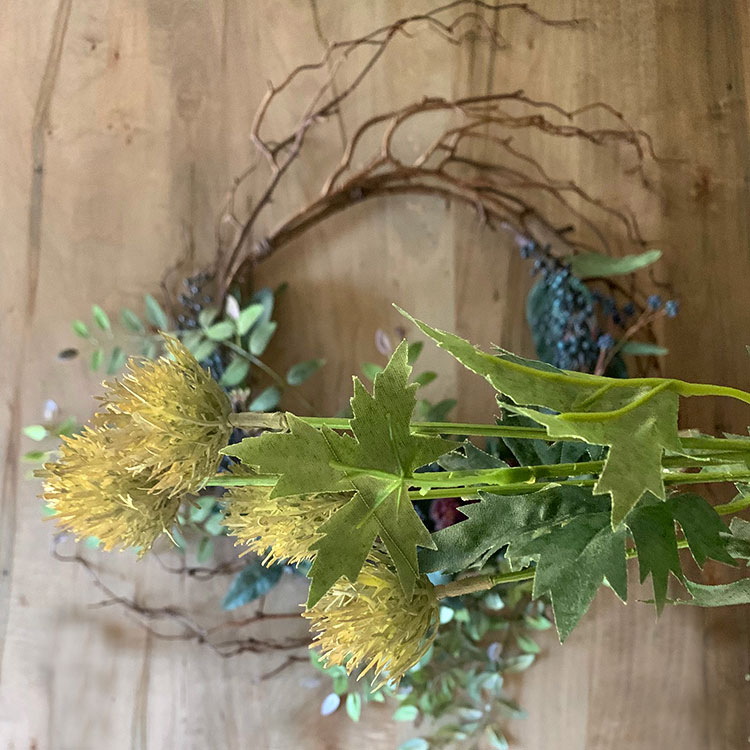
Because they were going on our front door though I wanted to beef them up a bit more and add a little more color. I added these more rust toned flowers:

I had moved my wreath a little bit under my tripod and didn’t realize it so it right now it looks like it will be a little heavy on the bottom right but the whole thing should be twirled a few degrees to the left.

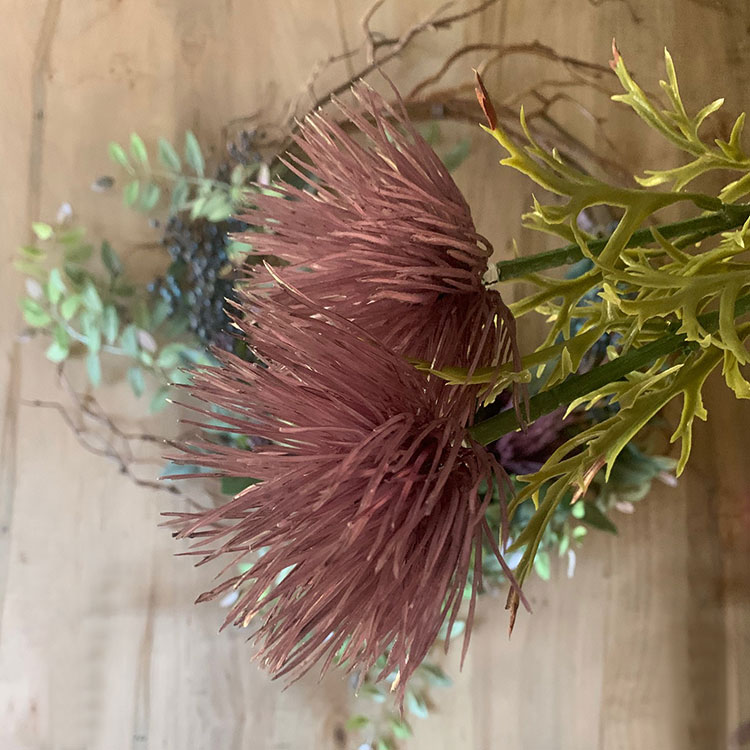
I added these in for a bit more texture:

And then these final flowers:
Then I had some of these dried pods in my fall stash so I added them as well:
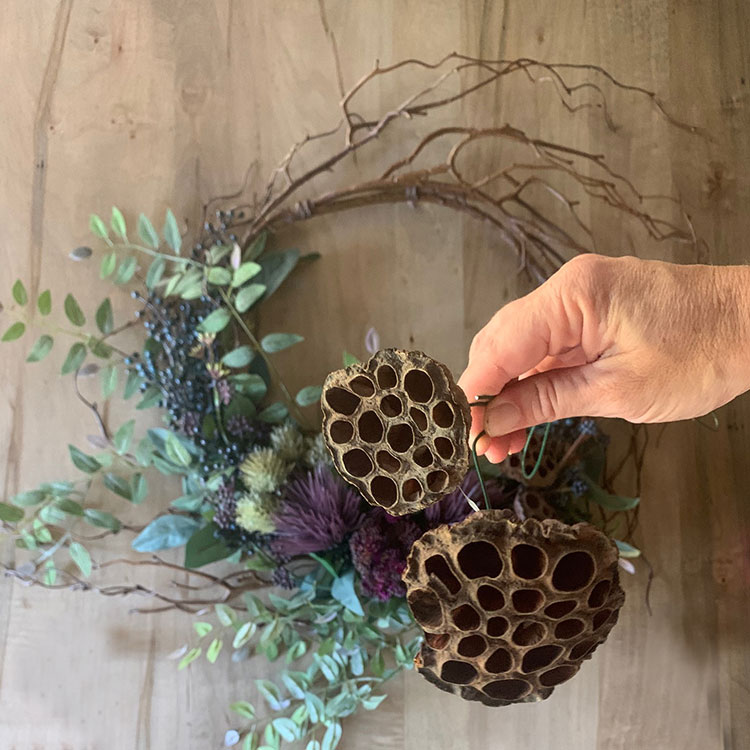
This is how it looks now and I thought that was going to be it:

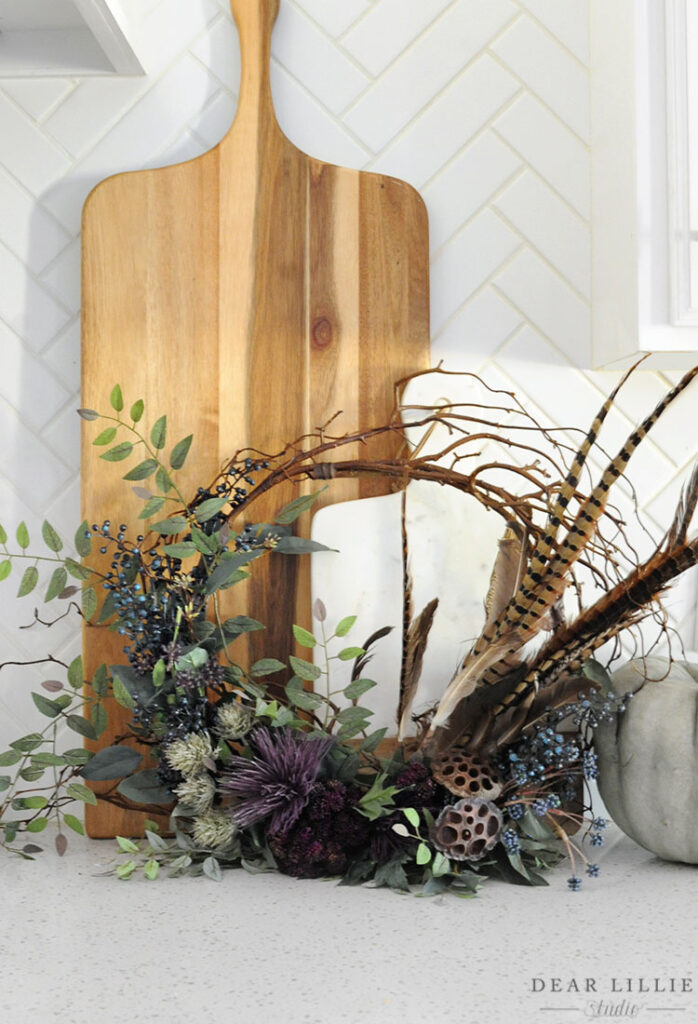
But Lola told me it looked very summery so I threw in some feathers that I keep in my fall bin (I’ve had these since before Lillie was even born!) to give it a bit more of a “fallish” feel. Haha!

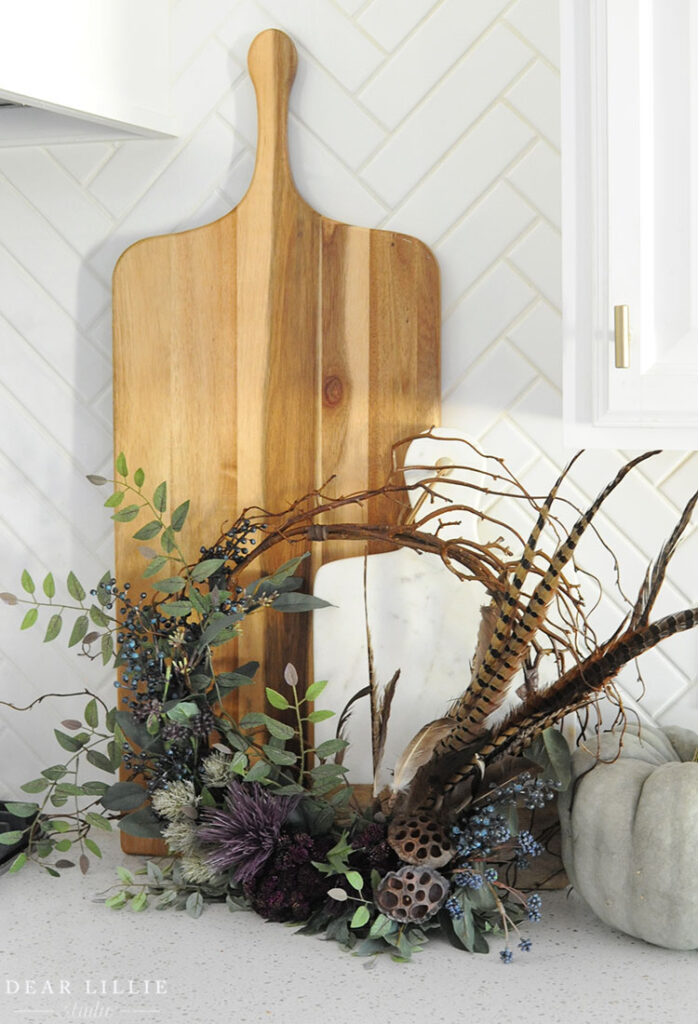
And there we have it:

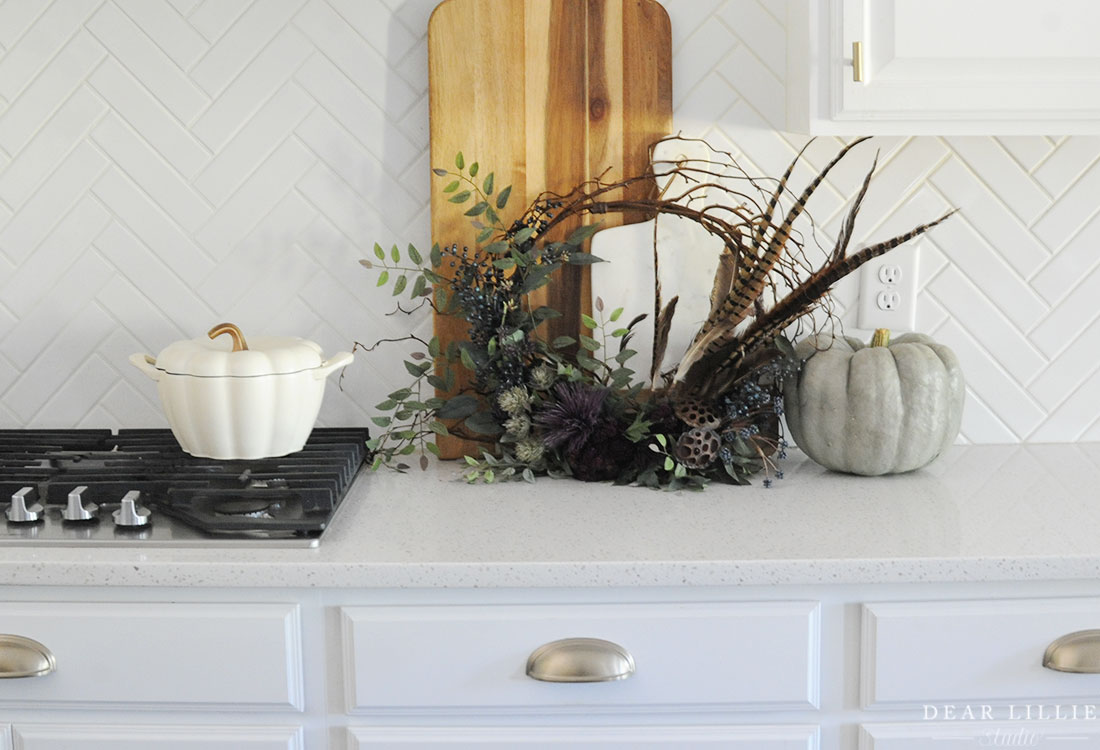
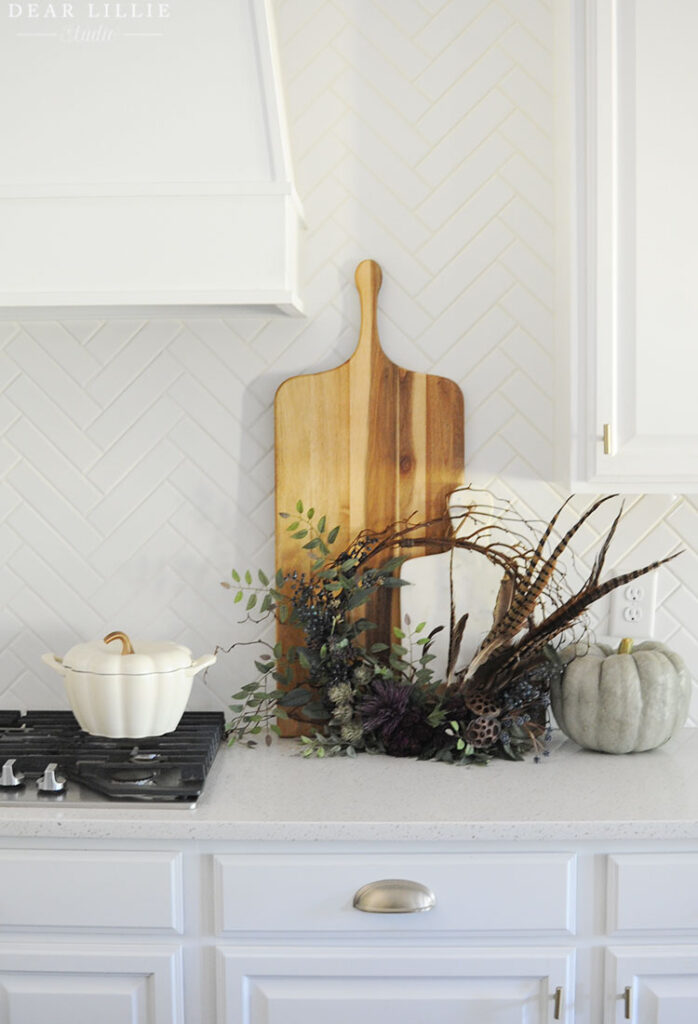
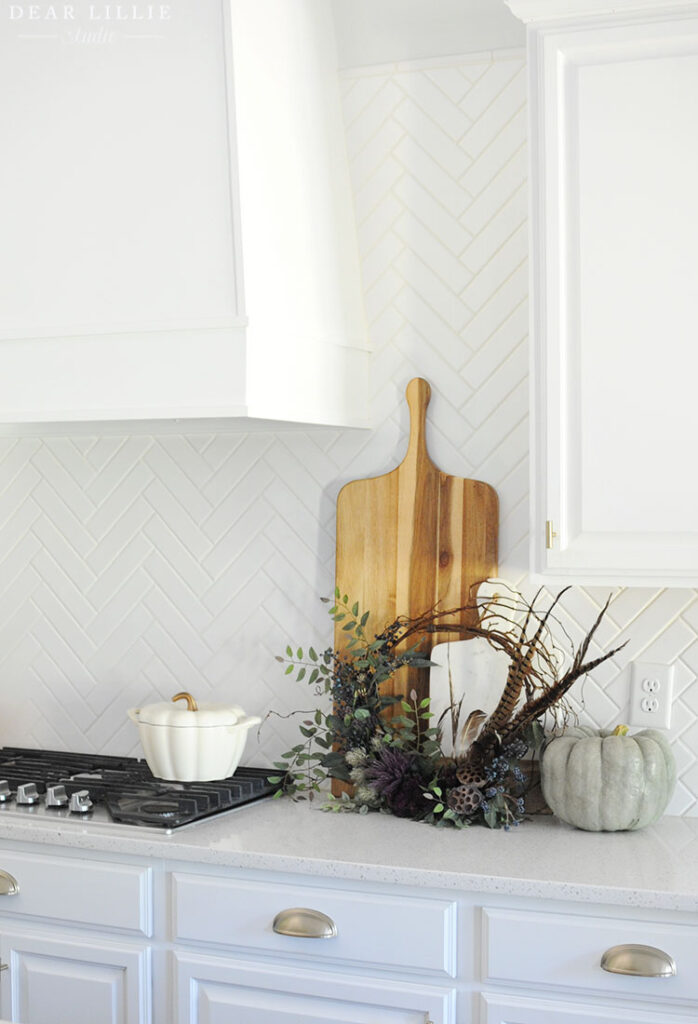
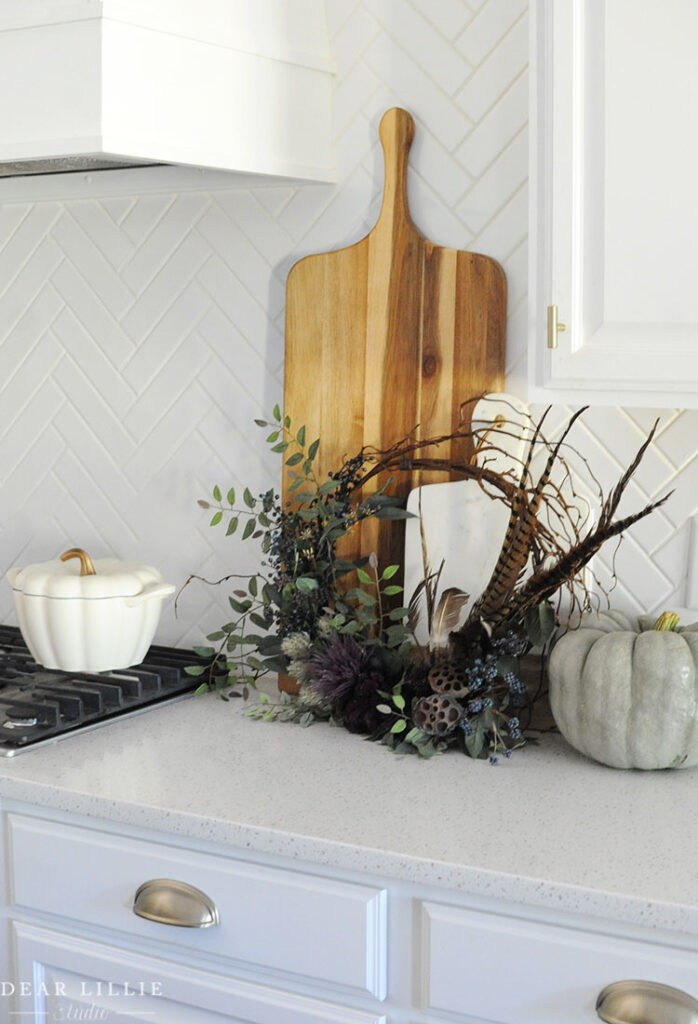
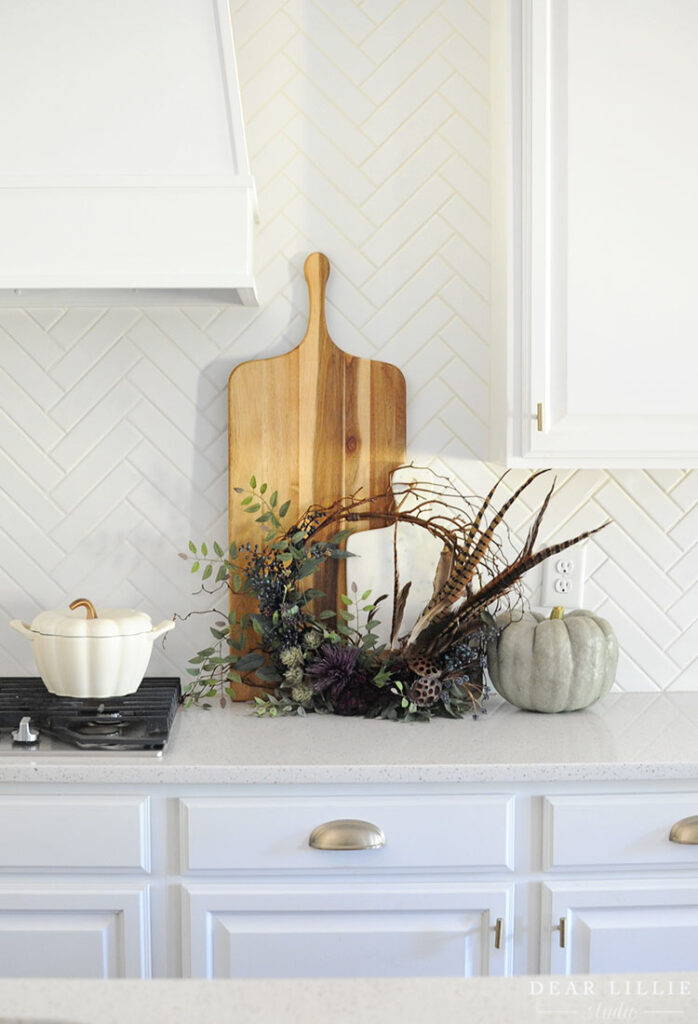
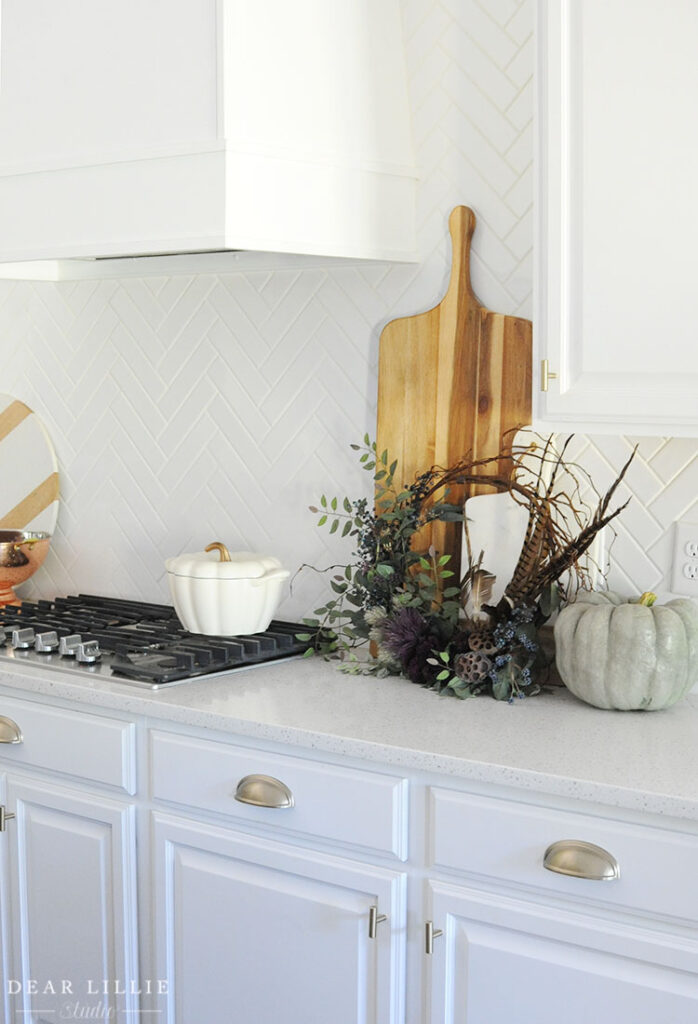
Here are some finished pictures of it and then next week I’ll be sharing pictures of it along with the other one I made for our front doors!
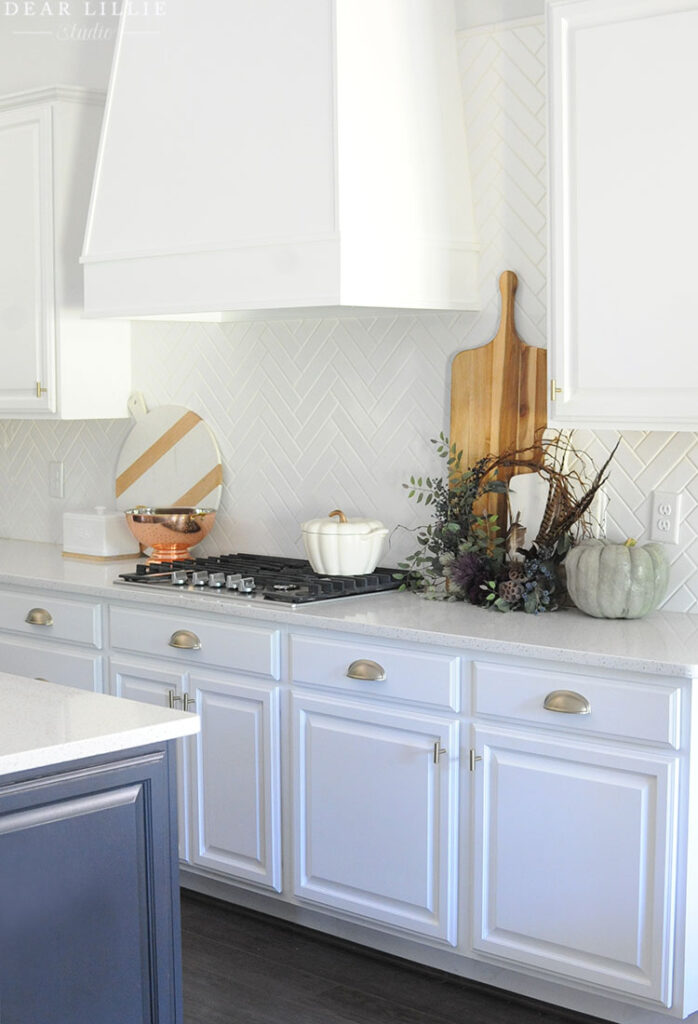
Kitchen Source Information:
Wall Color – Frosty White by Sherwin Williams
Trim Color – Extra White by Sherwin Williams
Cabinets – Existing (pretty standard white)
Island Color – Soot by Benjamin Moore
All Appliances – Existing
Floors – Existing and don’t have info on them, NEVER would have chosen dark with a golden retriever – haha!
Counters – Existing (some form of Quartz)
Faucet – Walmart
Cabinet Cup Pulls – Amerock in Golden Champagne (can be found here and here)
Cabinet Knobs – Amerock in Golden Champagne (can be found here and here)
Espresso Machine – Can be found here and here
Backsplash – 2 by 8 subway tile from a local store but can be found here with basic white grout
Oversized Cutting Board – World Market
Round Wood and Marble Cutting Board – World Market
Ceramic Bread Box – World Market
Small Cutting Board with Marble – can be found here
Copper Colander – Walmart
Chemex Coffee Maker – World Market
Pumpkin Dutch Oven – World Market
I hope you all have a lovely weekend!
Warmly, Jenni


