Good morning! Today I am going to share lots of pictures of both mine and Lillie’s dollhouses along with all of the source information and paint colors. I am still working on the tutorial for how we built the cabinets, sinks, hood, refrigerators, stoves and other little things and hope to have that finished in the next week or two. For now though, I have included pictures from all of the angles and information on everything we used and where we got it from. We purchased these Ikea Flisat dollhouses months ago (at the beginning of quarantine) as a project for Lillie and Lola to do. Well, they took FOREVER to ship and when they finally arrived Lola decided she didn’t want to do hers so I decided to do hers as a fun side by side project to do with Lillie and am so glad I did. We have been having so much fun with it!
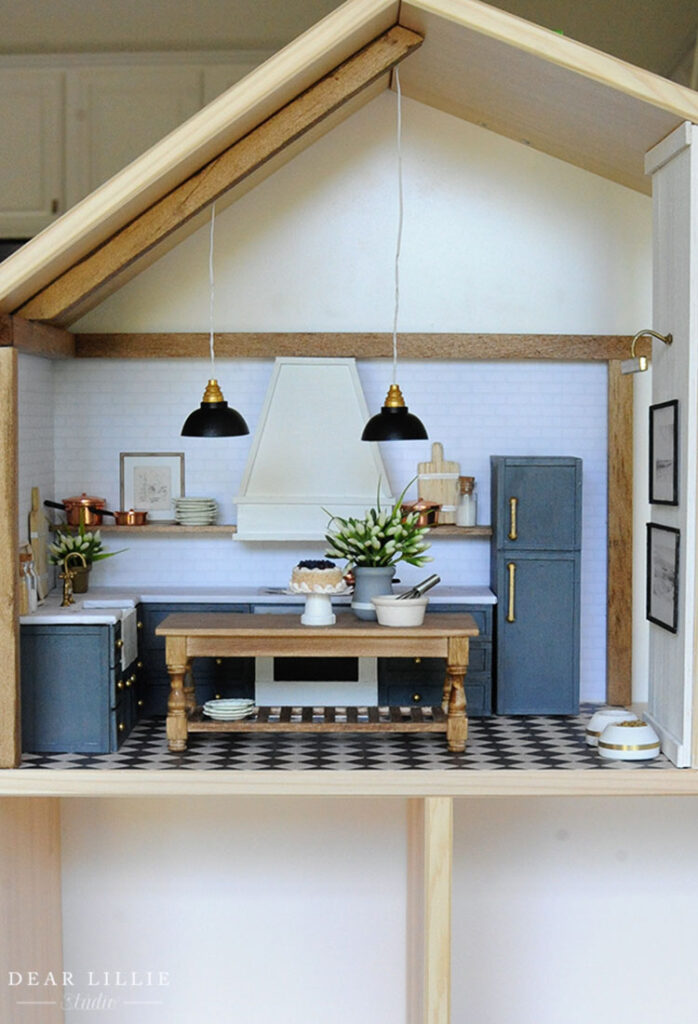
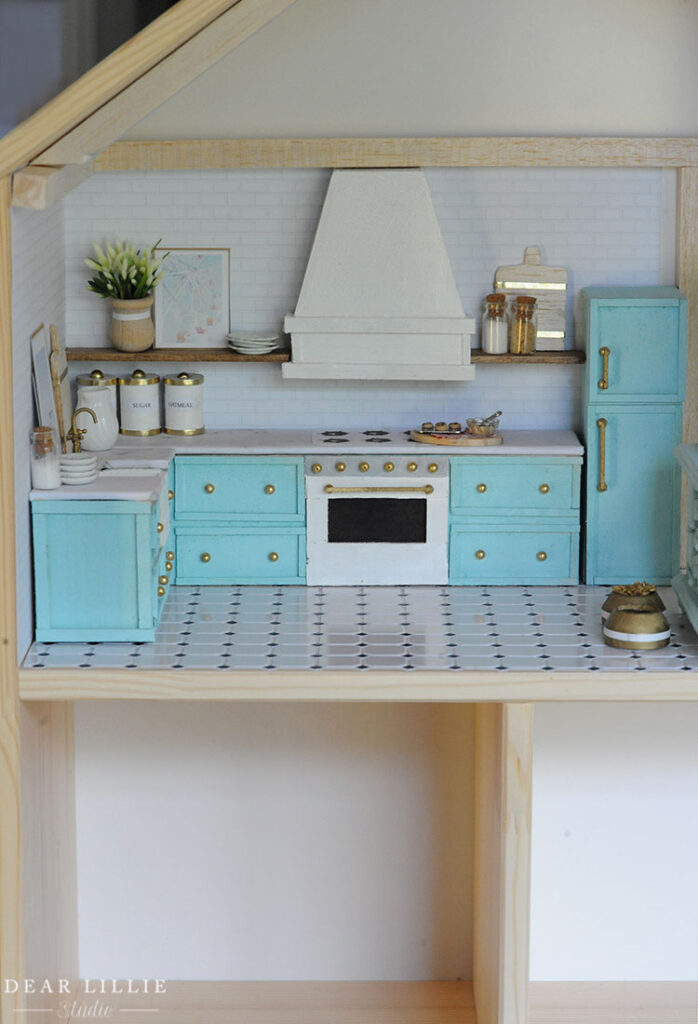
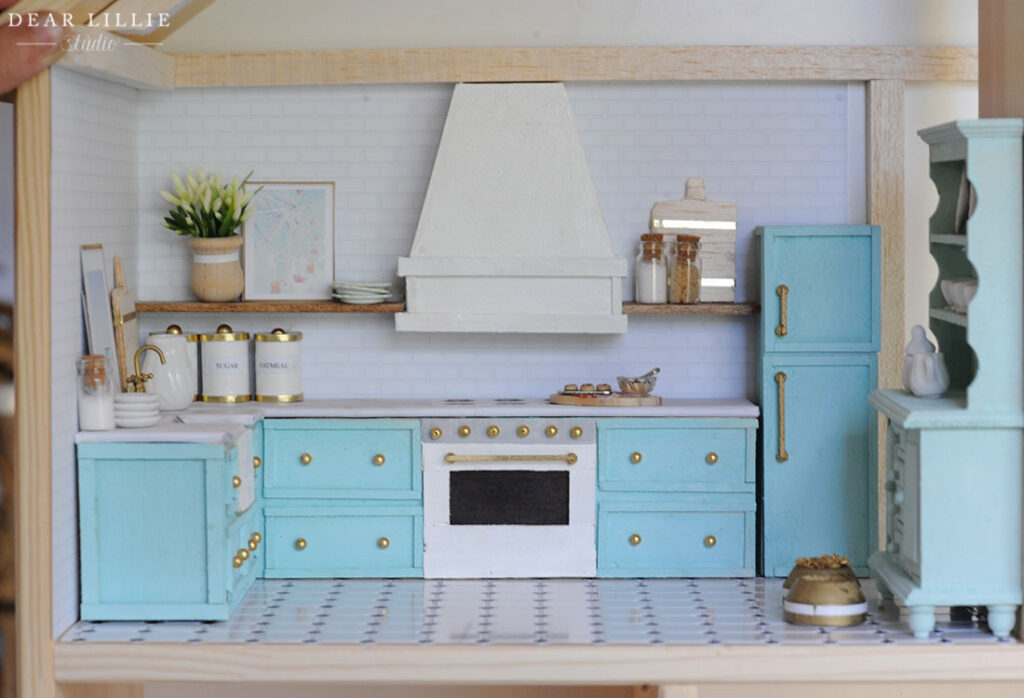
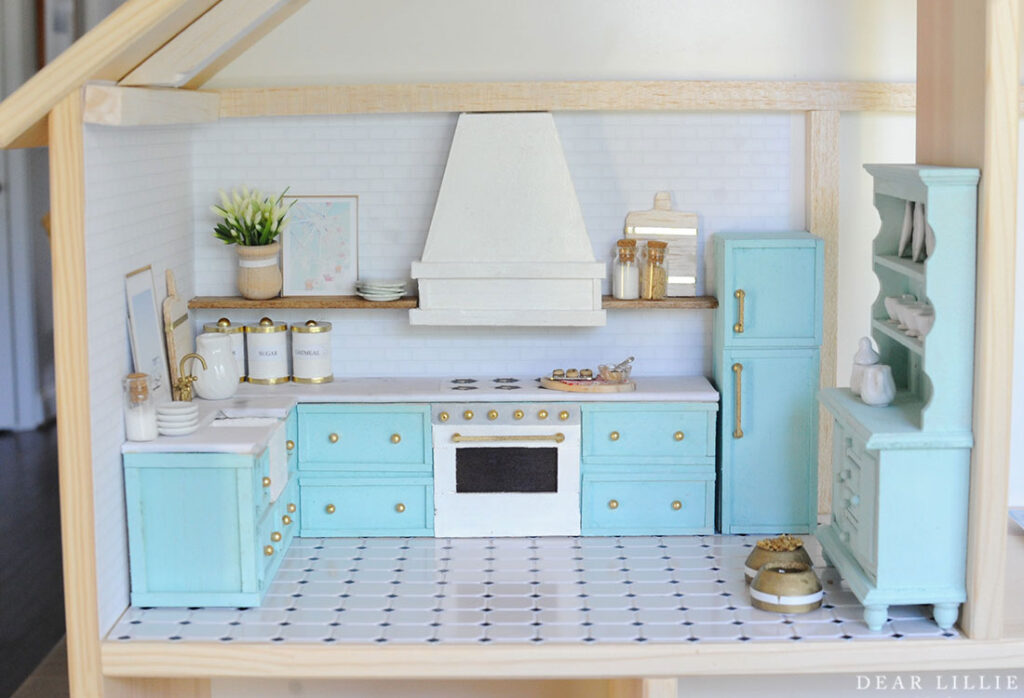
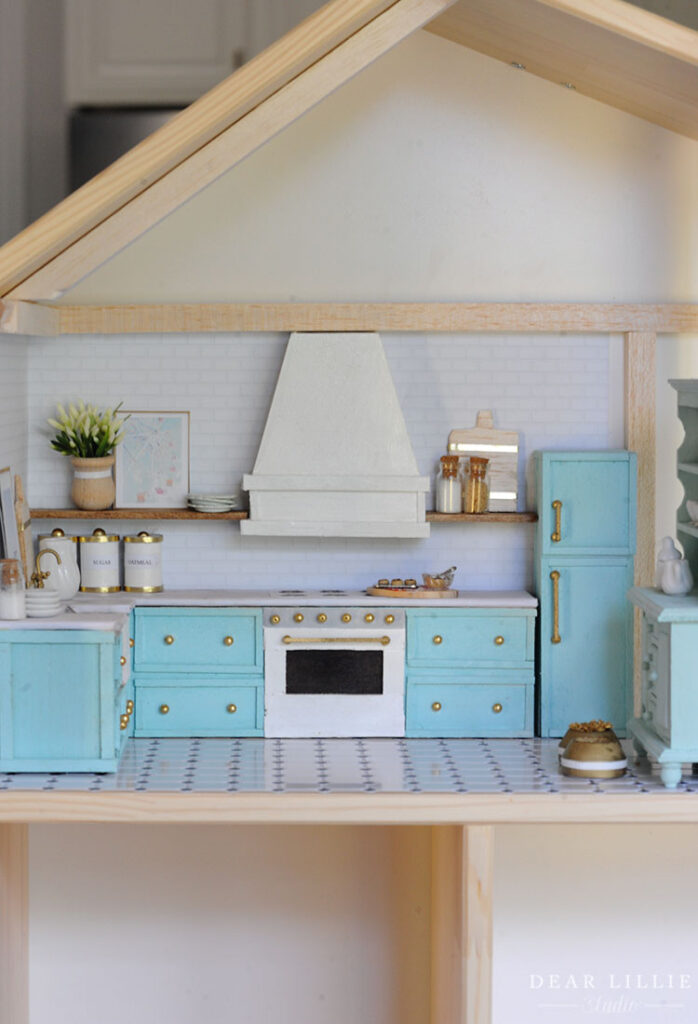
Here’s Lillie’s! She worked so hard on it and I am so proud of her. We are still waiting to find the right light for hers (probably going to do one pendant over the sink) and we ran out of wood for her final beam over on the left wall and they haven’t restocked that size yet so we are waiting on that. But other than that hers is finished. And just a little note about both of ours – the beams are just taped on until we do the living room on the other side and then we will properly attach the beams – that is why they are kind of leaning a tiny bit in some of the pictures a bit – they aren’t securely attached yet.
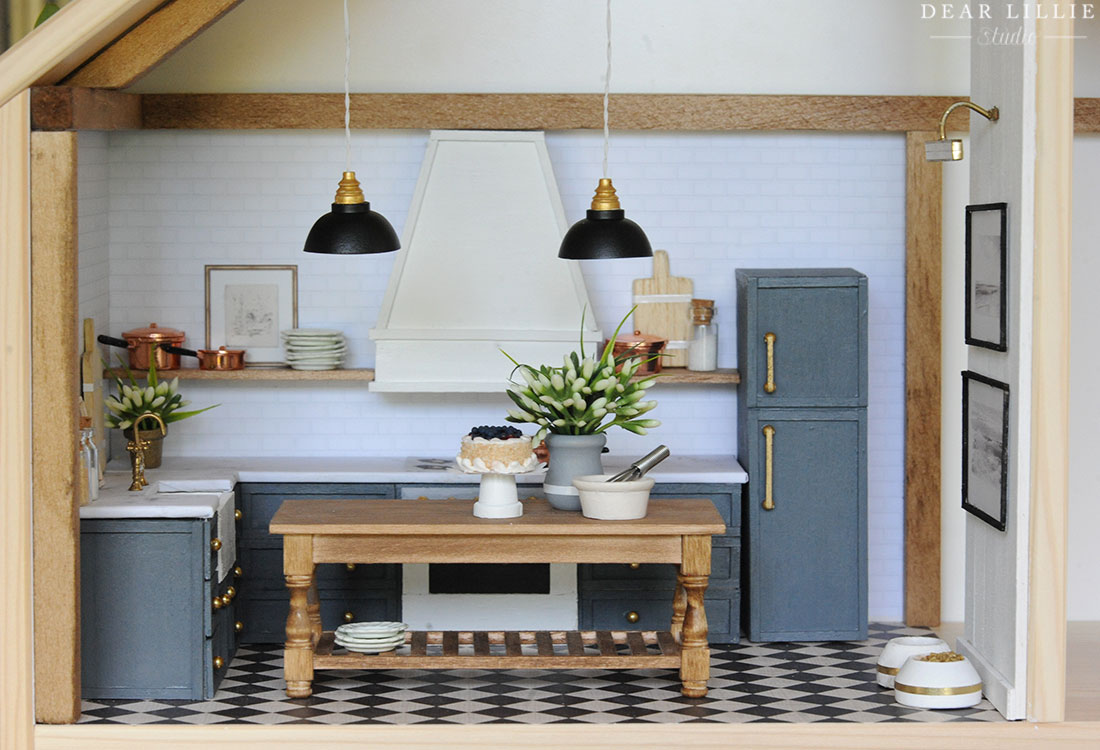
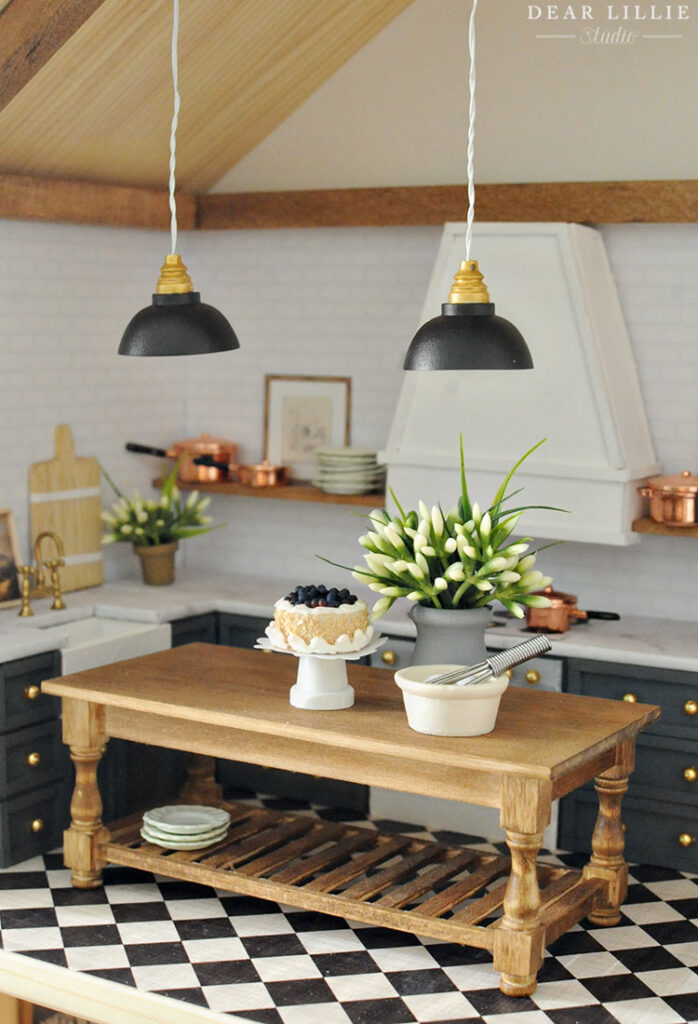
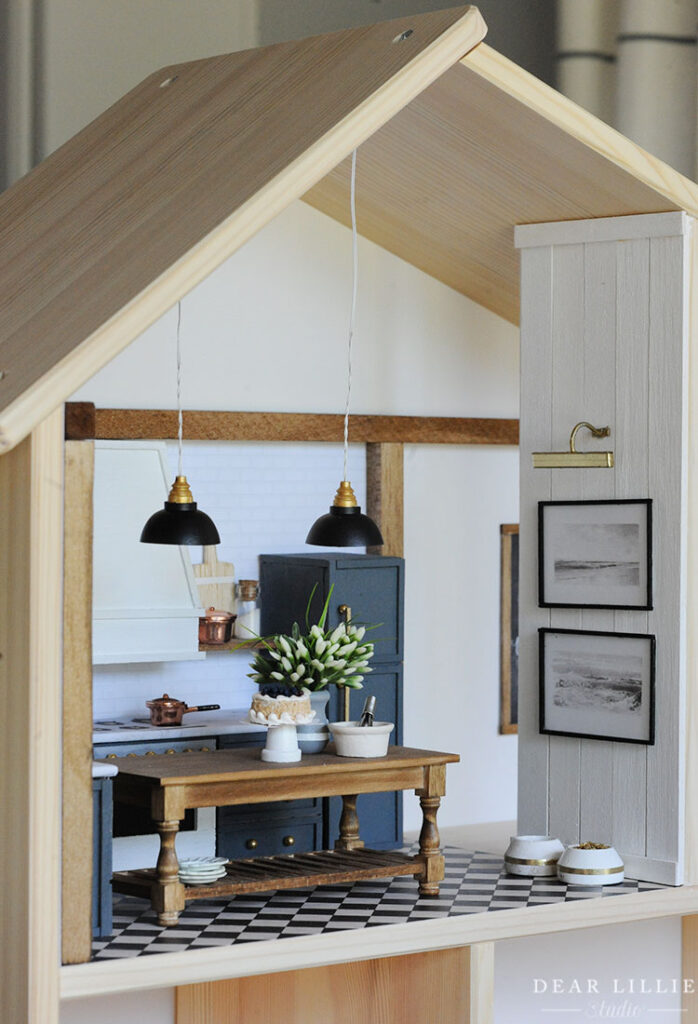
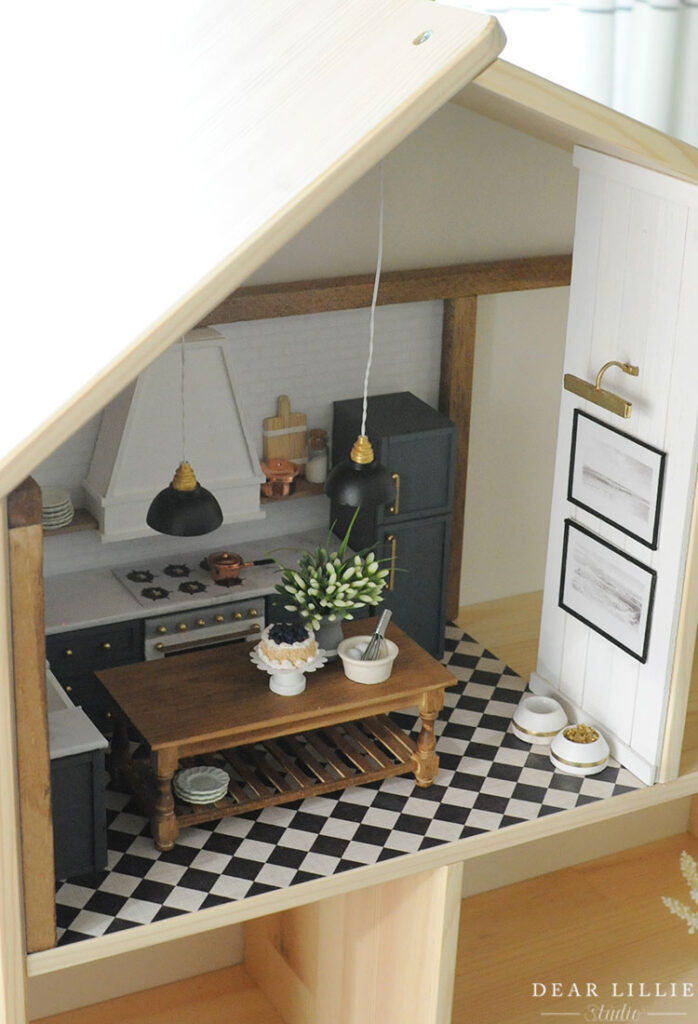
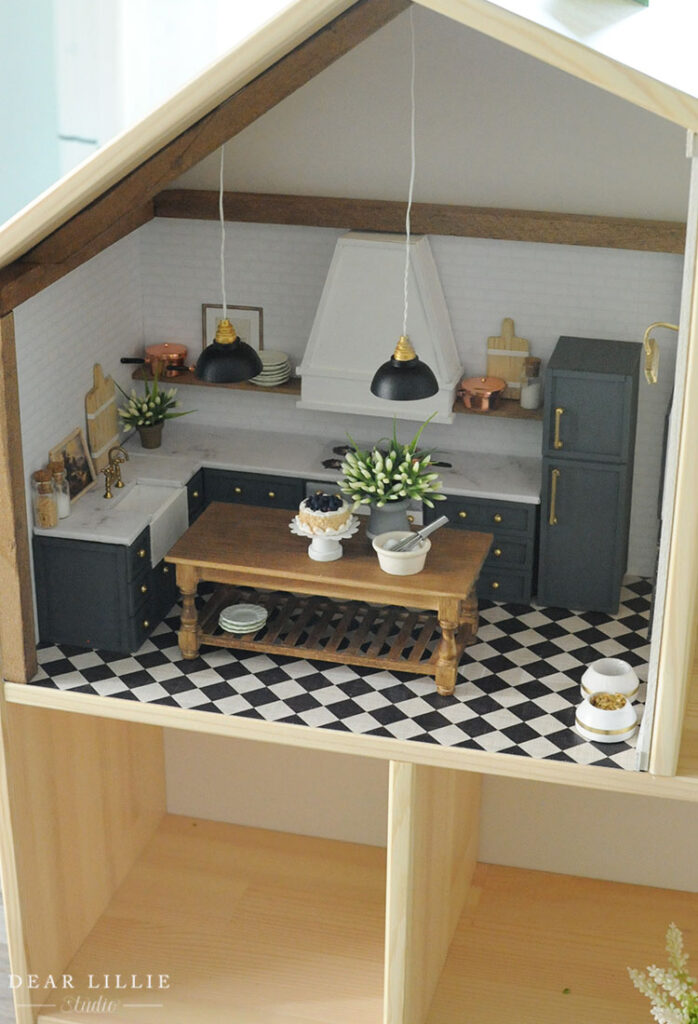
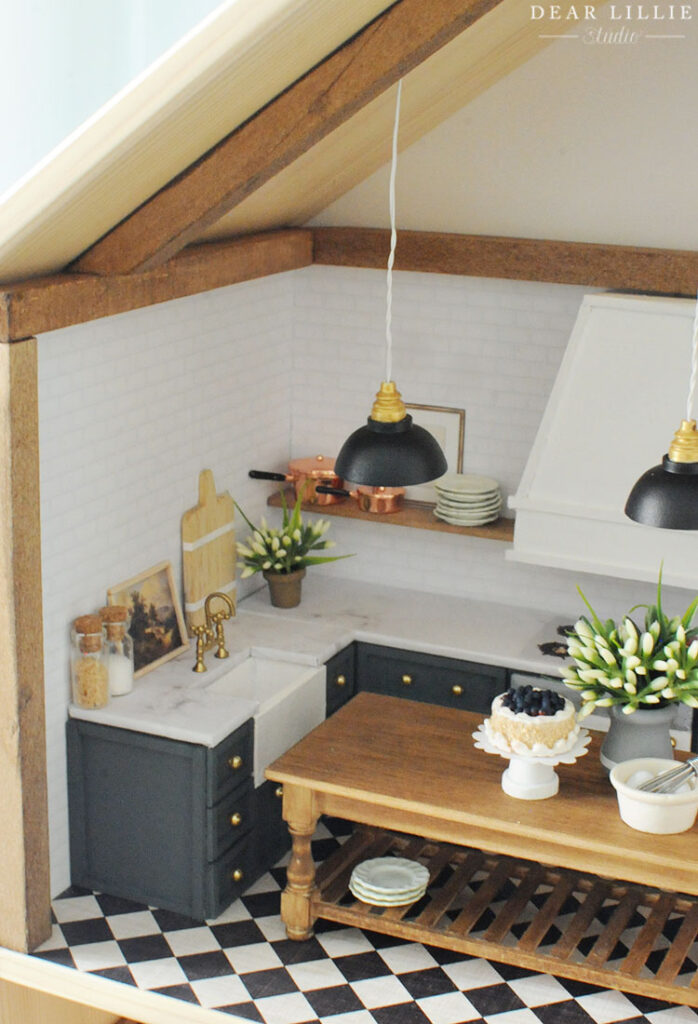
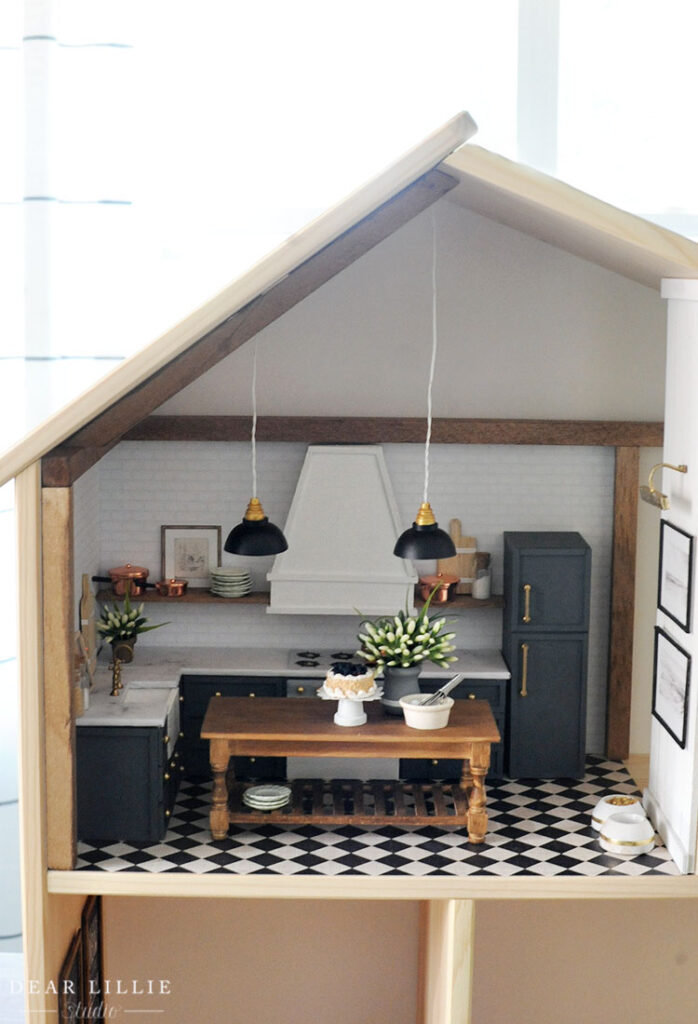
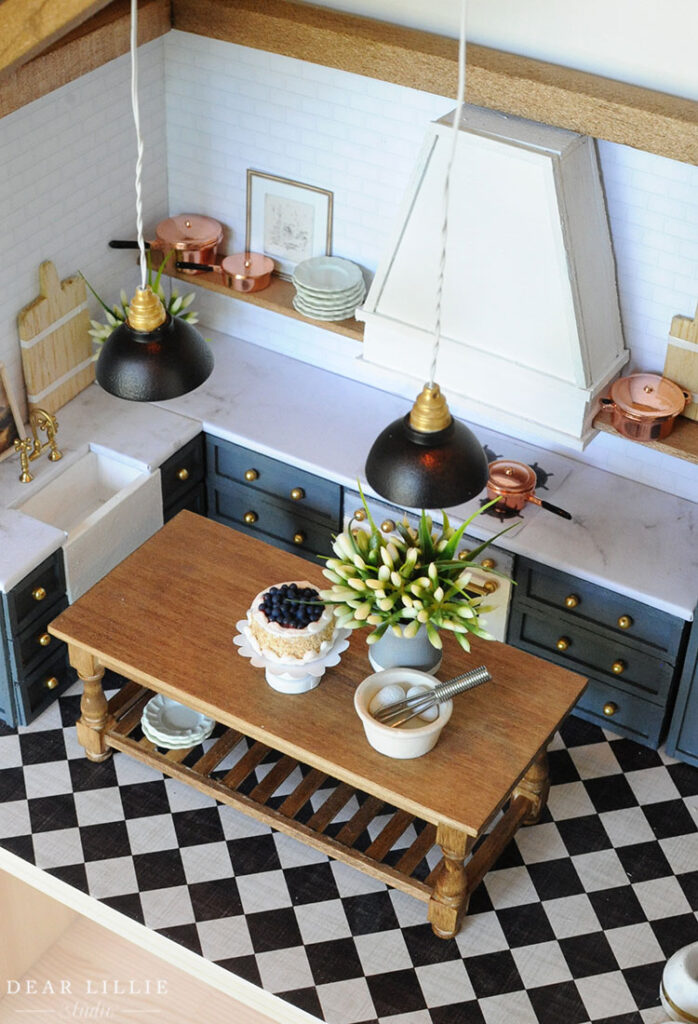
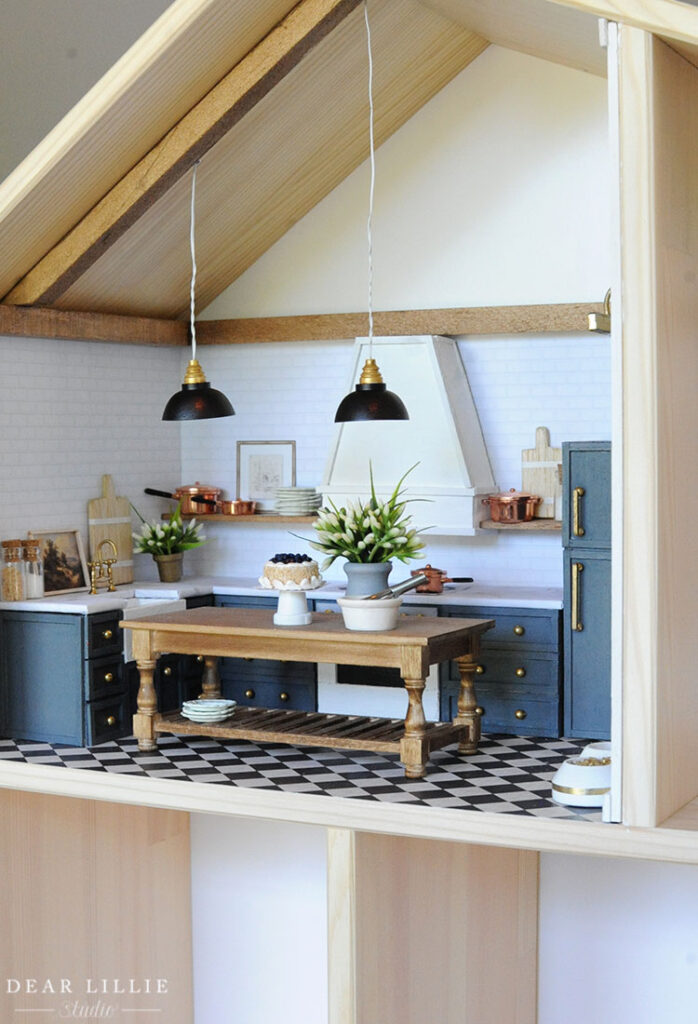
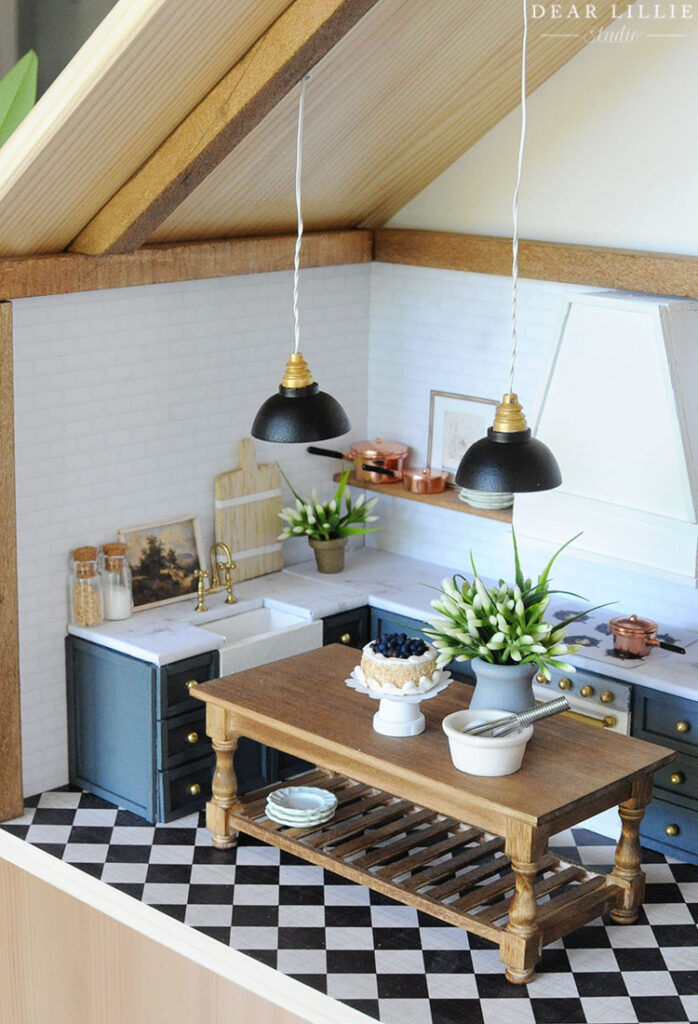
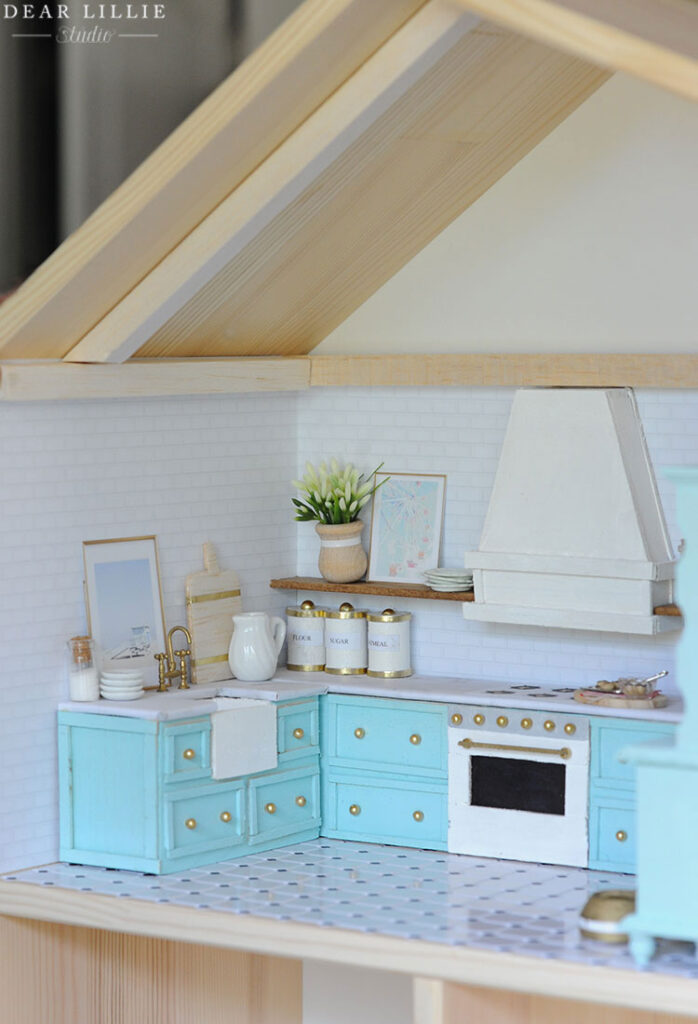
And here’s mine. I will mostly use pictures of mine because it’s easier to explain a lot of the parts but will also include more pictures of Lillie’s at the end.
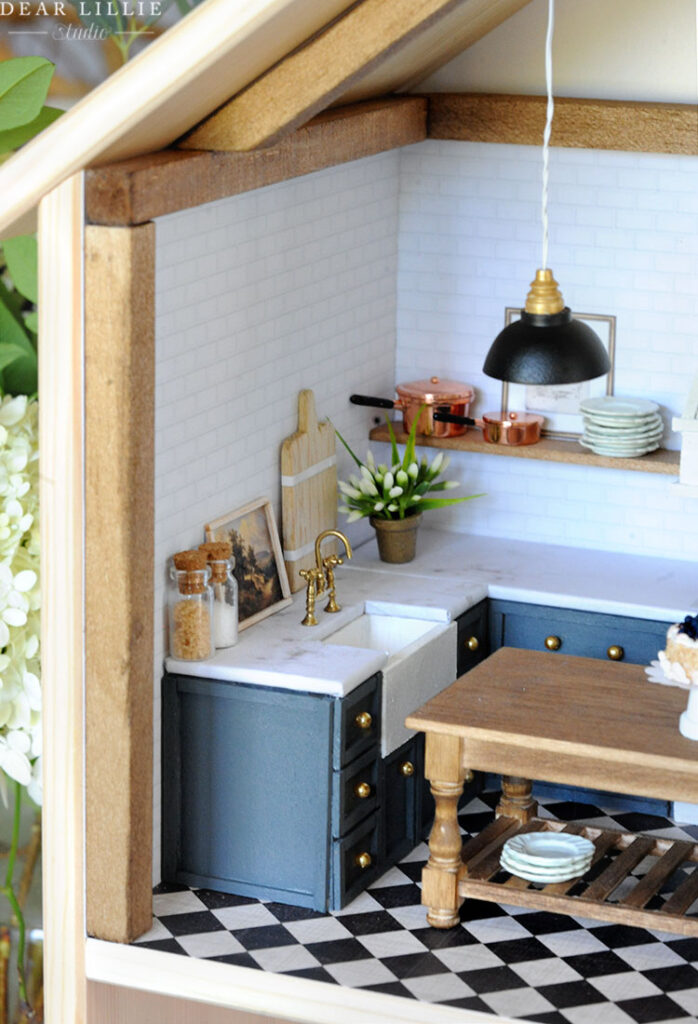
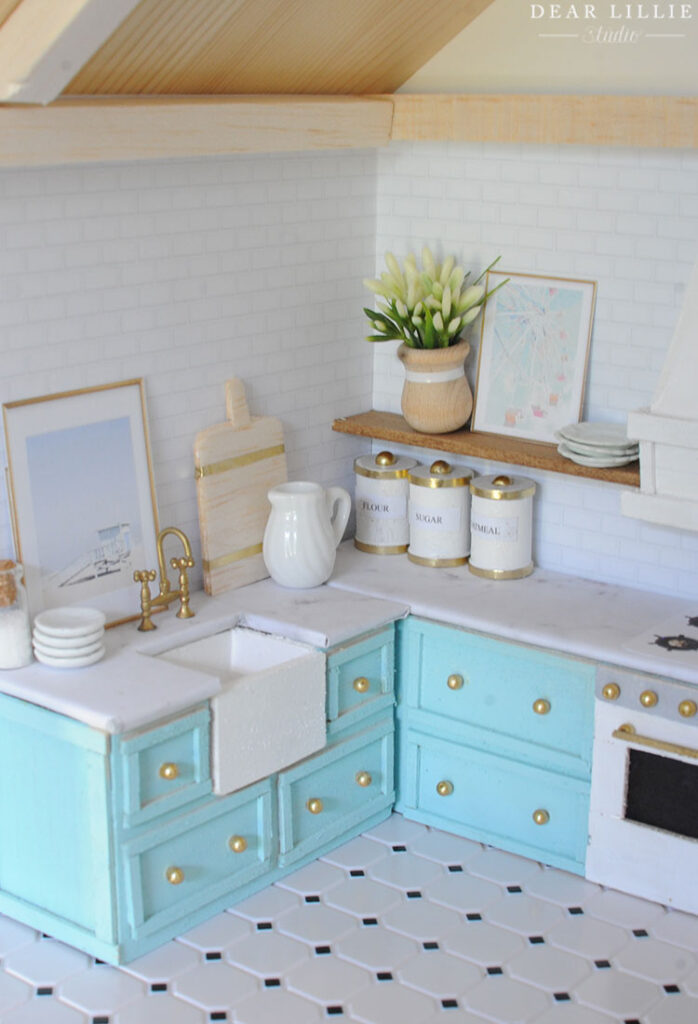
We started off by using sheets of Balsa Wood that we found at the craft store to build our cabinets. Like I mentioned, we will include more info on that in a tutorial soon. Once we had built all the basic elements it was time for the fun part. First we painted our cabinetry and used 4mm gold beads and tiny tiny strips of balsa wood for the hardware and handles. Then we added counters by printing out pictures of marble that we found in a google image search and resized. We printed it on basic white cardstock and then attached that to a piece of balsa wood by mod podging the back of it and then glued that to the cabinets. You could also use this marble too (we purchased the download for the subway tile from this same Etsy shop)!
Then we glued on this adorable little faucet. We wanted it to be more of a true brass so used this spray paint to paint it.
While all of that was drying we installed the backsplash and floors. For the backsplash we used this download and using spray adhesive on the back of it attached it to the walls and then we did the same thing with the my floors. I used a 12 by 12″ piece of craft paper I got for 25 cents and for Lillie’s we used a dollhouse flooring we found in the miniature isle at the craft store.
After those were attached to the dollhouse we set the cabinetry in place and then put the hood where it could fit under a beam. To start with we just taped it in place that way we could adjust it if need be. Then we stained some small pieces of wood and once they were dry used gorilla glue to glue the shelves to the back wall. We used this glue for pretty much everything except for building the cabinetry (we used wood glue for that) and I highly recommend it for this project.
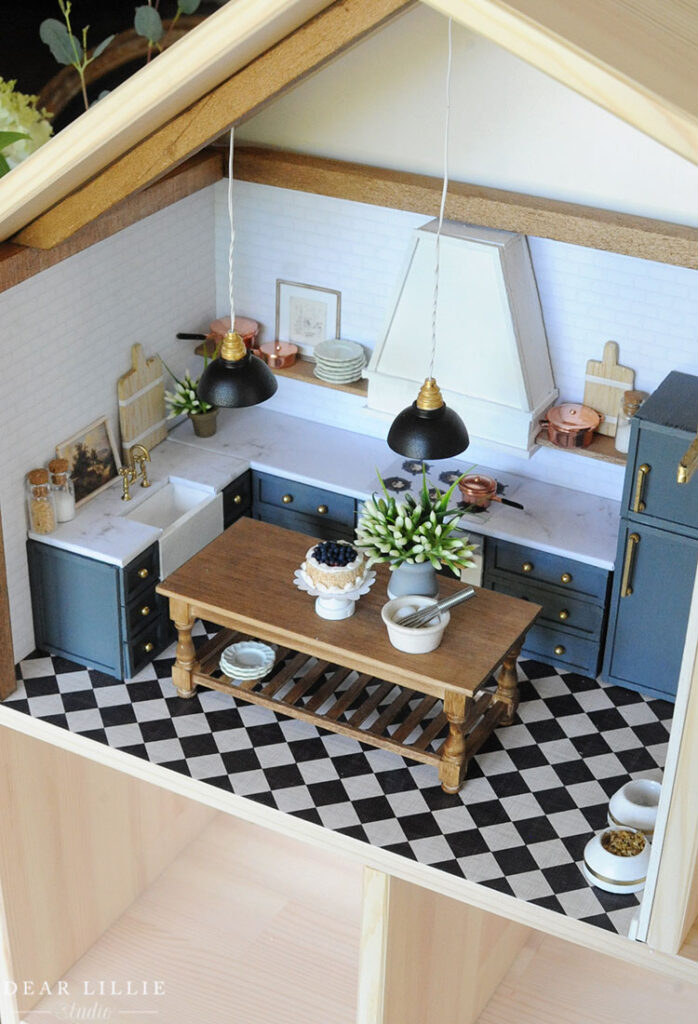
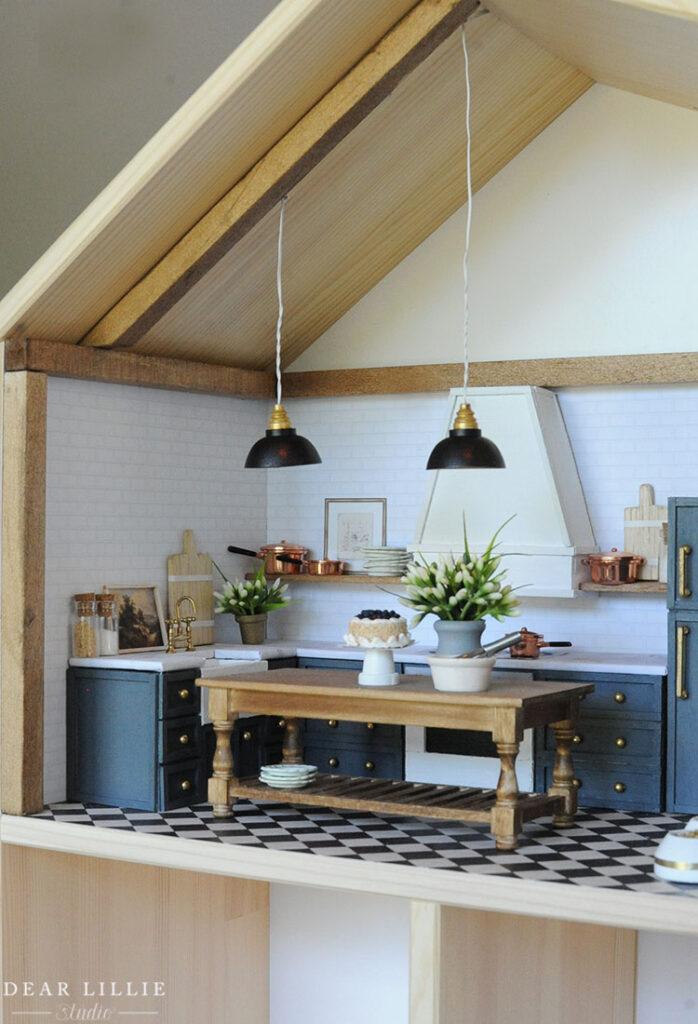
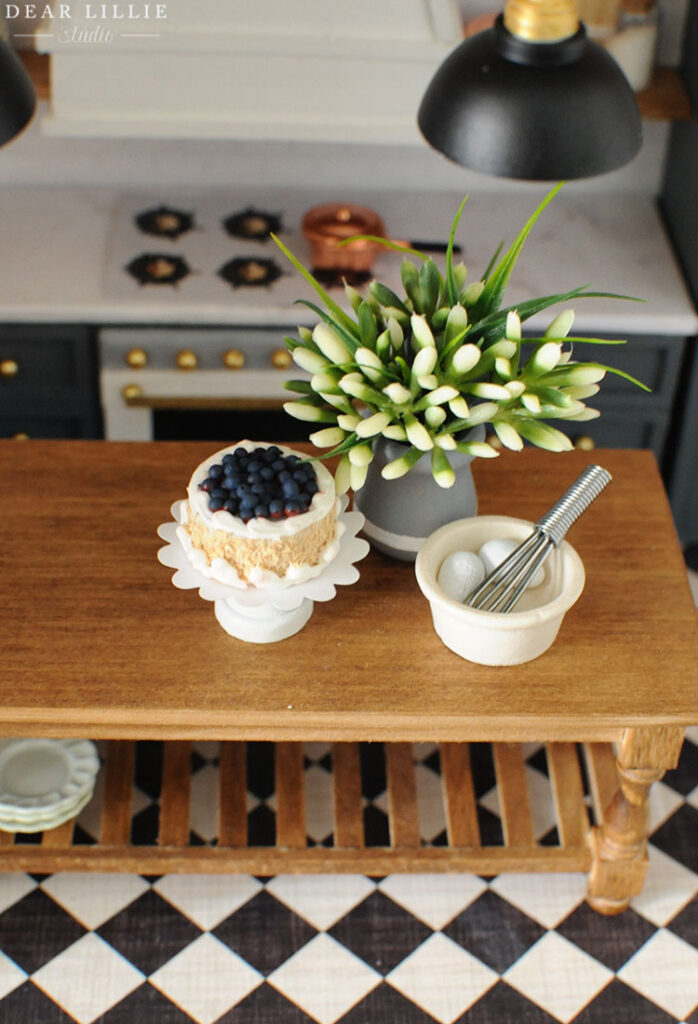
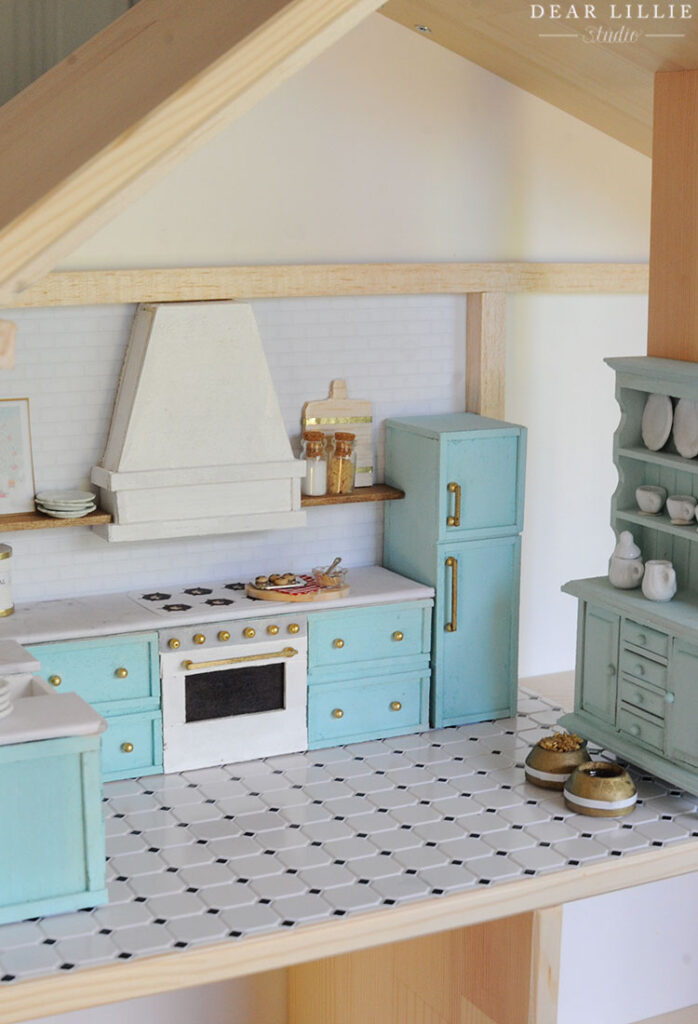
We tried to build as much as possible but Lillie and I did each choose one piece of furniture for our kitchens. She chose a hutch for hers which looks perfect in her space and I chose this beautiful island! It technically is a hair big for the space but it is just a dollhouse and I loved the overall look of it so much that I went with it. I stained it with Early American by Minwax and then set it in place.
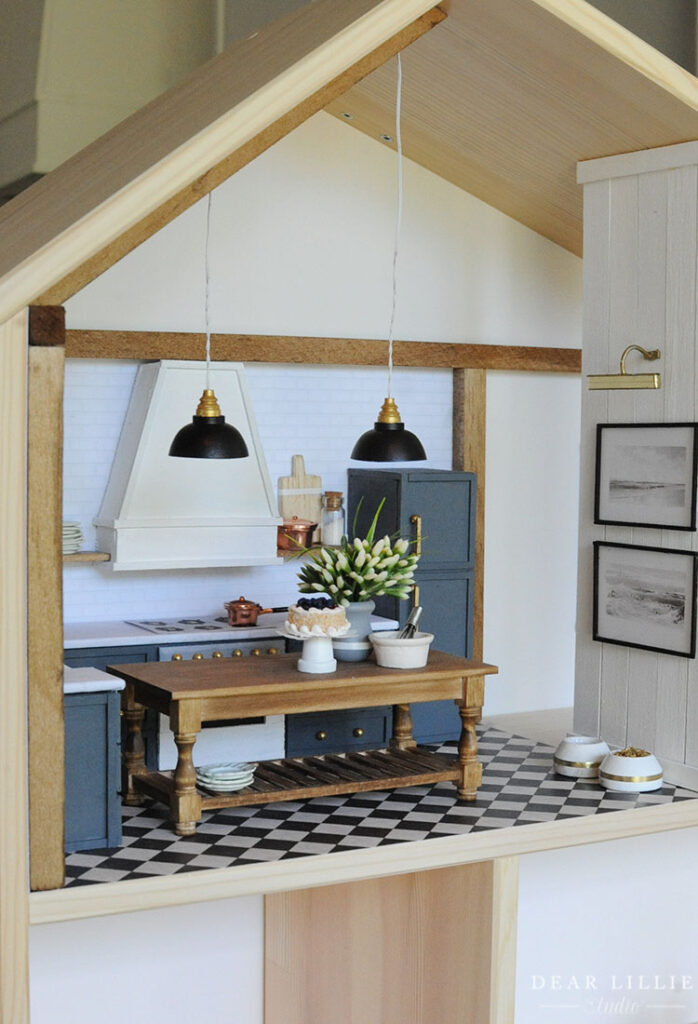
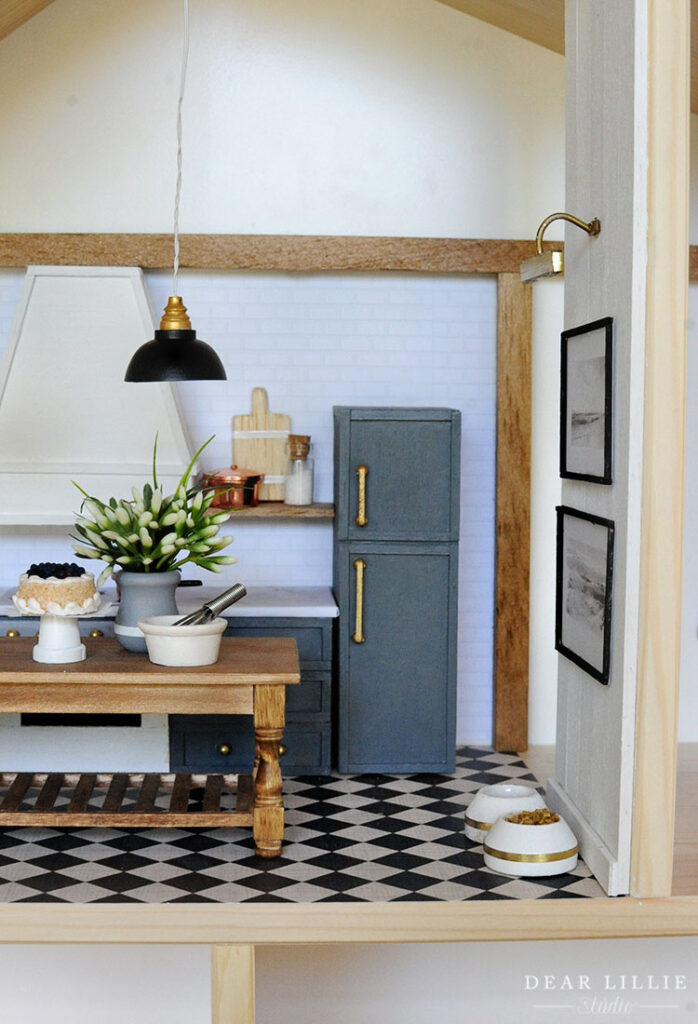
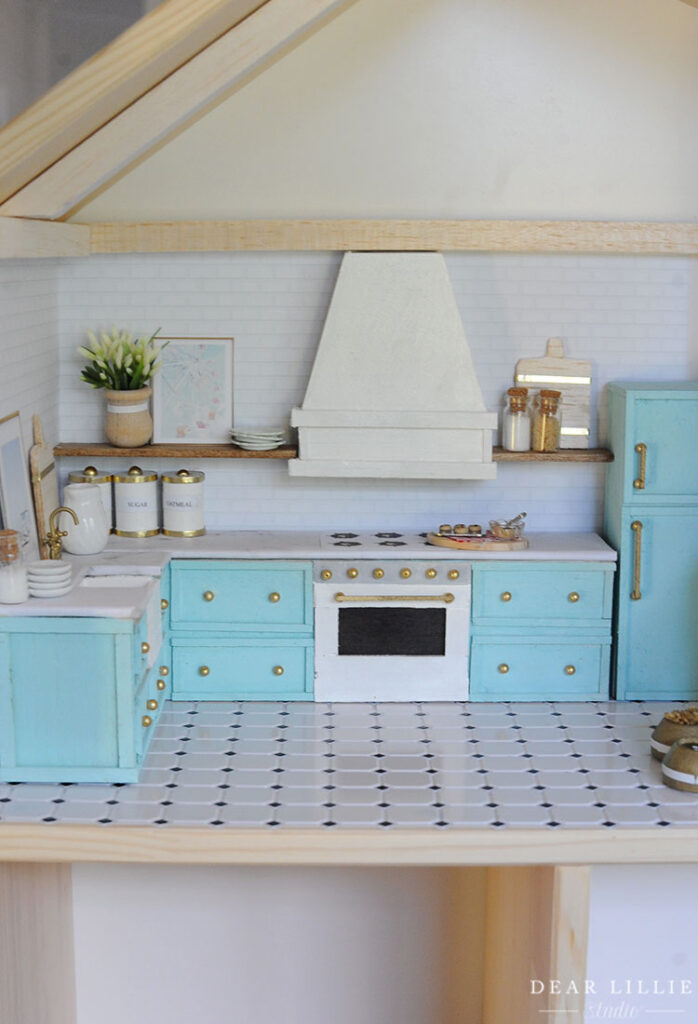
I initially just painted this wall white but then I ended up using a few extra pieces of the same wood from the shelves and glued those on and added a little trim to the top and bottom. For the picture light I just used scrap pieces of wood and a little metal wire and glued them together and spray painted the whole thing with this spray paint. For the pictures I just printed off two of my favorite images from Studio McGee (at some point I want to order the real versions of these!) and then made teeny tiny frames with more of the little balsa wood strips. I painted those with black craft paint.
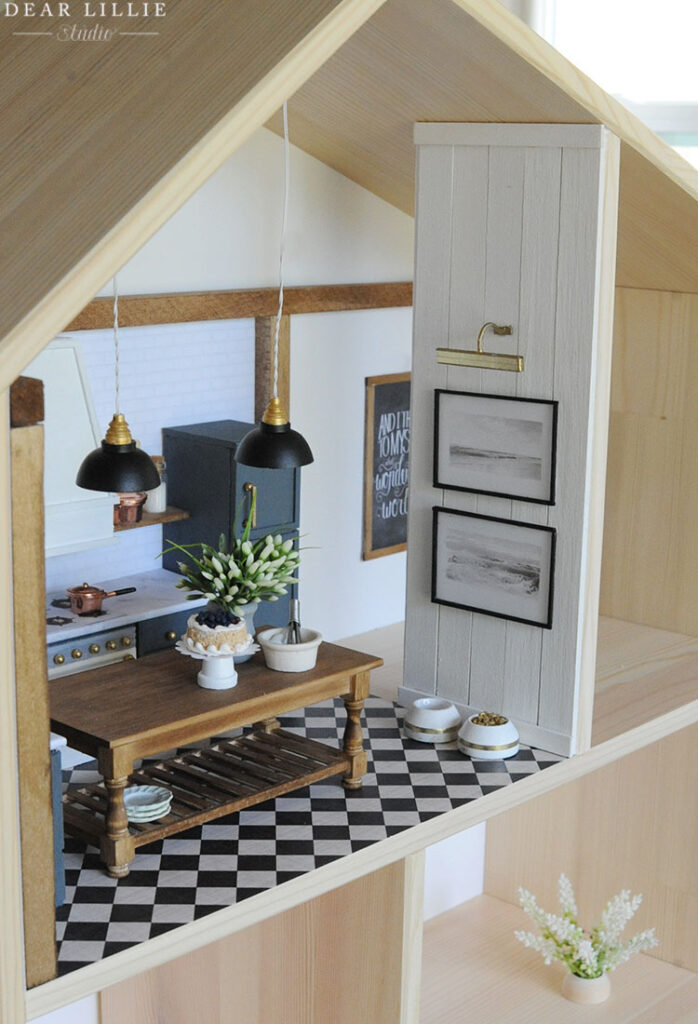
We decided to add real electric lights to our dollhouses. Lillie’s aren’t in yet because we are going to order them but for mine we found these ones at our craft store and taped off the wire and spray painted the bottom part black and then painted with a brush the gold part. We added another beam to hide all of the wiring. Lillie, Lola and I all squealed when we officially got them working! It’s definitely our favorite part!
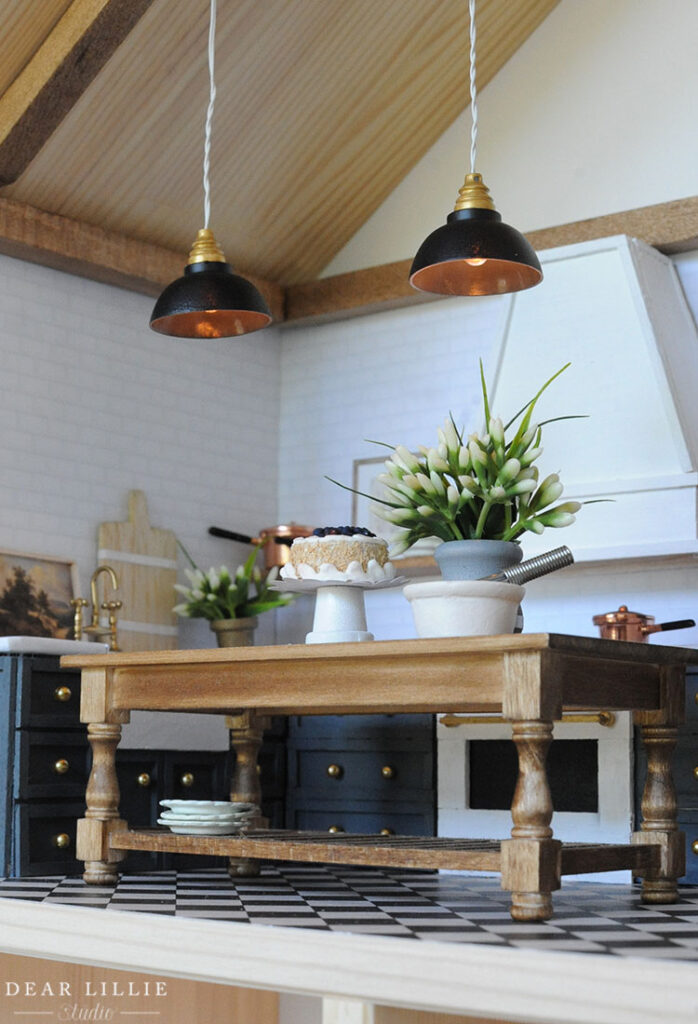
For the top of the stove I just printed out a burner I found online. I cloned it to have six of them seeing how I had already glued on six knobs and then just glued it on the counter.
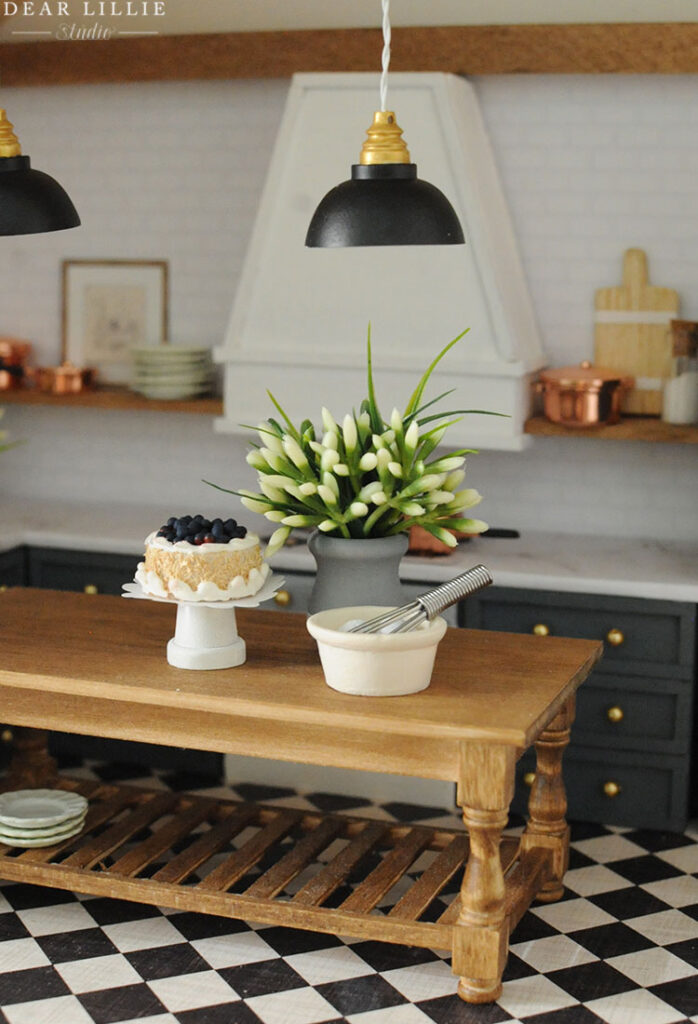
Then it was time to add the accessories. The little cutting boards are just scrap pieces of the balsa wood with little pieces of crafting tape around them and the copper pots and pans, little plates, mini cake and bowl with whisk and eggs were all from Hobby Lobby. I painted the little cherries on the cake blue so it would look like the blueberry cake we love to make. The little jars were from the jewelry making section and we put real sugar and brown sugar in them.

I found a bouquet in the clearance section at Michael’s for $2 and then used that to cut off tiny little buds and was able to make enough bouquets to fill both of our dollhouses.


And here is Lillie’s. Her favorite color right now is teal/aqua so we found this spray paint for her cabinets and then mixed one with our craft paints for the hutch. I love how hers turned out and am so proud of her and think it is such a reflection of her personality!
Okay, that’s it for today!
Sources for My Dollhouse:
Cabinets, sink, fridge, hood and stove – We built them ourselves from scratch using Balsa Wood that was 1/8″ thick and trim pieces that were 1/16″ by 1/8″ balsa wood – will have a full tutorial up at some point in the next week or two
Cabinet Color: Grays Harbor by Sherwin Williams (just used leftovers from a $3 sample I bought last year)
Counters – Balsa Wood covered with marble we found from a google image search, resized and printed on regular computer paper and glued on (similar here)
Beads on Cabinets and Stove used as Hardware and Knobs – Hobby Lobby – Color Gallery by Bead Treasures we used the 4mm size that came in the pack
Subway Tile Backsplash – Etsy (we sized ours down a tiny bit more once we downloaded it)
Flooring – 12 by 12 Craft paper found at Hobby Lobby
Beams – 1/2″ by 1/2″ Balsa Wood Stained Early American by Minwax
Pendants – Hobby Lobby painted black and gold
Shelves – 1/8″ by 3/4″ Balsa Wood Stained Early American by Minwax
Faucet – Etsy – then we spray painted it with this gold finish
Island – Etsy then Stained Early American by Minwax
Plates – Hobby Lobby
Copper Pots and Pans – Hobby Lobby
Mini Cake – Hobby Lobby (was a cherry one and I painted the cherries blue to look like a blueberry cake)
Cake Stand – from a mini pack of flower pots from Michael’s painted and tipped upside down
Bowl with Eggs and Whisk – Hobby Lobby
Cutting Boards – just cut from extra scrap Balsa wood and then used a tiny stripe of craft tape to add the line
Dog Bowls – wood beads from Michael’s painted and then used a tiny stripe of craft tape to add the line
Vase – wood beads from Michael’s painted and then used a tiny stripe of craft tape to add the line
Flowers – cut from a 70% off bouquet from Michael’s
Artwork – Favorite images from Studio McGee
Frames – Built with super thin Balsa Wood Strips
Clear Canisters – From Jewelry Making Section and filled with real sugar and brown sugar
Lillie’s Dollhouse Kitchen Sources:
Cabinets, sink, fridge and stove – We built them ourselves from scratch using Balsa Wood – will have a full tutorial up at some point in the next week or two
Cabinet Color: Sprayed with Kyrlon ShortCuts Matte Rain Drop
Counters – Balsa Wood covered with marble we found in a google image search and printed on regular computer paper and glued on (similar here)
Beads on Cabinets and Stove used as Hardware and Knobs – Hobby Lobby
Subway Tile Backsplash – Etsy (we sized ours down a tiny bit more once we downloaded it)
Flooring – Hobby Lobby
Beams – 1/2″ by 1/2″ Balsa Wood
Shelves – Thin Balsa Wood
Faucet – Etsy – then we spray painted it with this gold finish
Hutch – Hobby Lobby – painted color we just mixed with blue green and white craft paint
White Dishware/Tea Set – Hobby Lobby
Cookie Dough and Bowl – Hobby Lobby
Cutting Boards – just cut from extra scrap Balsa wood and then used a tiny stripe of craft tape to add the line
Dog Bowls – wood beads from Michael’s painted and then used a tiny stripe of craft tape to add the line – used clear glue for water bowl and some tiny beads we had for the food bowl
Vase – wood beads from Michael’s painted and then used a tiny stripe of craft tape to add the line
Flowers – cut from a 70% off bouquet from Michael’s
Artwork – Favorite images from Pottery Barn Teen
Frames – Built with super thin Balsa Wood Strips
Clear Canisters – From Jewelry Making Section and filled with real sugar and brown sugar
White Canisters – wood beads from Michael’s painted and then used a tiny stripe of craft tape to add the gold trim and then glued on a tiny gold bead for the handle, words were just printed on regular computer paper and glued on
Warmly, Jenni


