
Several years ago we made some pom-pom wreaths and a couple of pom-pom garlands as well. We got lots of requests for a tutorial on how we made them and kept promising to do one but then things always get so busy during the holidays that we never got around to it, but this year we finally did it! Jason made a video so if you prefer a tutorial that way you can watch the video. Or if you prefer a step by step tutorial with photos we have that as well.
It really is an easy project that is almost impossible to mess up! Both Lillie and Lola helped me make the original ones and I think they were 3 and 5 at the time? (My memory is not the greatest but I think it was three years or so ago). The only thing to really keep in mind is that making each pom-pom can be a little time consuming. It’s easy though and pretty mindless work so a great way to do it is while watching a movie.
SUPPLY LIST:
Yarn (thicker generally works a little better we used this yarn in the color Fleece)
Foam Wreath (you can use any size but we’ve made them in the past in 12″, 14″ and 16″ versions, I think this one was 14″)
Glue (we used a glue gun but you only need it for one part so regular glue should work just fine too!)
Scissors
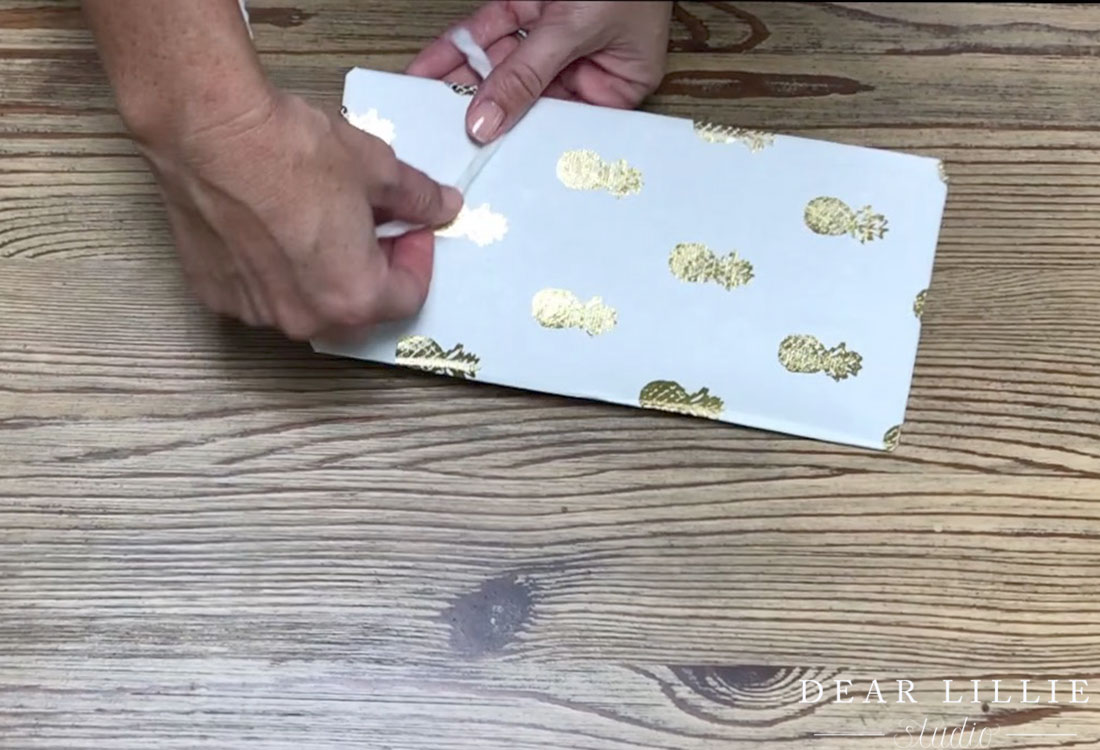
Small Cardboard Object (I just wrapped part of a cereal box in some wrapping paper to make it look prettier for this tutorial but if you just cut any piece of cardboard down it works great. It doesn’t matter how long it is but for this size pom pom you want it to be about 4.5″ wide. However you can adjust the size depending on if you want larger or smaller pom poms.)
Here is the video:
Step 1: Gather your supplies.

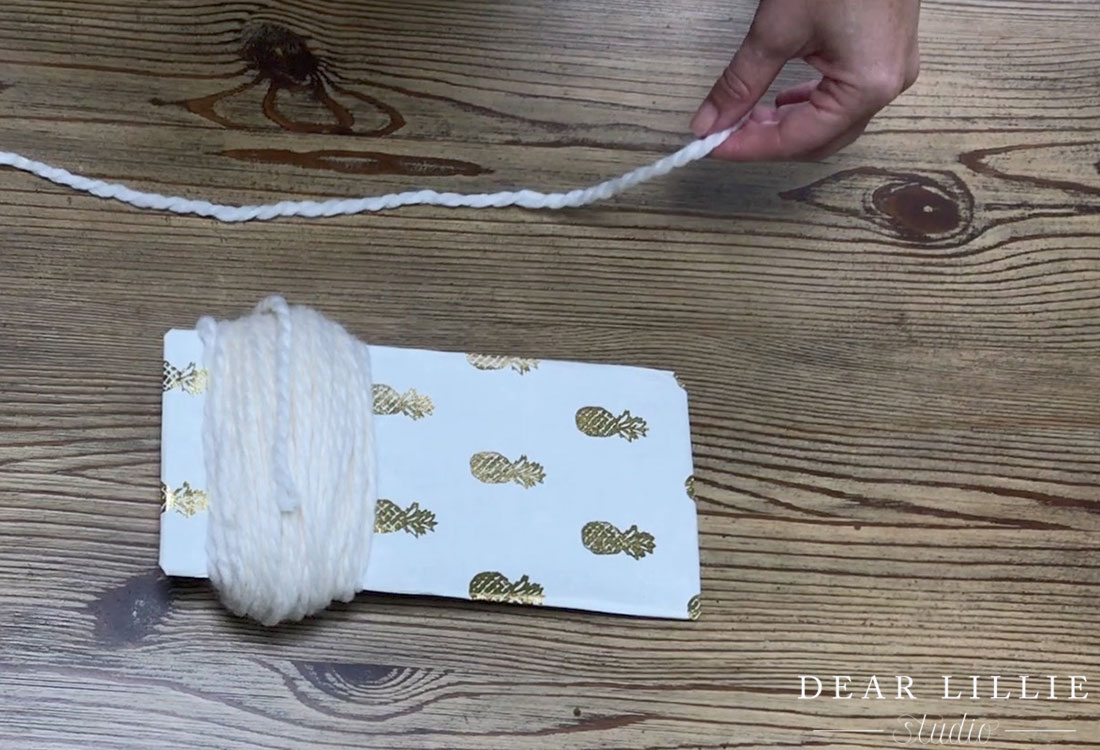
Step 2: Take one end of the yarn and start winding it around the cardboard.
Step 3: Continue wind until it is very thick! Err on the side of it being too thick vs too thin. You may have to use your first one as trial and error to see if you need to make it thicker. The thicker the better as it will make the pom poms nice and full and they will be really fluffy vs. droopy!
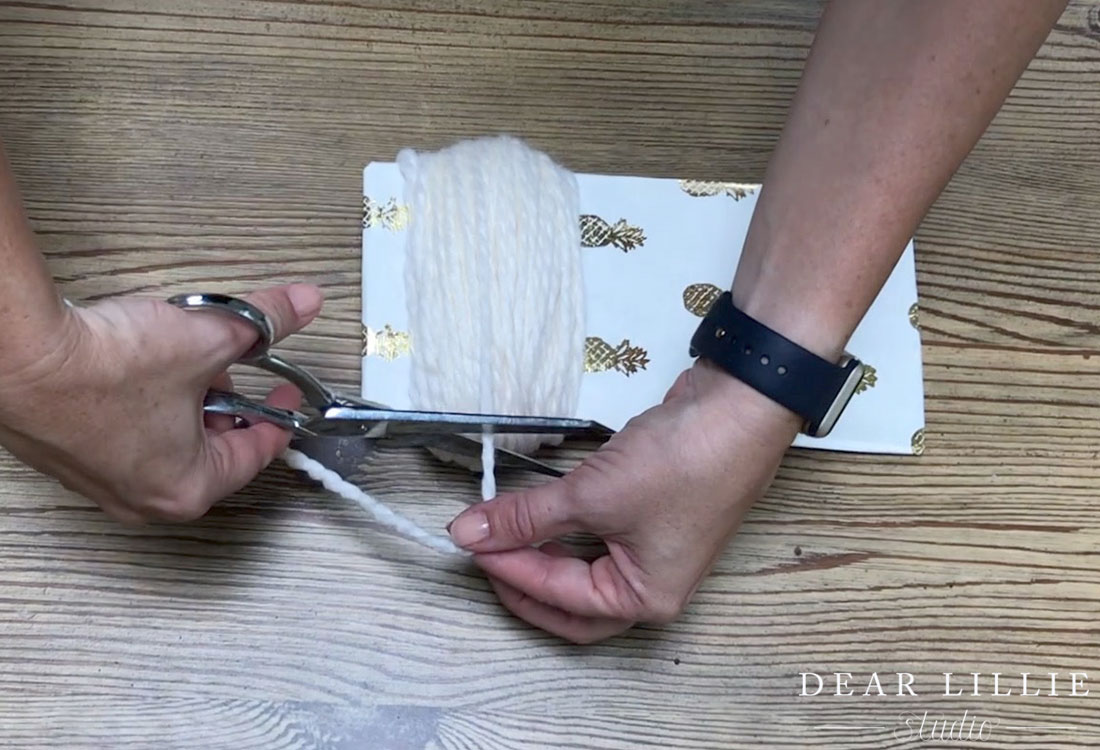
Step 4: Cut an extra strand of yarn.
Step 5: Slide the wound up yarn off the piece of cardboard (keeping it in it’s shape).
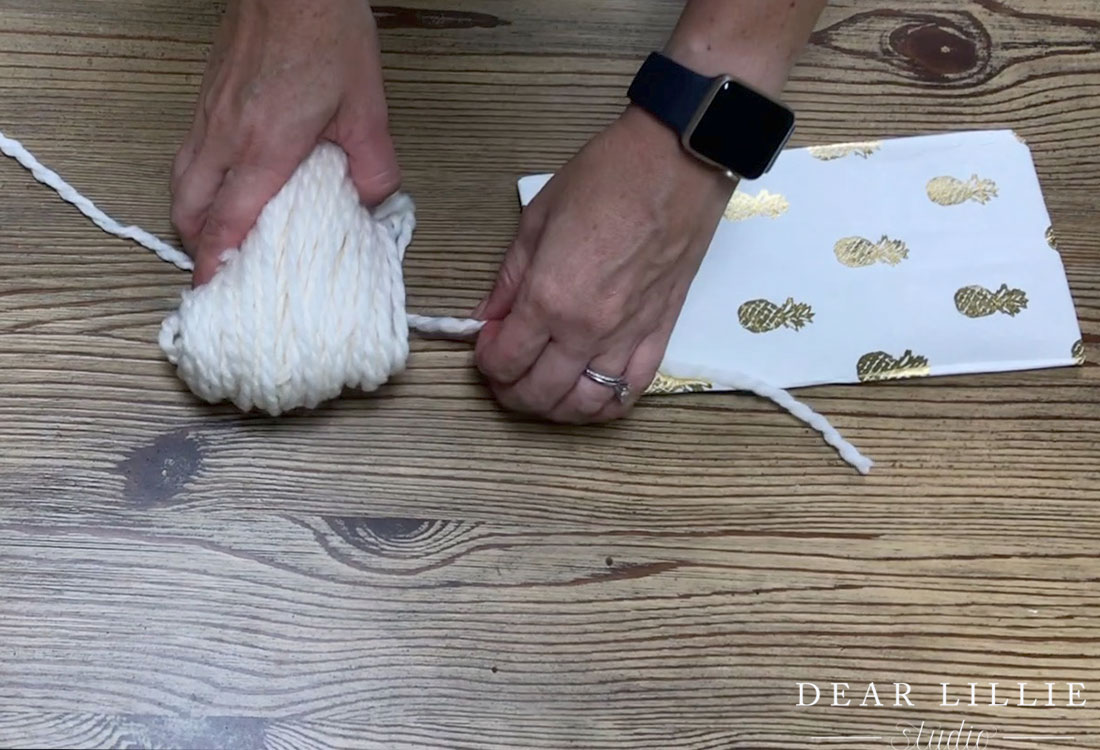
Step 6: Use that extra string and tie it around the middle of the yarn. Tie it VERY tight.
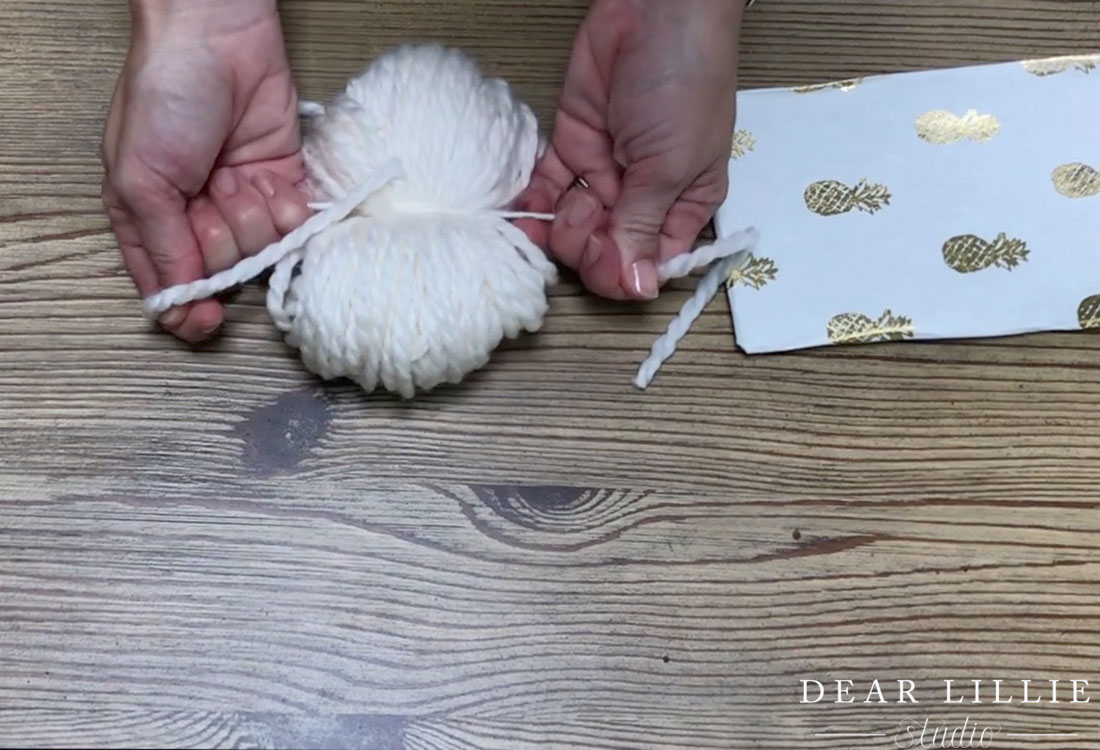
Step 7 : Trim the ends of the string you just tied to line up similarly to the rest of the yarn.
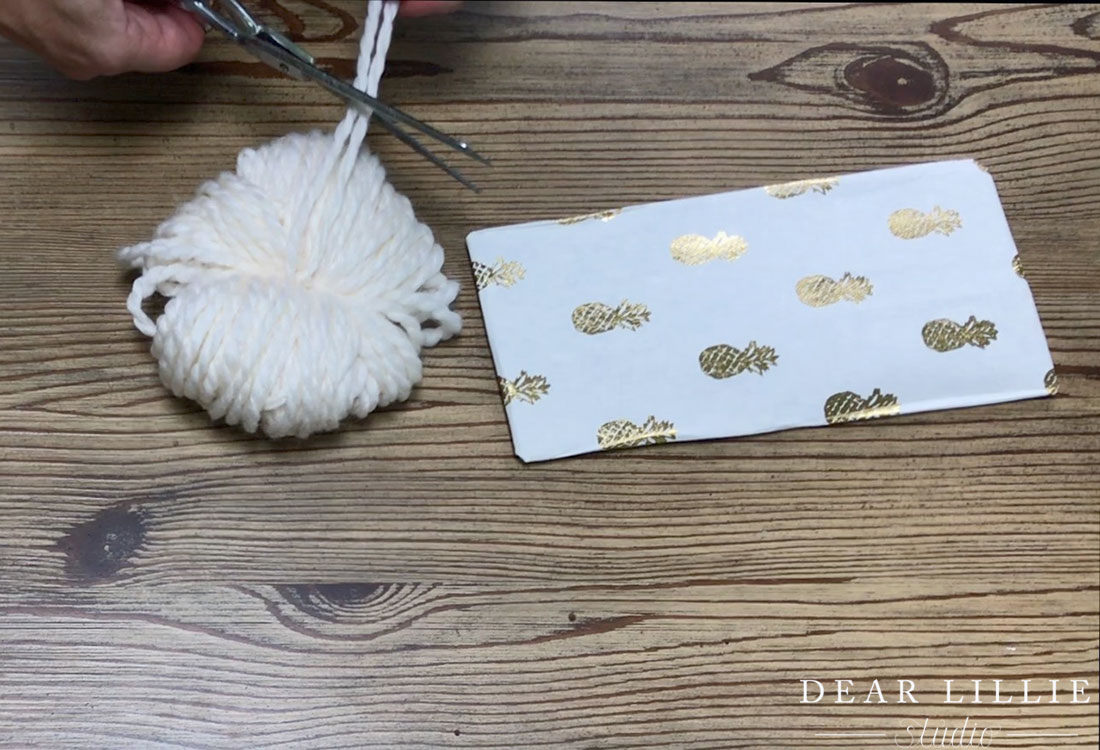
Step 8: Now flip it on it’s side and slide the scissors under the folded over yarn and start cutting!
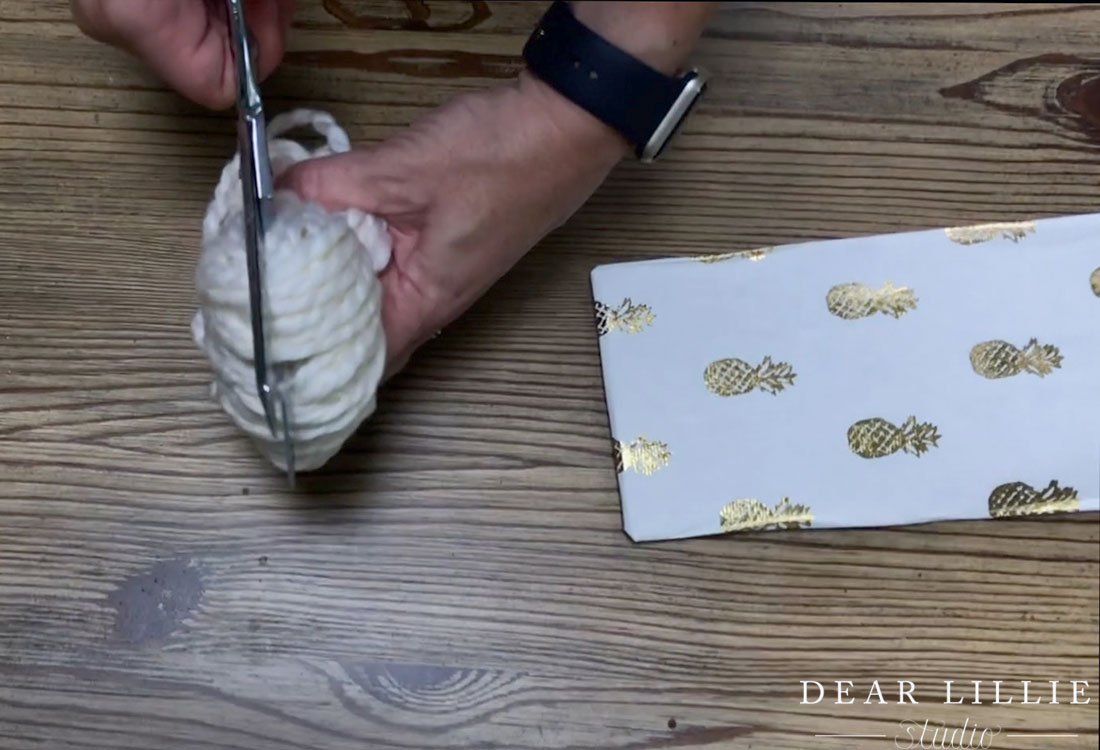
Step 9: Keep on cutting.
Step 10: Now flip it over and cut the other side the same way.
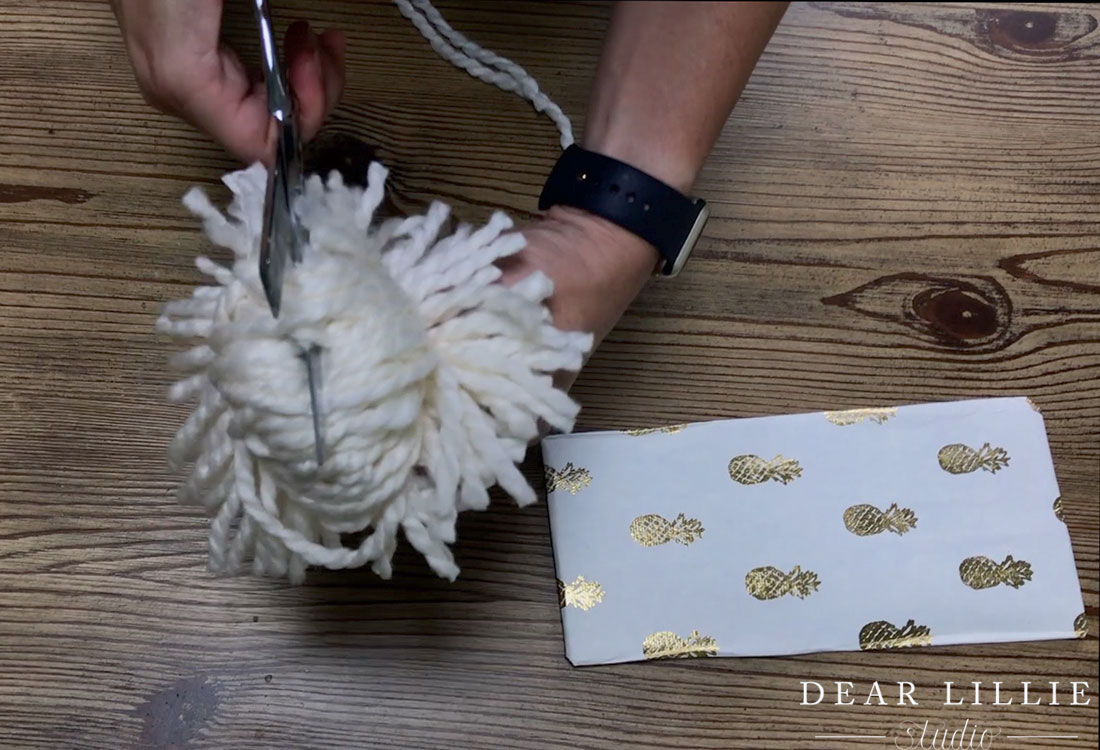
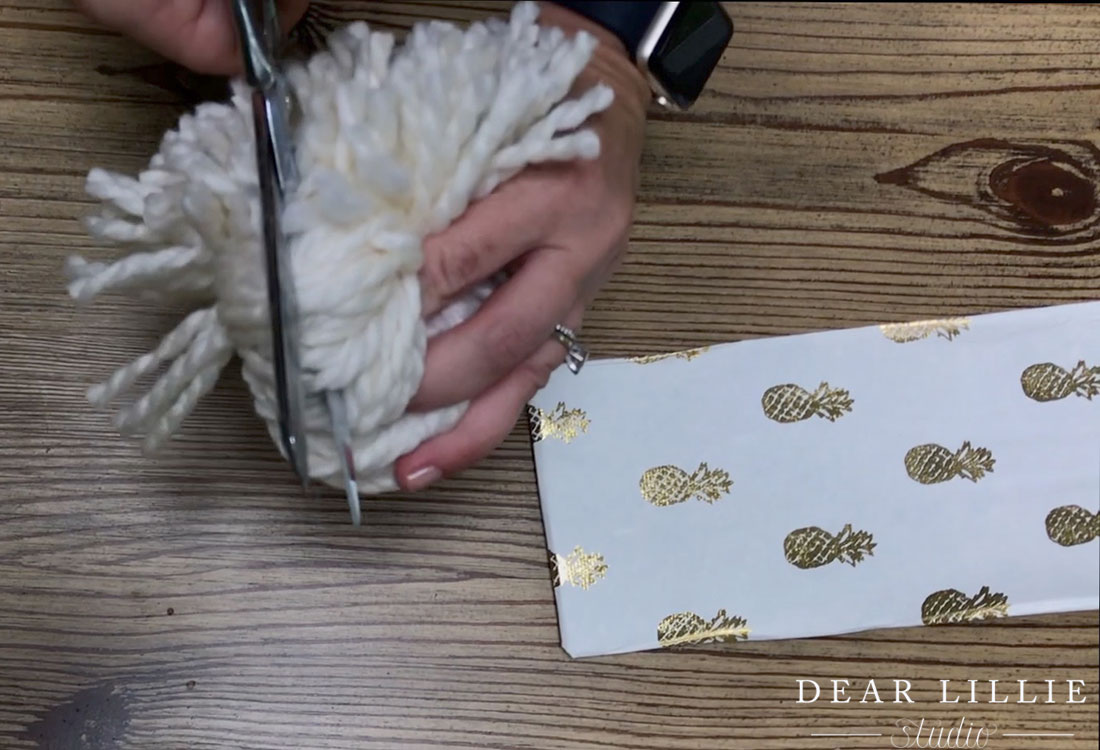
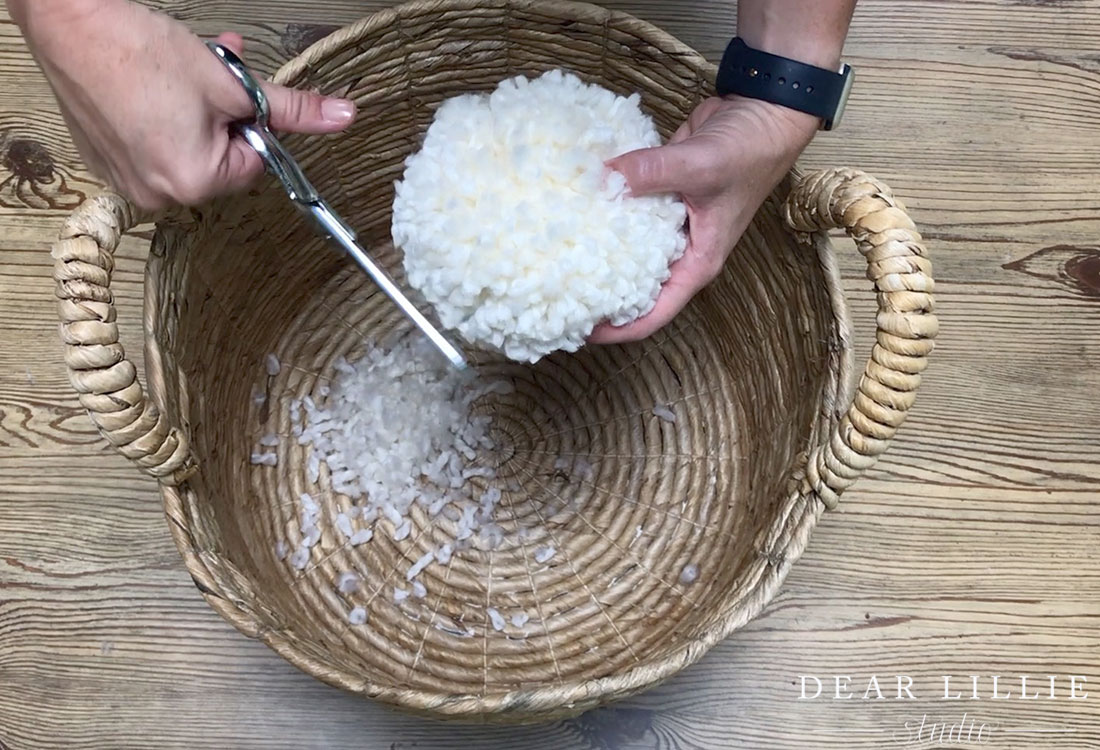
Step 11: Now put the pom pom over a trash can and start trimming away until you get it into a nice round fluffy shape! This is my favorite part! Continue doing this until you have as many pom poms you need to fill out your wreath. This will depend on the size of your wreath, the size of the pom poms and how full they are. We used ten on this one but you may need more or fewer depending on the factors mentioned.
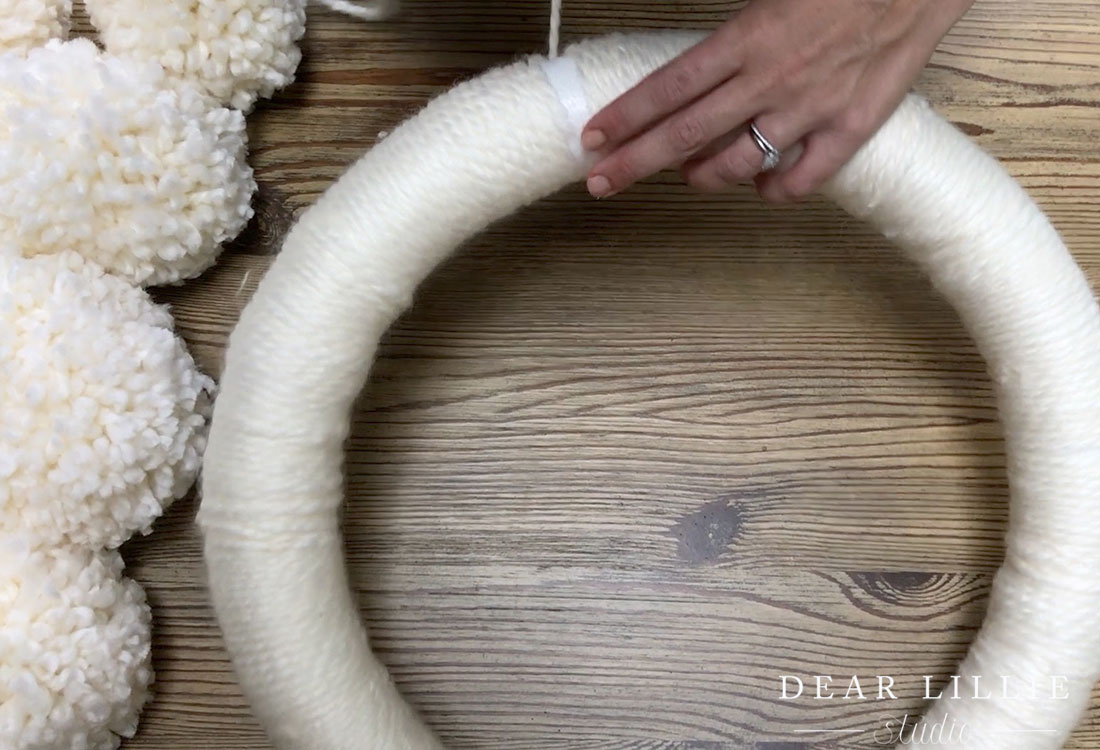
Step 12: Once you have your pom poms done it’s time to get your wreath prepared so you can start assembling it! Start by putting a dab of glue anywhere on the wreath.
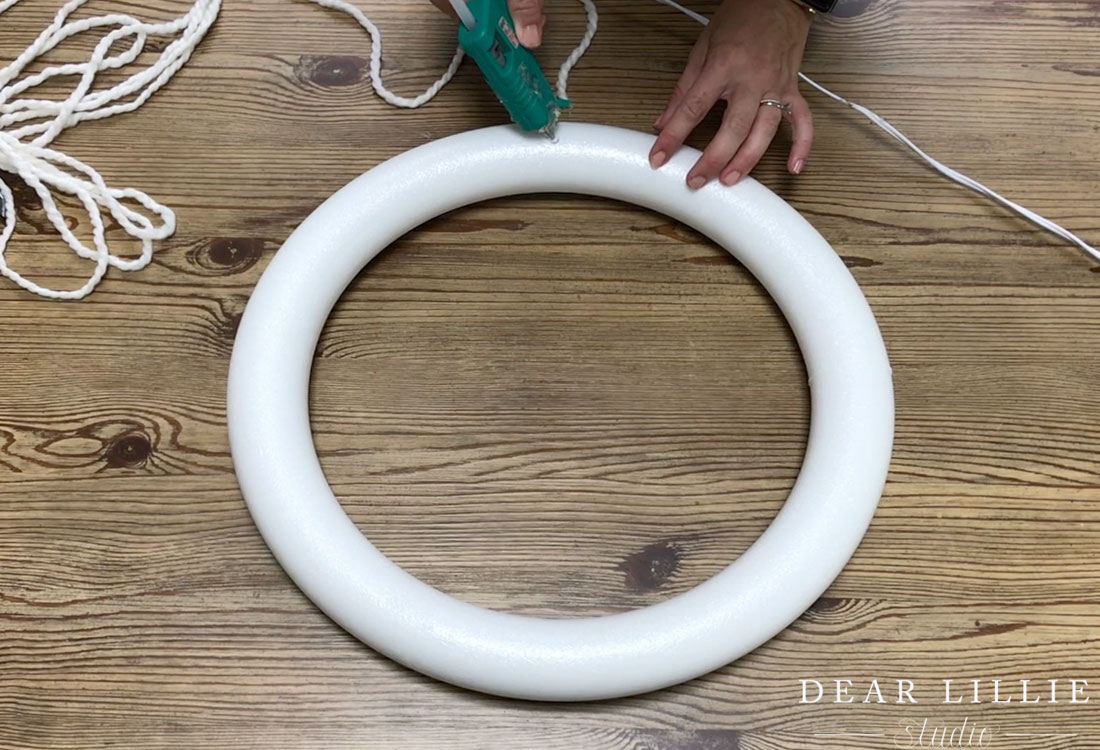
Step 13: Now attach the end of a piece of yard to the glue.
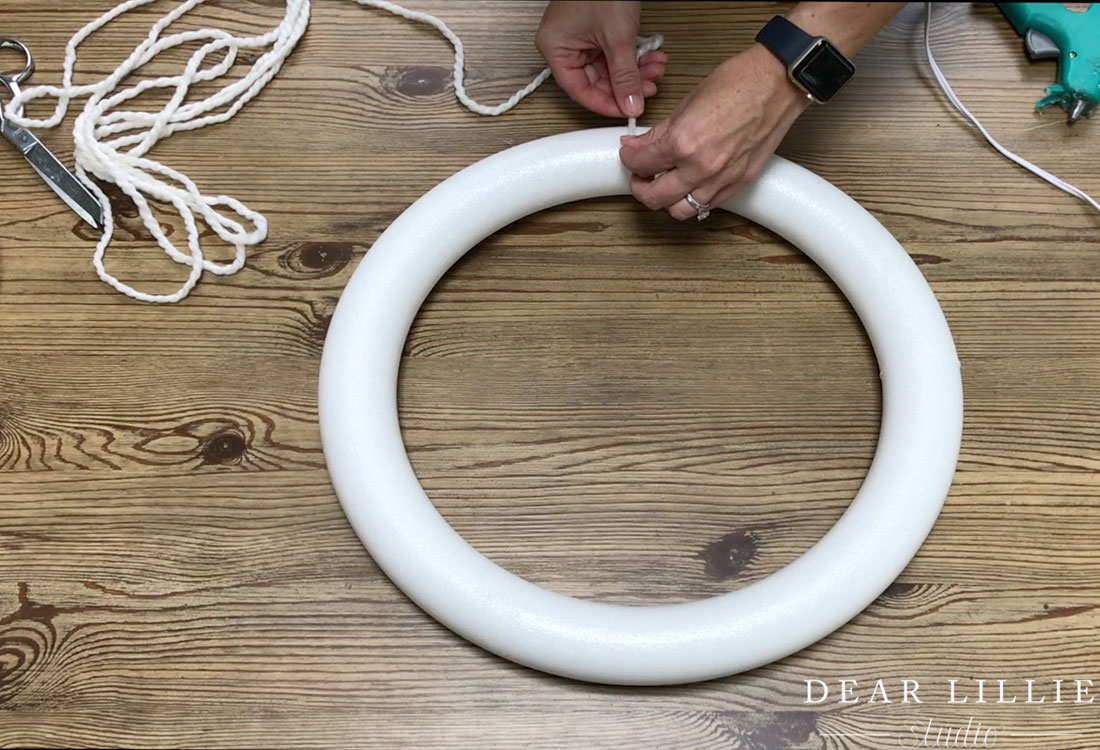
Step 14: Start winding the yarn around the wreath.
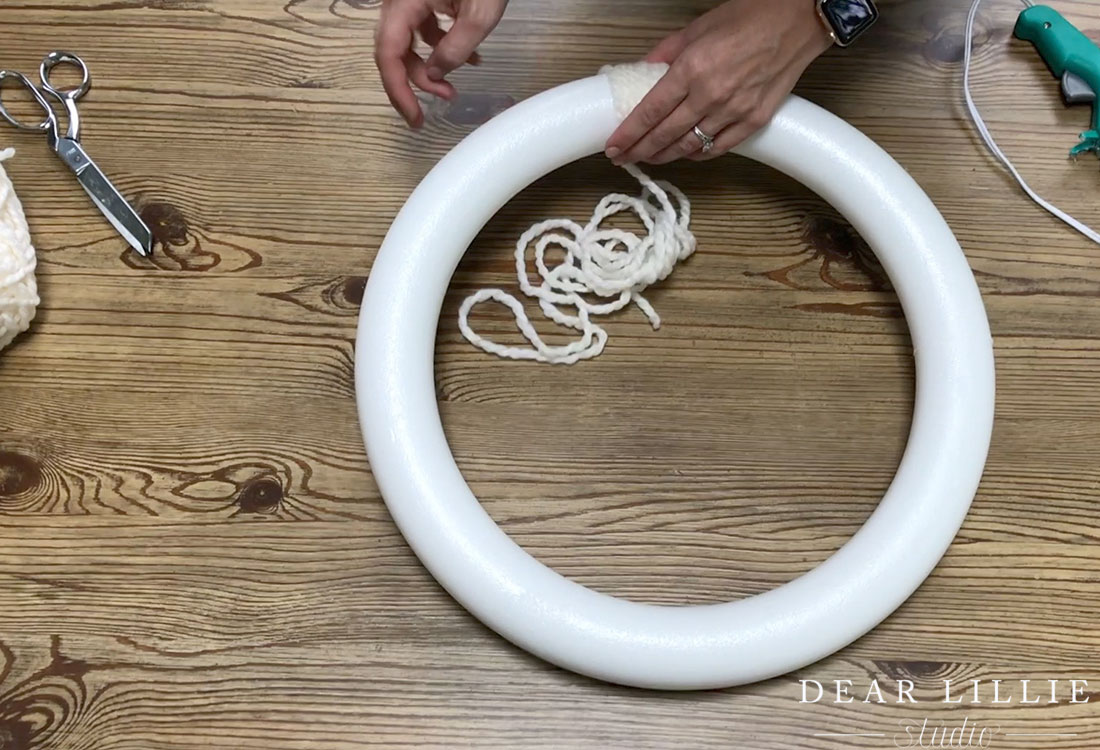
Step 15: Keep going…
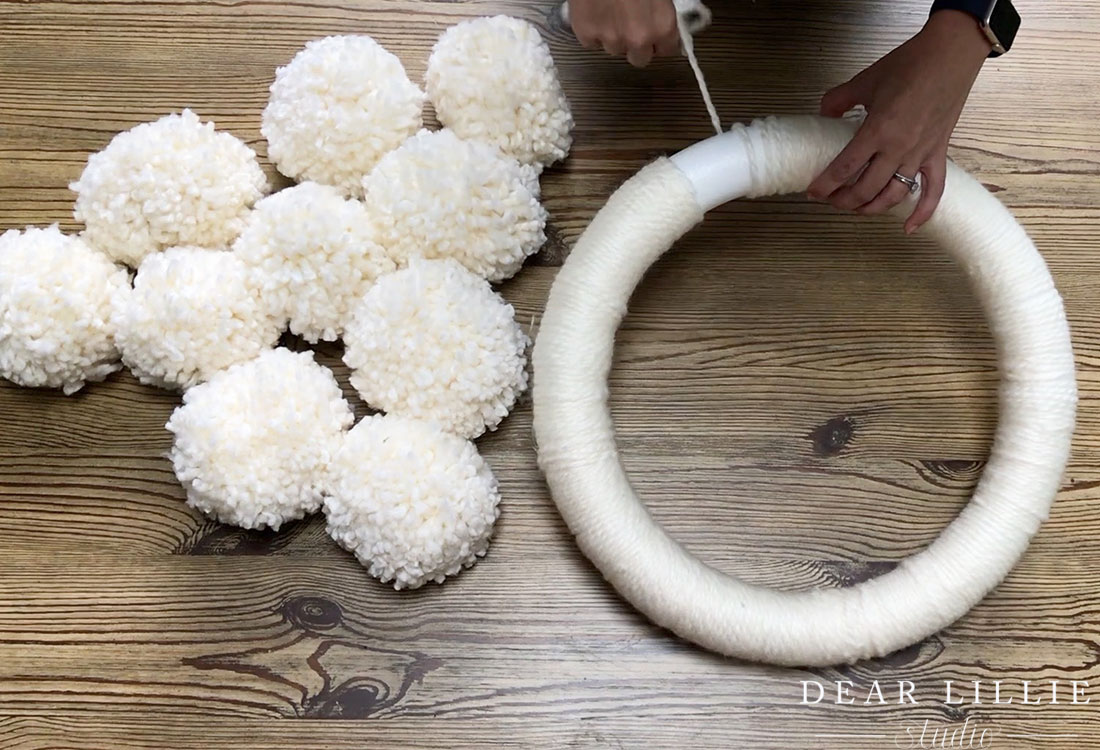
Step 16: When you get to the end just add another little dab of glue and then your wreath it covered!
Step 17: Now it’s time to start attaching the pom poms! Cut some strands of string. You will need to cut one for each pom pom so we cut ten.
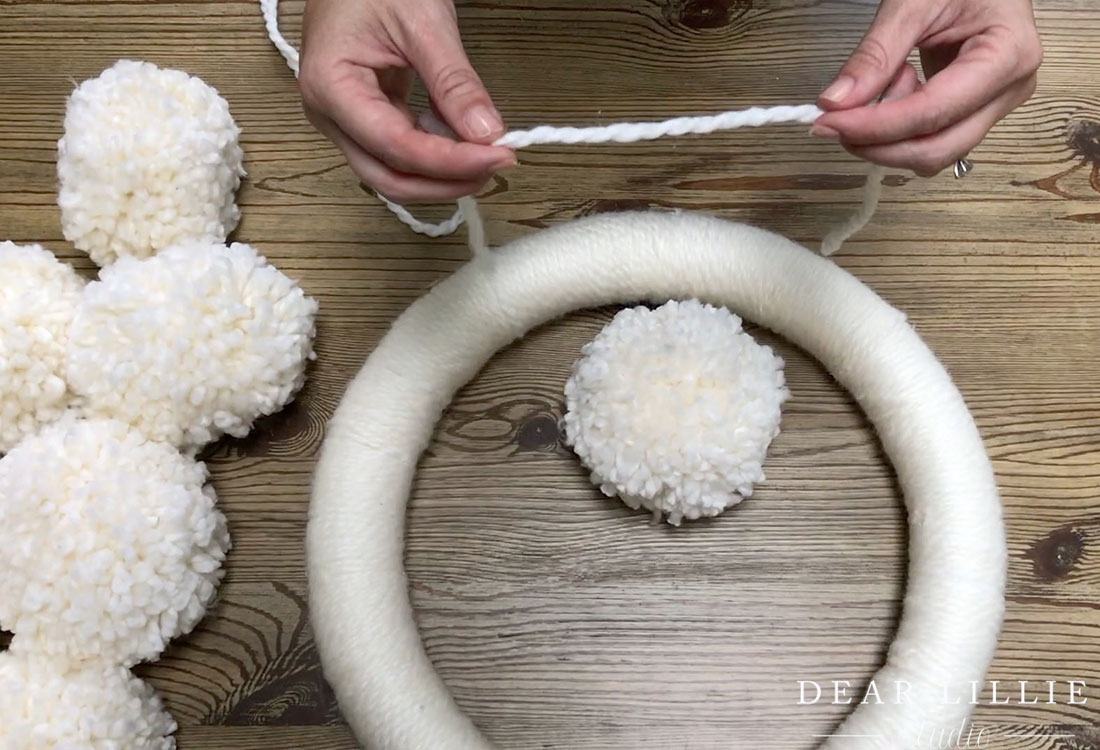
Step 18: Wrap the string around the middle of the pom pom and pull it tight. (It will disappear into the pom pom and not be visible once you’ve pulled it tight).
Step 19: Now pull it nice and tight on the back and knot it!
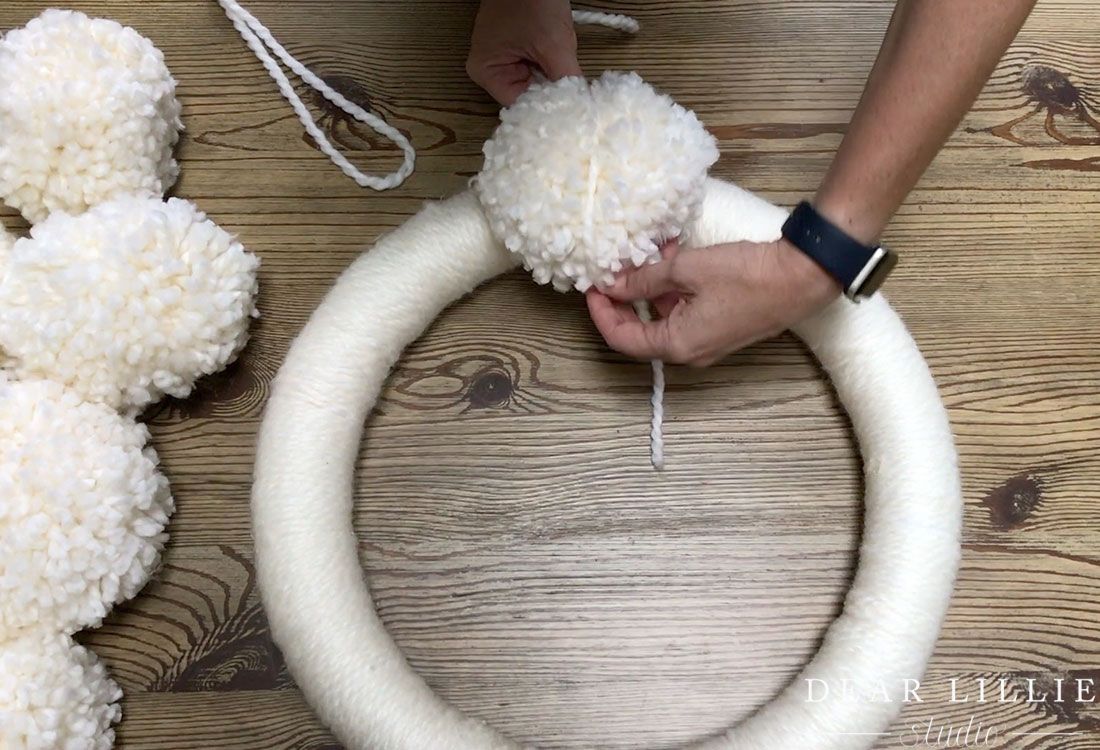
Step 20: Now move on to the next one. Make sure it is nice and close to the first one.
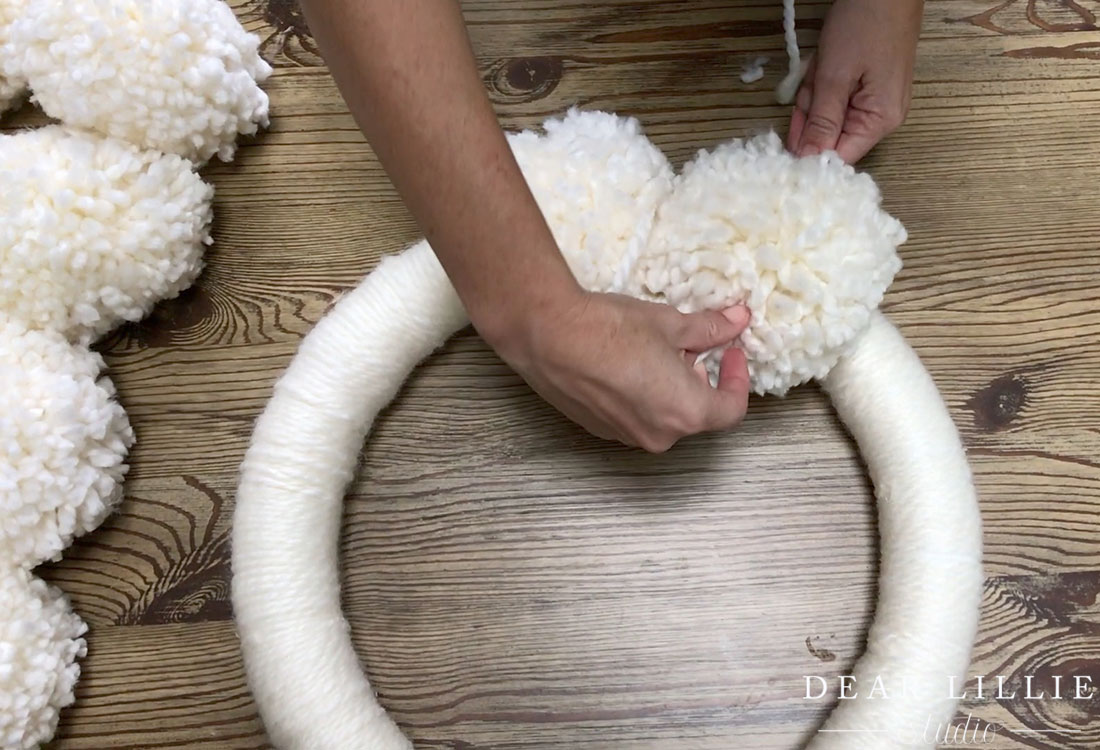
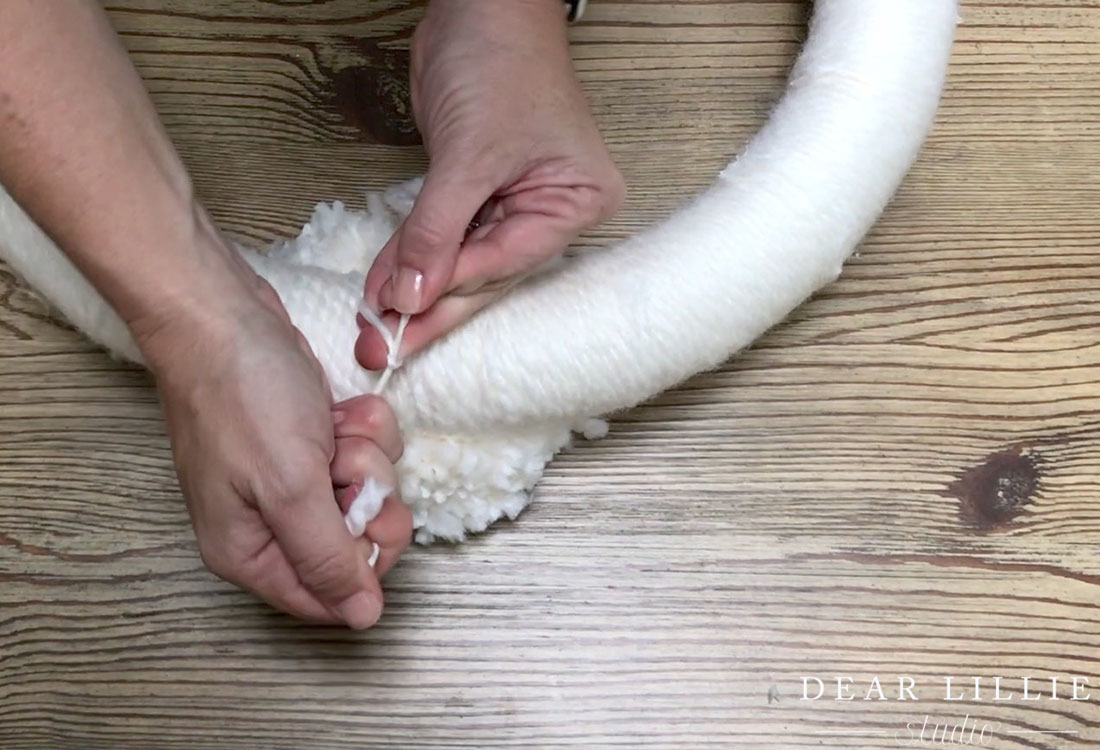
Step 21: Flip it over and tie it tight just like the first one. Then continue your way around the wreath attaching each pom pom this way. Tying them allows you to adjust them and move them up, down and closer together as needed.
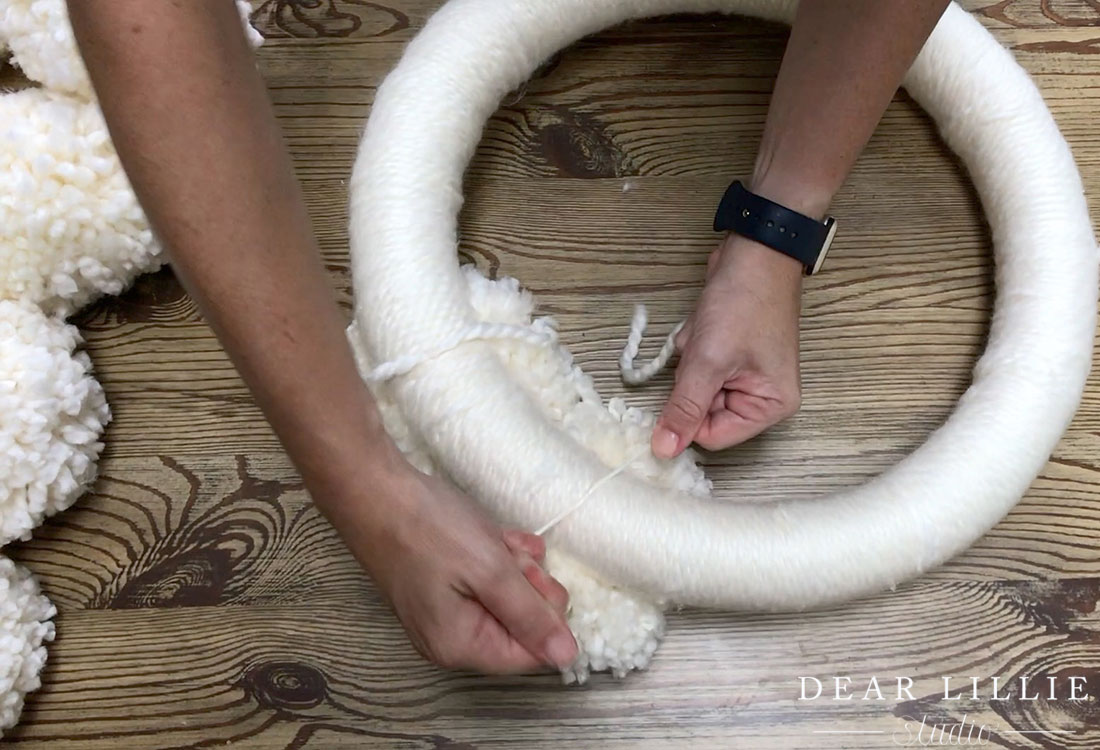
Step 22: Now that you’ve made it the whole way around it’s time to add the finishing touches by trimming any extra little pieces off the yarn to make it more uniform. It does not have to be perfect! But if you have any pieces of yarn dangling you can fix all that now.
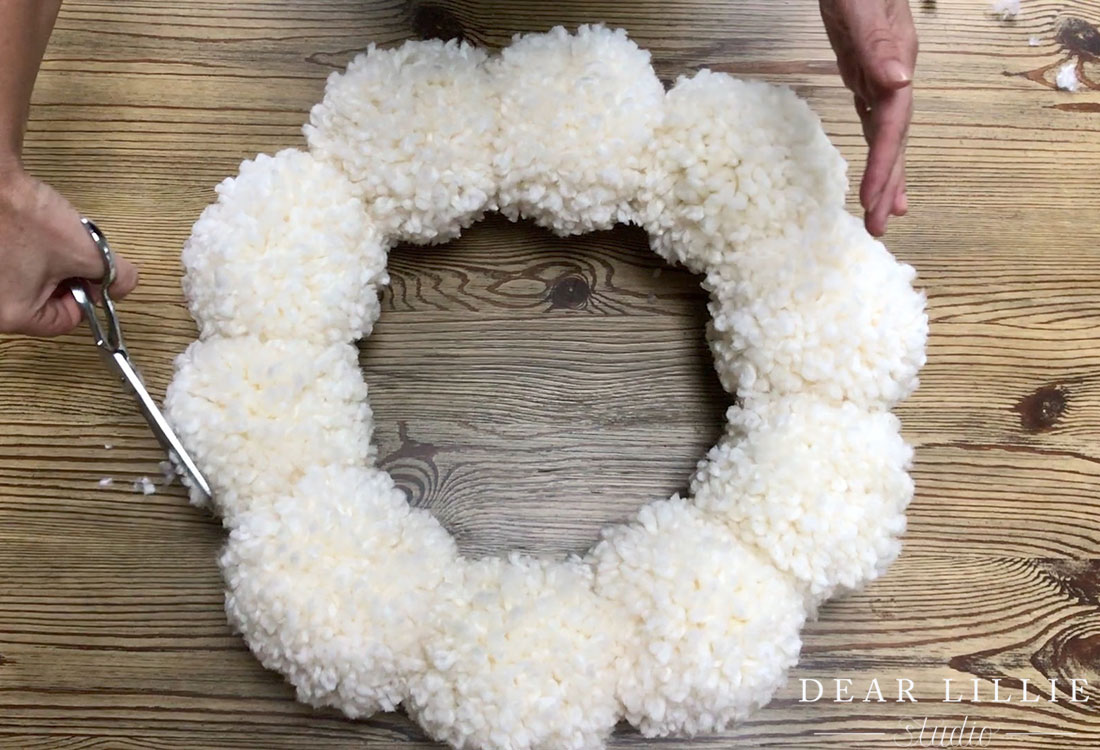
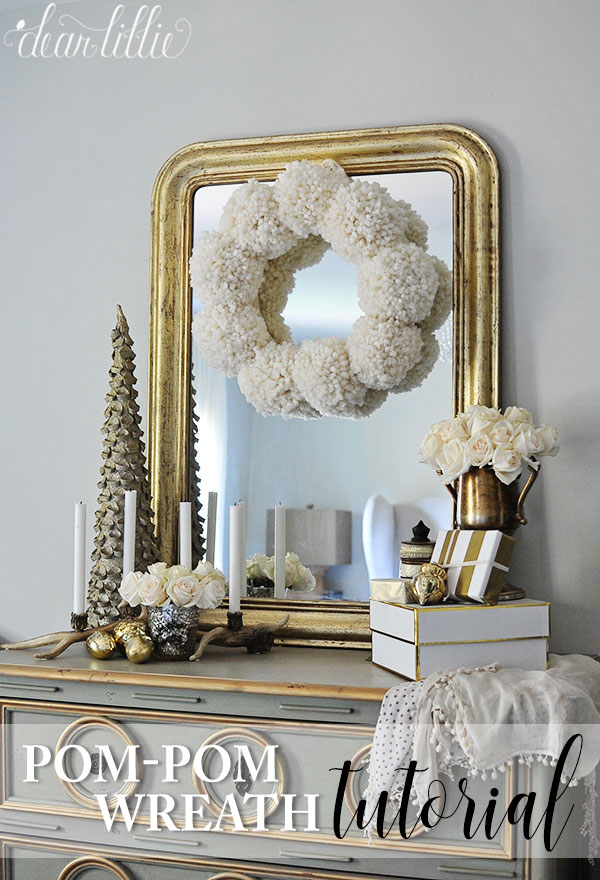
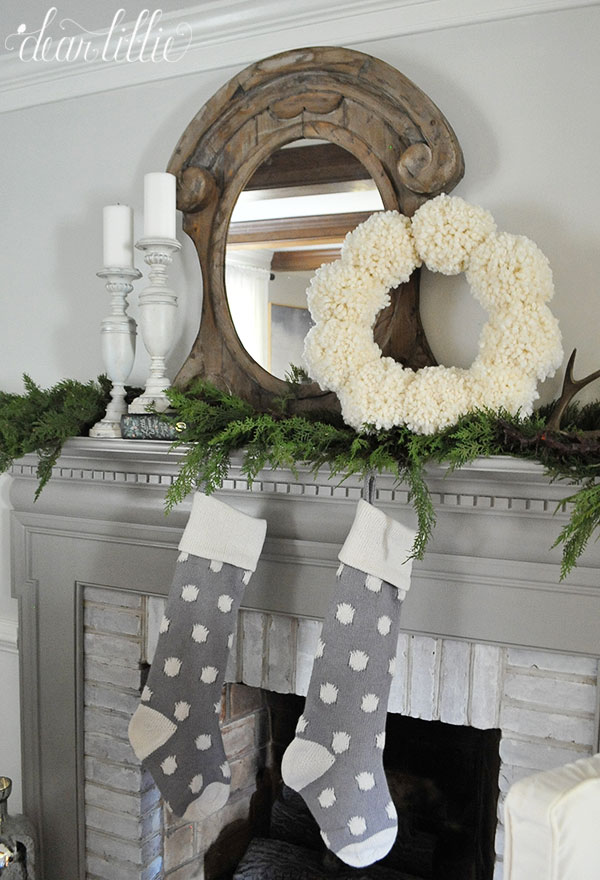
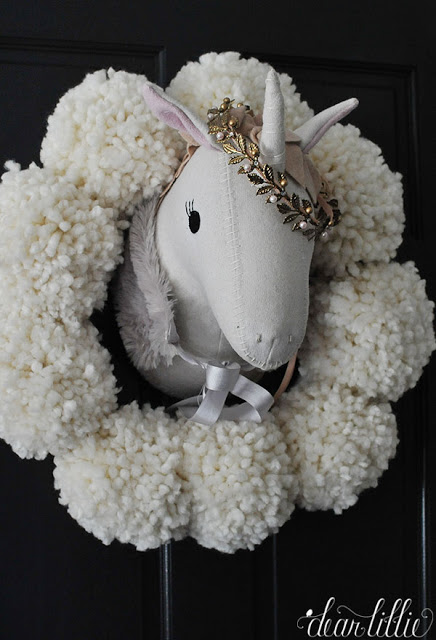
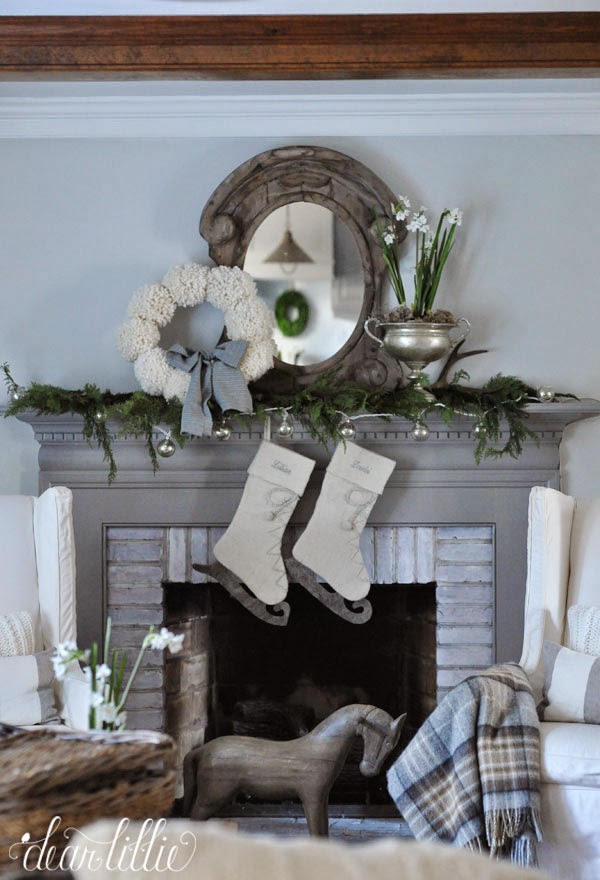
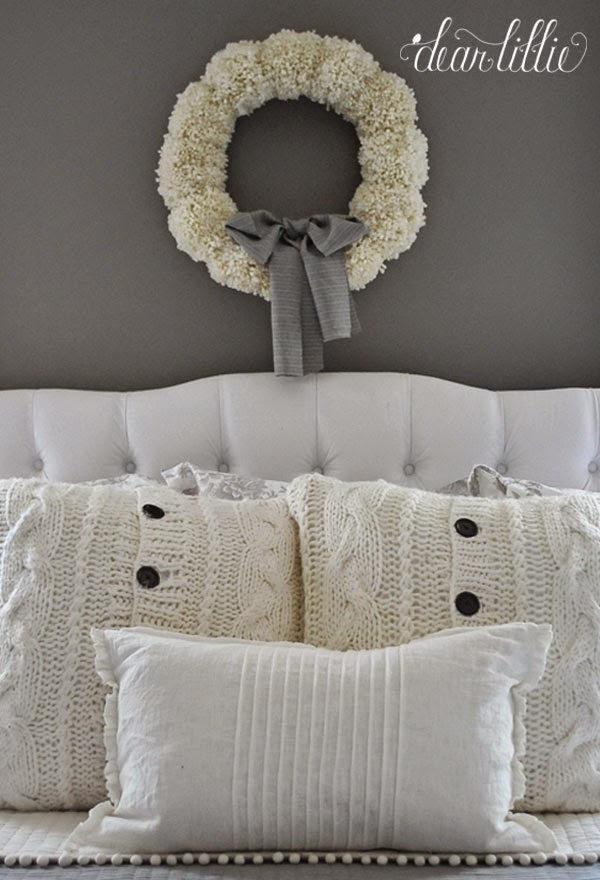
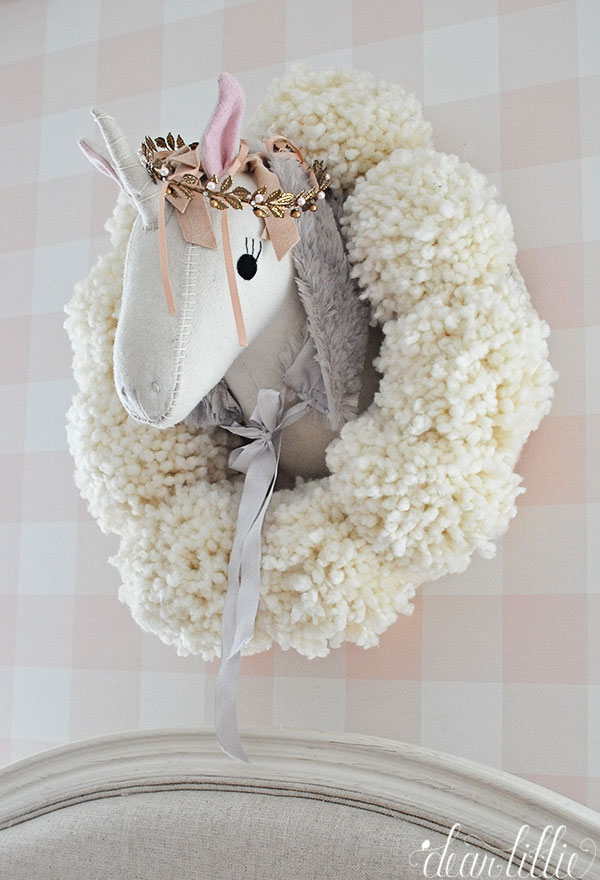
And that’s it! You now have a pom pom wreath! Here are some photos of ones we’ve made and used over the last several years. They are so much fun to make and last for years! Plus you can make them in all sorts of colorways to match your decor!


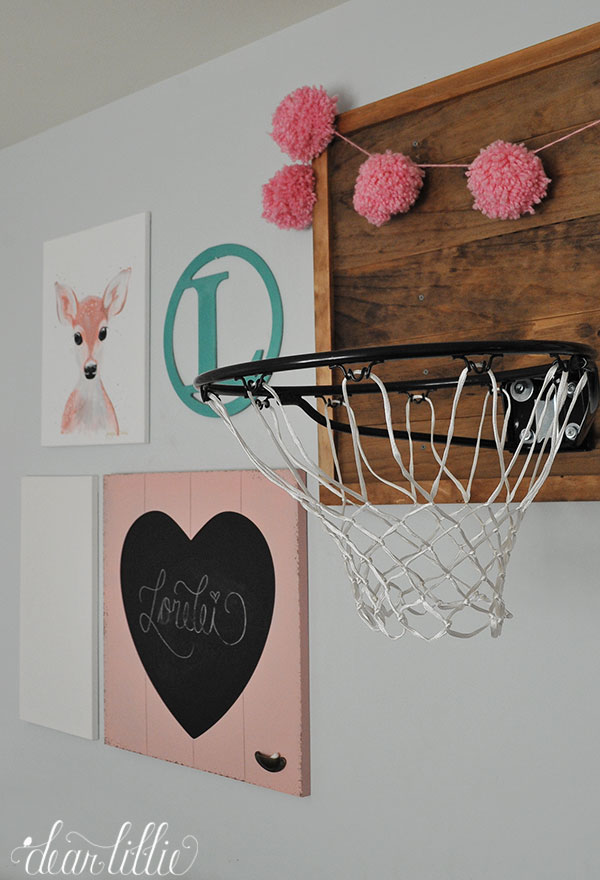
And here is one of the garlands that we made:
If you are looking for sources for most of the things in these pictures you can head on over to the “Our Spaces” page and look under “Jenni’s Home” and “Jenni’s Previous Home”. I hope you all have an amazing day!
Warmly, Jenni


Love the idea of using them to make a wreath. I grew up making them wrapping the yarn around my fingers to create pom poms for my ice skates. I made a few a couple years ago to put on my girls’ old skates that we use to decorate with at Christmastime.