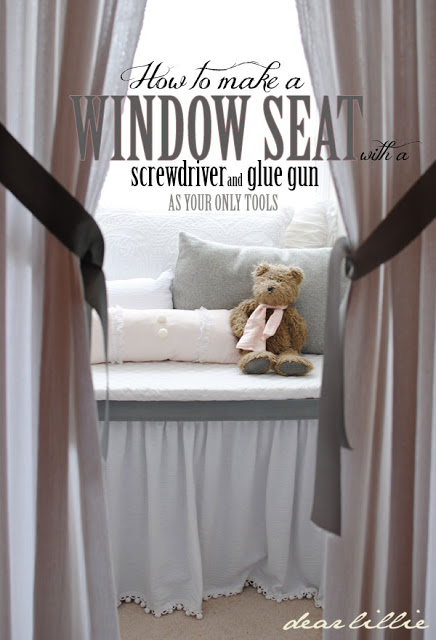
Back when I was pregnant with Lillie and before I even knew what a blog was I decided to build a little window seat in the nook area of what was going to be Lillie’s nursery. It has held up pretty well for almost four years now but a couple of weeks ago one the brackets started to get a little loose. When I went in to fix it I decided to pull the whole seat apart and take step by step photos of how I made it. These days, if I wanted to do a project like this I probably would have searched on Pinterest and some blogs for an idea of how to make a window seat, but back then I just kind of made it up as I went (actually, I suppose I still do that alot now too). I didn’t have any power tools so I knew that it would have to be quite easy. I also wanted to make it so that we could use the underneath part for storage while Lillie was a baby and I hoped that eventually that area underneath would turn into a little “fort” or “secret hideout” for her once she was older. Well, I can’t tell you how much time she spends under there now! And Lola loves crawling under there too. And pretty much everyone that has entered our house at some point gets stuck crawling under there and playing. We had some of the basketball players over last week and after they left Lillie was quite dismayed when she realized that she had forgotten to see if any of them could fit under there! (Although, it is roomier than you would think, I am going to go ahead and pretty confidently guess that they couldn’t!)

So, here is how you start.
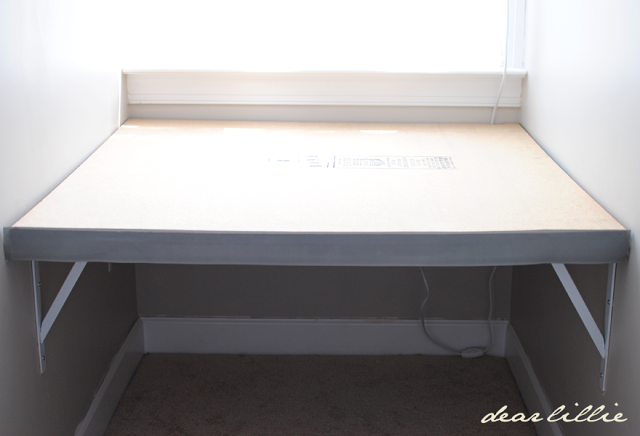
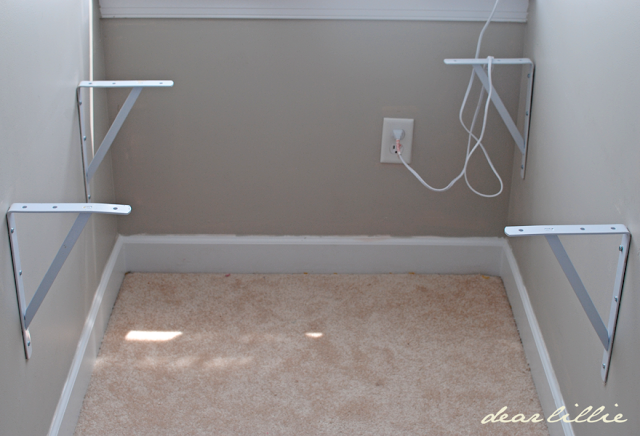
1). Screw four of these brackets into the wall. Each bracket required three screws and I used very large screws with wall anchors. Make sure they are all at the same height.
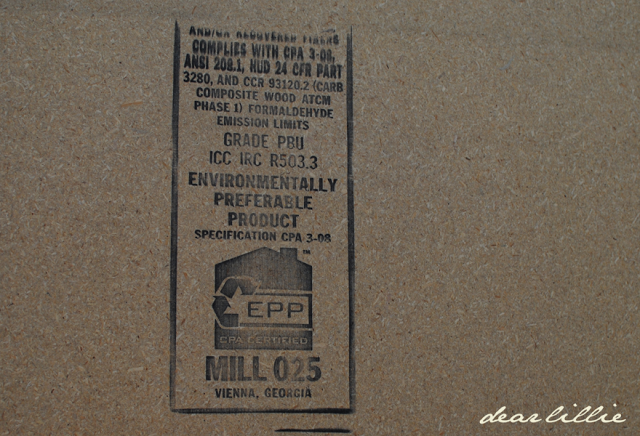
2). Now get a piece of wood or MDF that is nice and sturdy. I purchased this piece below at Lowe’s where they will cut it to the exact size you need for free.
3). Now just plop that wood into place on top of the brackets and use a glue gun to attach some ribbon or trim to the edge. I used a grosgrain ribbon. (Or you can use a piece of wood trim, which is what I used originally but when Lillie was learning to pull herself up she repeatedly pulled it off so I gave up and just ended up glue gunning a ribbon on temporarily and then never got around to switching it, and at this point I doubt I ever will.) =)
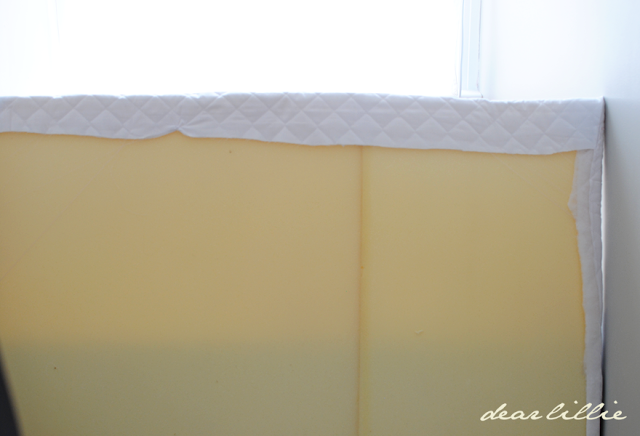
4). Next purchase a big piece of foam. I wish I had gotten a thicker piece but I went the super cheap route and got one that has driven me crazy ever since because of how thin it is. The piece I purchased didn’t come wide enough so I used a glue gun to attach two pieces to make it the right size. It’s been four years since I did this, but I think I just used a large kitchen knife to cut the foam. Then wrap your foam in the fabric you want to use. Again, I was cutting costs and bought just barely enough to fit around my foam. If I were doing it over I would recommend getting more fabric to cover the whole thing!
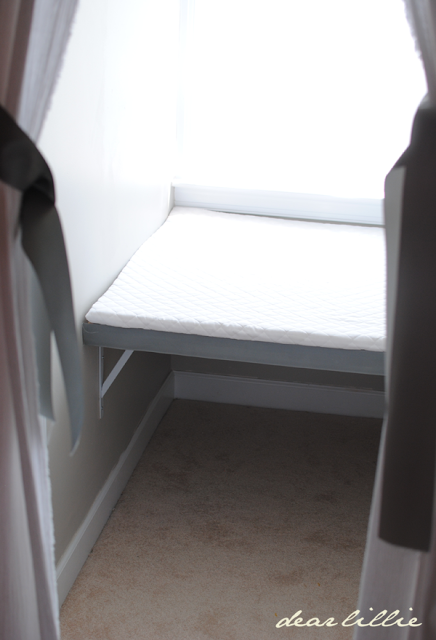
5). Next just set the cushion on top of your piece of wood.
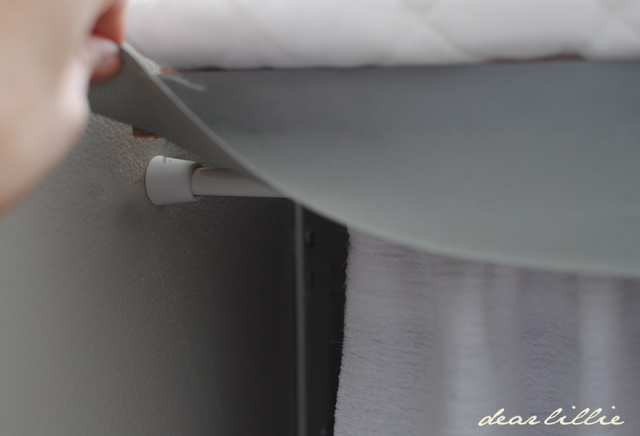
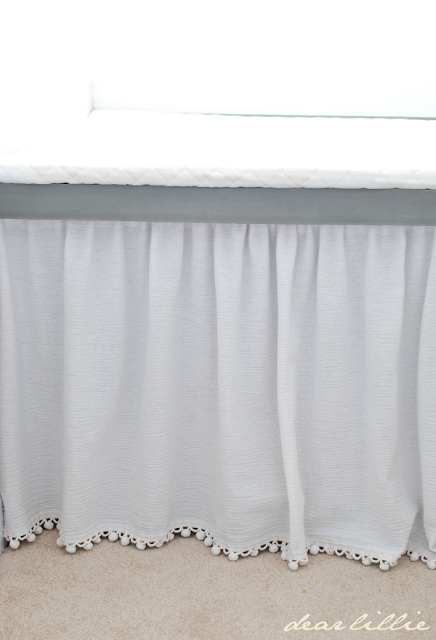
6). Now it’s time for the skirt. Just use a simple tension rod and place it directly below the piece of wood and place it high enough that the ribbon hangs down over it and hides it.
7). Then just make a little curtain. You can use a glue gun to flip
it over so it makes a little pocket to slide onto the tension rod and
glue some trim on the bottom. Or you can sew it. Either was it’s a
pretty quick project since it’s just a basic straight line either with
glue or thread.
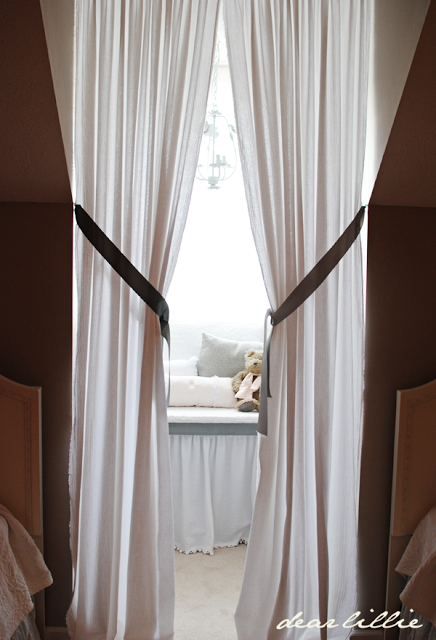
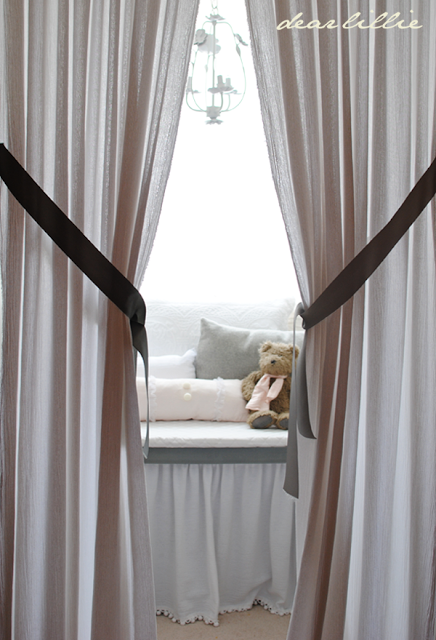
Now just throw some pillows on and there you have it!
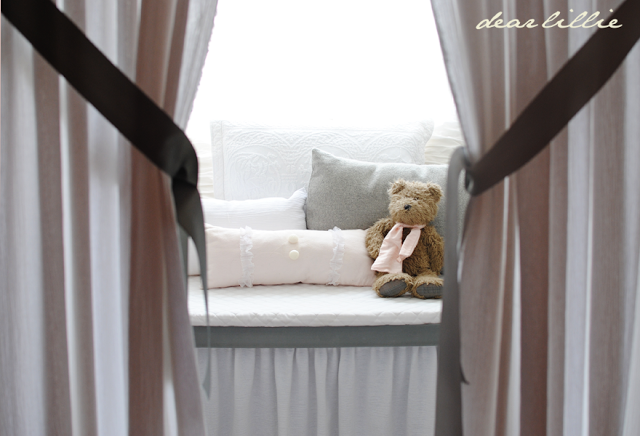
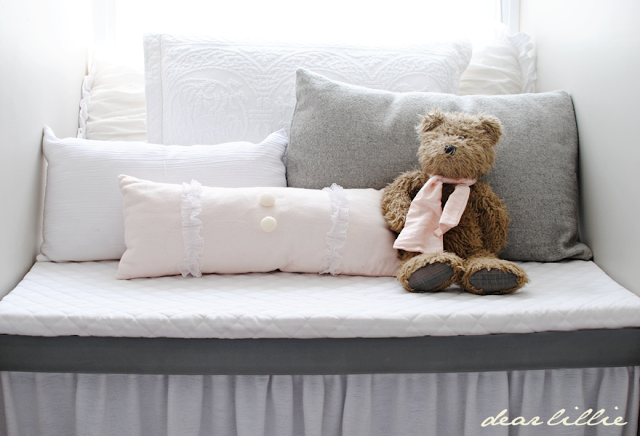
Lillie was not too thrilled when I asked her to pop her head out so I could snap a picture of her and Chloe playing in their little hideout.
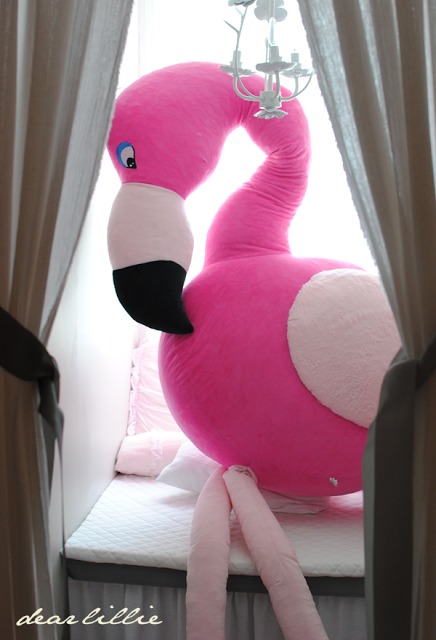
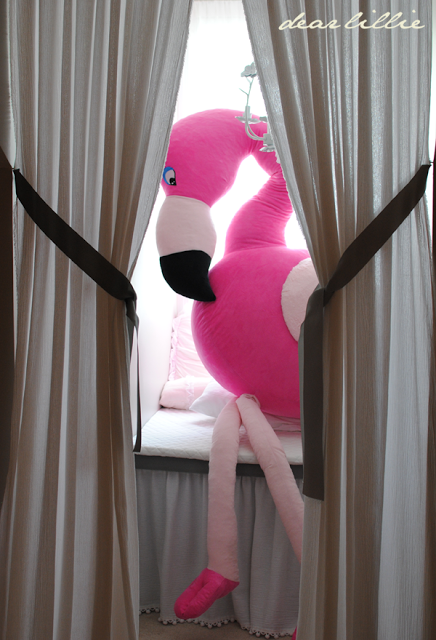
Unfortunately, the nook has not been looking quite as pretty lately. It has become the home of Lillie’s lovely flamingo. We have gotten asked a few times where we were going to put it. Well, after a couple of days taking over one of the twin beds in Lillie’s room we moved it over the window seat and I am afraid that’s probably where it’s going to stay for a while…
I hope you all are having a fabulous Monday!








I love her that she has her own little nook! Where did you get the cute little chandelier that hangs above it?
It was from Target. I got it about four years ago, though, so I am not sure if they still carry it.
Great looking window seat and that is one big flamingo.
That is gorgeous! I love the fabrics you used. Thanks for the tutorial- the brackets are genius!
Great job! Perfect for beginner decorators and so pretty! A hideaway and a seat…two for the price of one!
Beautiful and very creative! That darn flamingo is still cracking me up!
This has your "look"! Soft, neutral with great details and style! What a pretty little hide-away for a pretty little girl!
So simple and yet so beautiful..Great tutorial..
So awesome. You never cease to amaze me.
Oh no…the flamingo is still there….lol…too funny how it takes up all the room…and it's bright as can be too 🙂 You made the bench look so easy, I wish I had a place somewhere in my house to put a window seat.
Great tutorial on the bench.
That is genius and so stinking easy!!! You know, you could always tell her the flamingo prefers to hang out in the hide-out 😉 Too bad I don't have a hide out for the monster sized bear and dog my husband brought home :/
What an easy project. Oh, I love the photos with the flamingo…LOL!! It's so huge and pink! Maybe you should see if you could squish it into the hideout 😉
Bwahahaha… that flamingo cracks me up.
Yeah…that flamingo is priceless! Lol. I did a painting of a flamingo in high school art class and people started giving me everything flamingo…so much so that my first apartments decor was predominantly flamingo. Nope…can't go back! Love the nook and how simple it was to create! Your photos are amazing!
Darling and easy (you were right!). Can the bench support the weight of an adult or is it strictly for children? Not that the flamingo looks heavy or anything… 🙂
I have actually spent quite a bit of time sitting on it. And when I am sitting on it so are Lillie and Lola so it does hold a decent amount of weight. I wouldn't ever dare sit on it, though, if Lillie and Lola were underneath just in case anything ever happened, but otherwise I would say yes, it can support the weight of an adult as long as you climb onto it carefully.
What a wonderful window seat! (and a great tutorial too) You did a fantastic job, wish I had an area like that to make one in, I'd start tomorrow! And I loved the expression on your little girl's face and that huge pink flamingo…lol..priceless!
Jenni those are my kind of tools and you are my kind of girl:). It looks great.how could your girls not love it?
Hello
Wow, what a wonderful Blog with great Ideas!
Wish a nice day
Nicole(ina)
Beautiful pictures made super fun and definitely say a nice playground for the children … hahaah nice week dear greeting rosita
The flamingo picture literally made me laugh out loud! I cringe when my little guys want a toy that I can't place in an inconspicuous spot 😉
LOL love how the flamingo match… very funny made me laugh a lot with the flamingo view…..
I love this tutorial! That little nook is just so darn pretty! The idea of using the tension rod for the skirt is brilliant. I love just about any home project that doesn't involve using power tools, lol. I was curious whether the brackets held the weight of an adult, or just your little ones? Thanks for sharing! ~Kerri, A Pop of Pretty
Thanks, Kerri! I have actually spent quite a bit of time sitting on it. And when I am sitting on it so are Lillie and Lola so it does hold a decent amount of weight. I wouldn't ever dare sit on it, though, if Lillie and Lola were underneath just in case anything ever happened, but otherwise I would say yes, it can support the weight of an adult as long as you climb onto it carefully.
a little girls dream… i always wanted a window seat & hideout. Happy to see the Flamingo has a beautiful home. LOL! I think she needs some pearls and one of your gorgeous tutus! Thank you for the laugh! And the detailed tutorial.
love this! Now I just need a little nook like that!
What a sweet window seat!! I would have loved something like that when I was a little girl!! I love your creative problem solving. Sometimes we really do more than we need to. And here's the proof.
It's very cute how Lillie likes to invite everyone to check out her 'fort.'
Brilliant! And so beautifully styled! Although the keeping it real flamingo pics at the end might be my fave 😉
oh man I am laughing so hard~you always have such perfect posts!! and then the big bird that daddy won appears (he might be in trouble if he does it again)! Its hilarious sitting in the window seat! Oh and the window seat is genius! I made one too in my bedroom but did it the hard way.
I benefit reading this article. I demand to learn more on this topic
Now THAT'S my kind of project, easy, quick, and totally awesome! What a perfect little cubby, kids love places like that. In fact i think i'd love a place like that to crawl into and hide right about now. As far as the pink flamingo, be thankful my friend. At least it's not red, or, even worse, how about orange and black and bright green or something horrible like that! I promise you, it could definitely be worse… smile
Cindy
Nice post, are you looking an apartment. The Suites at Silver Towers offers fully Furnished Apartments New York, furnished rentals New York and Corporate Housing New York.
furnished rentals New York
This makes me wish we had a dormer window, so I could go do this right now! Great job:)
This made me giggle out loud when I saw Lillie's face. I get that look EVERY time I take a pic lately. 🙁 Fantastic tutorial! I have been jealous of that little nook since I first found your blog, and I can't believe how cleverly you put this together. Genius, as usual! 🙂
How cute! Love the idea – and the photos, too! I've always wanted a window seat, but given the fact that German houses don't really have window nooks, it probably isn't going to happen. =(
Your girls are beautiful and really lucky, as they have such a creative mummy. Your girls' bedroom is so cozy and attractive.
Love this too! We're in the process of cleaning out our attic to make a playroom & I would love to put a window seat in our back window that has a scenic view of the mountain in the distance. The only problem is that our window nook isn't that deep & we also have an old house with plaster walls that don't support much weight. Guess maybe I could use some kind of solid table that fits in there & decorate it as you did. Thanks for the inspiration!
I absolutely love this, I always wanted to have this since I was a little girl. I might do this to my little girl now 😀 her bedroom has just the space for it!
Thanks!!!!
Cami
Love it! I made a closet nook for my son using two old end tables and a foam mattress we no longer used. It's funny because he got a giant Mickey Mouse as a gift and it lives in his nook now! We really need to move it!
Really nice!! Just have a few questions though:
– If you are making a really long window seat (around 6 feet) how would you support the bottom? Could you use some brackets on the back wall to? Or would it be no problem and it won't break or anything?
– Where did you buy the brackets to support the wood from?
– And how much did everything cost to make?
Sorry for asking so many questions, just curious since I'm trying to plan to make a window seat and it's length is pretty long.
Hi there! I would definitely think you would need some sort of support or leg in the front middle with a window seat of that length, but we are far from experts so I don't know exactly how that would be done (we tend to just make things up as we go along when it comes to building projects). I believe we bought the brackets at Lowe's, but it was a few years back so I have no idea how much everything cost. Sorry!
Thanks anyways! The window seat you came up with was really easy to do instead of building a frame of one with wood and things like that. I don't even think I could afford that much money just to make a window seat! 🙂