You could say this week’s project was a bit of a team effort, as I (Jason) had a lot of help from Jamie and her husband Josh! Jamie had been wanting a window seat to fit between the two bookshelves in their master bedroom for a little while now, and I figured it was something I could probably complete on my own without much trouble. A small sizing miscalculation and plenty of additional help later, we ended up with a window seat that I think looks like it was always built in between the shelves!
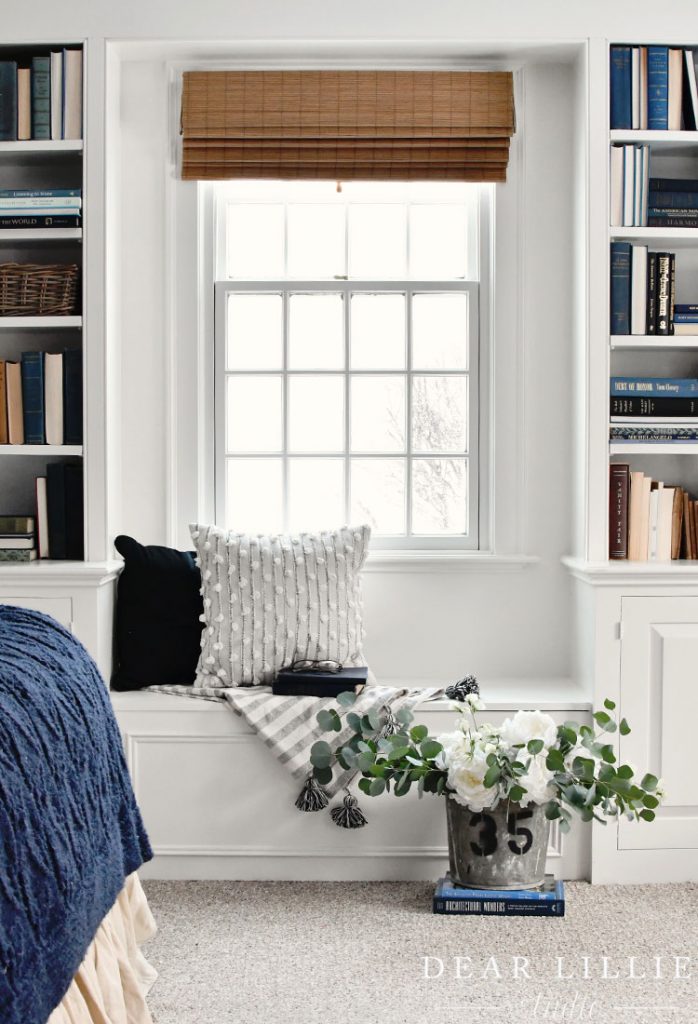
I didn’t put a tutorial together for this project, as the dimensions were pretty specific to their space and we were really kind of building it on the go without too much of a plan for how we would finish off the seat.
The part we did plan out was the framed out base of the seat. My favorite part of any woodworking project is drawing the plans in SketchUp–it’s so much easier than doing the actual building haha! This is what we came up with for the structure of the base:
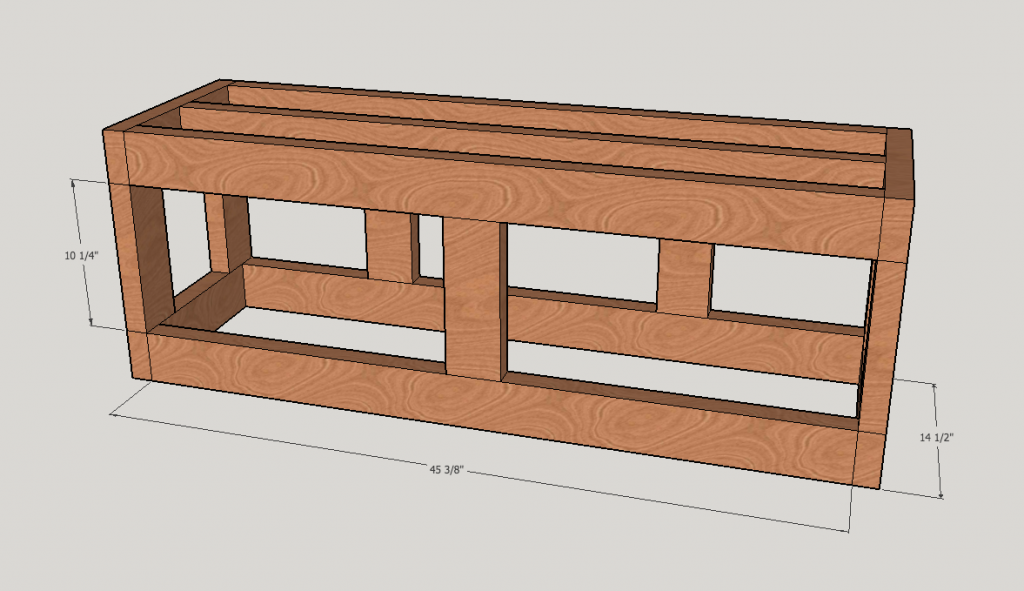
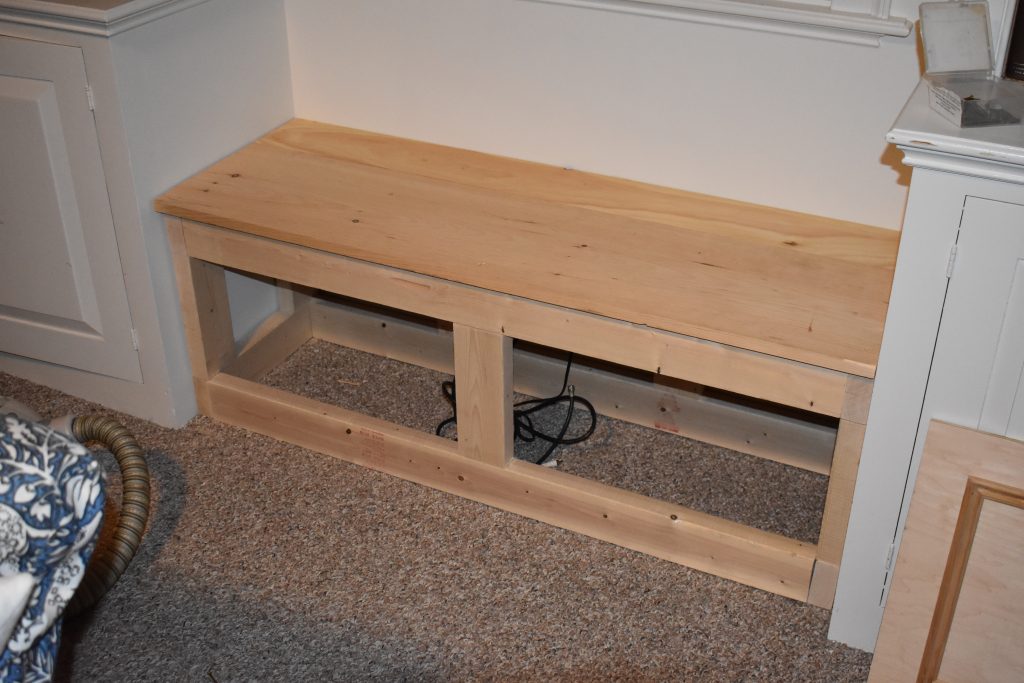
I then cut all of the 2×4 pine boards to size and screwed them in place to make a pretty heavy duty and structurally solid frame for the seat… that was about a 1/2″ too wide to fit between the two bookshelves (insert facepalm emoji here)!
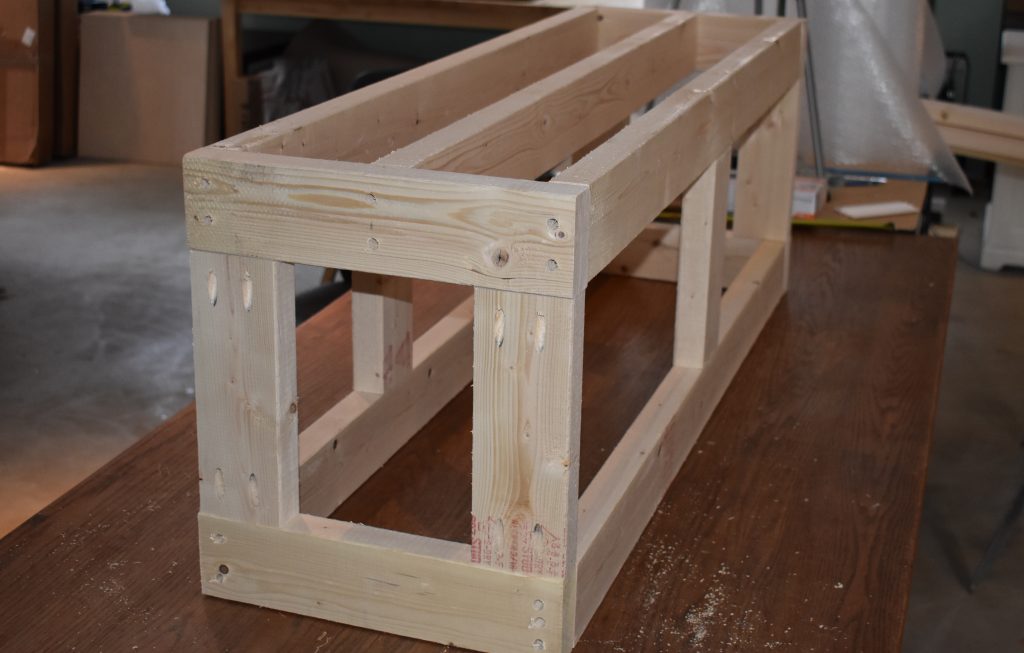
Fortunately Josh was able to help trim it down just enough with his circular saw without it causing too much of a hiccup, and we were able to set the seat frame in place between the shelves.
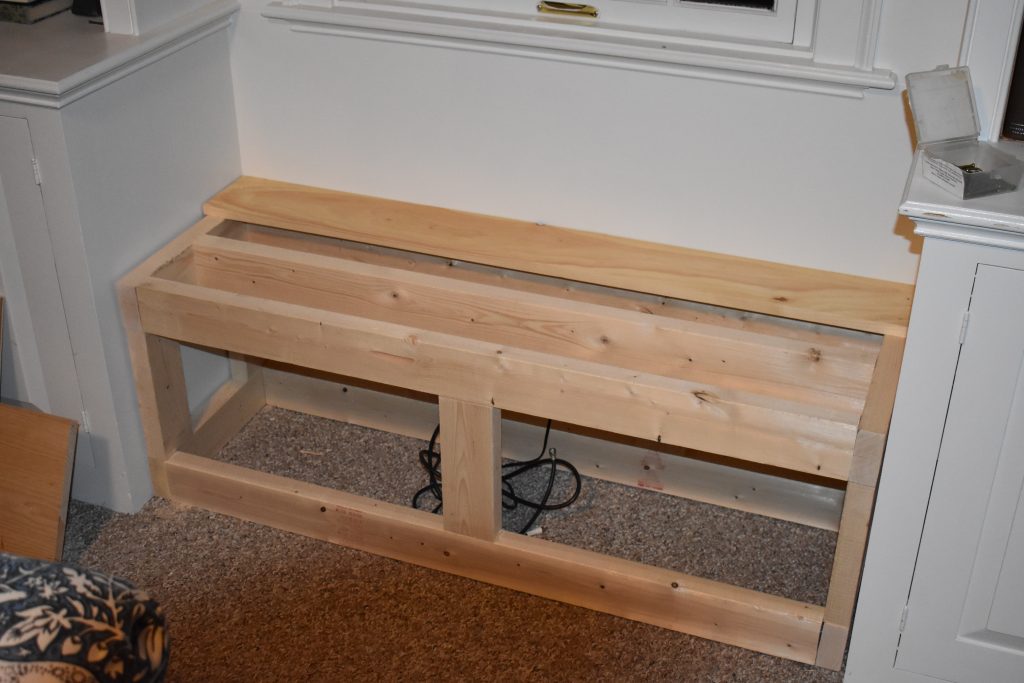
Once in place, we then screwed a 1×6″ pine board across the top (towards the back of the seat) followed by a 1×12″ board across the front portion of the top. We wanted to leave the whole seat inset a little bit from the bookshelves, and then have the top of the seat slightly overhanging the front, which you can see below.
For the front of the seat Josh cut a piece of 1/2″ plywood to size, but we wanted to give it a little bit of detail since the cabinet-type doors on the bookshelves had some detail themselves. Using some thin crown molding we cut at 45º angles, we were able to make a framed out box which we inset about 2.5″ from the edges of the front panel and brad nailed into place. We then nailed the front piece into place and Josh filled in the holes with wood filler.
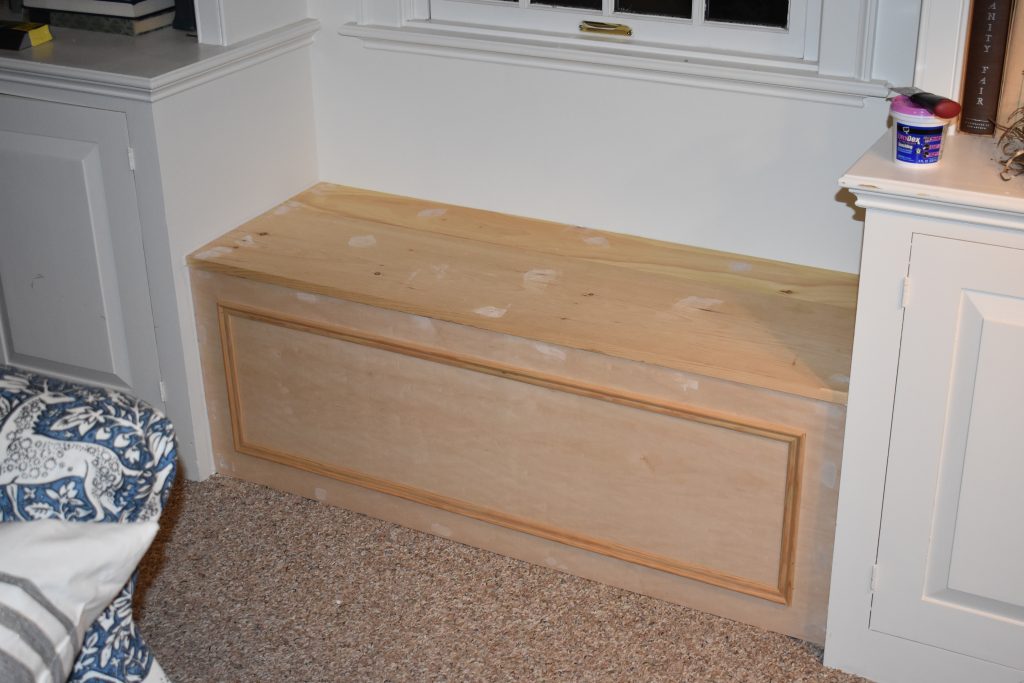
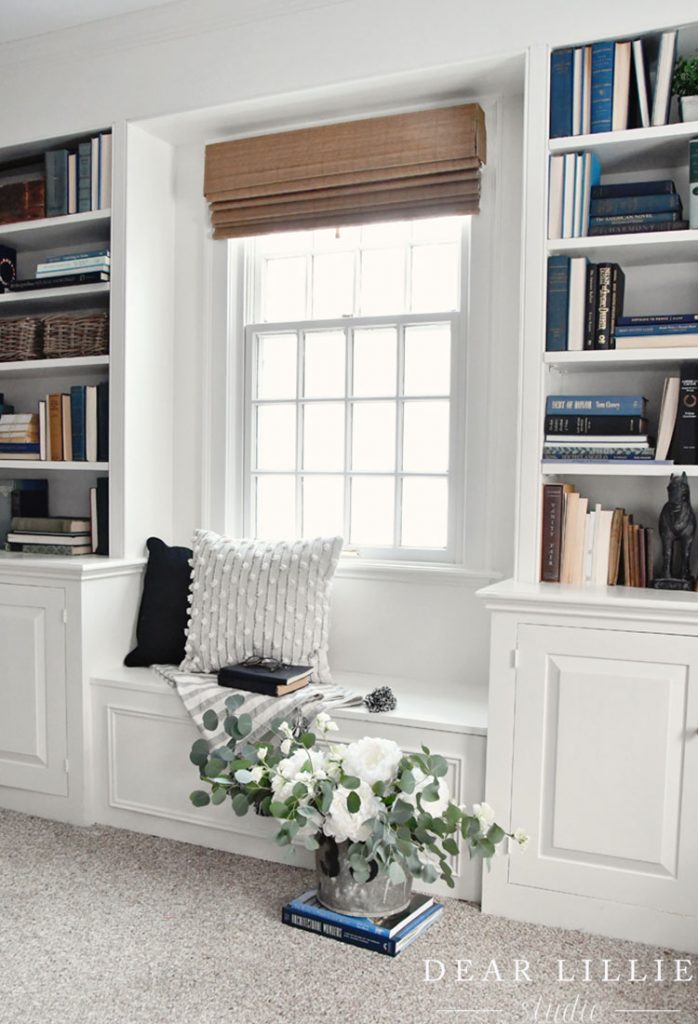
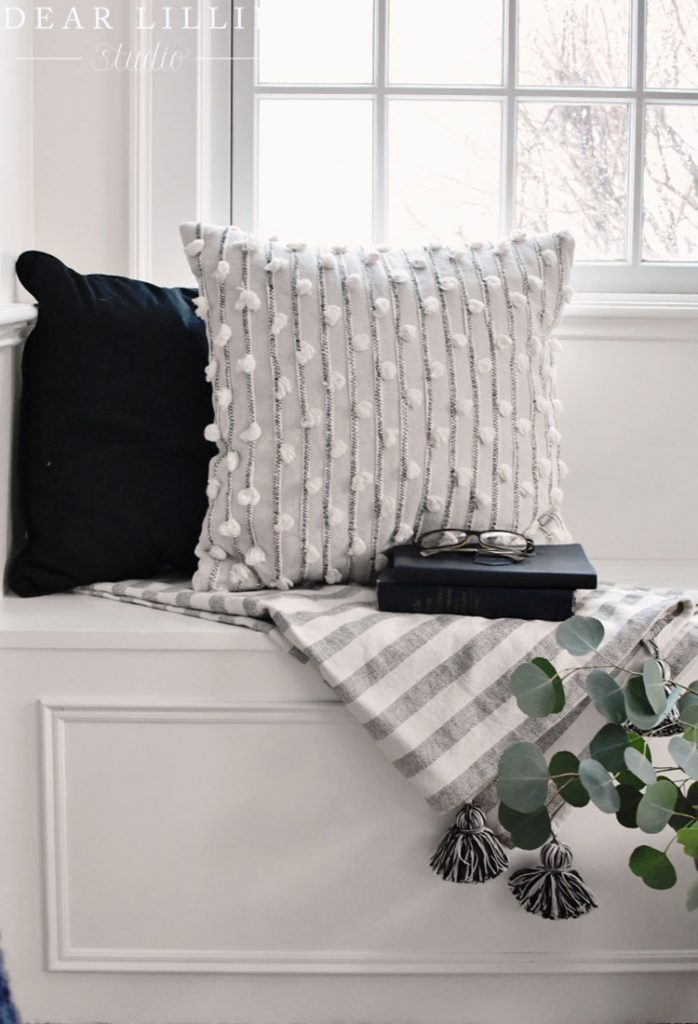
I then promptly used the excuse of having a frozen pizza I was “about to put in the oven” to make my escape, and left Jamie to paint the seat! She used the same color that they had previously used on their bookshelves (White Dove by Benjamin Moore) and a couple coats later we had completed our window seat!
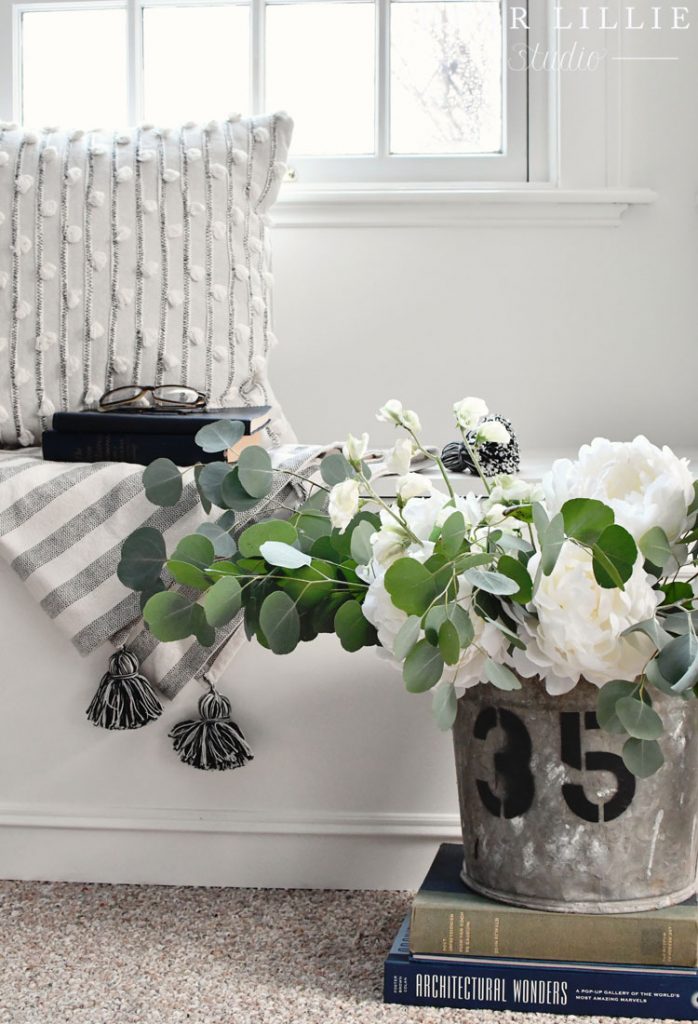
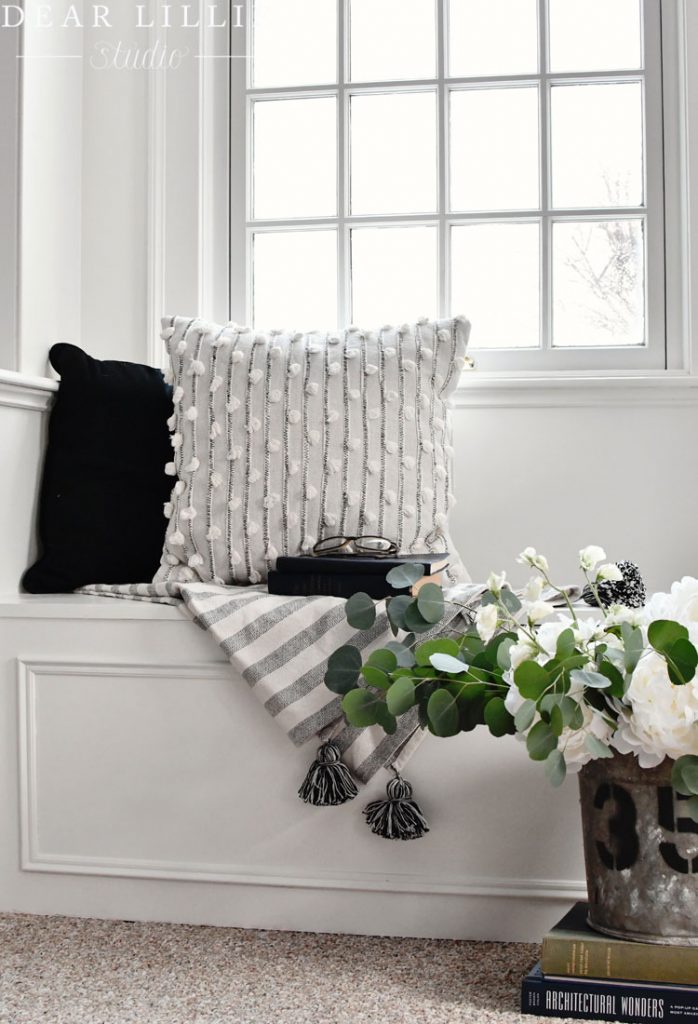
Source List:
Bucket – Secondhand
Knit Blanket – Penni Blue Knits
Bedskirt – Ballard Designs
Black Pillow – Target
Bumpy Pillow – Target
Blanket – Target
Paint – White Dove by Benjamin Moore
Little Horse – Michael’s
Blinds – American Blinds

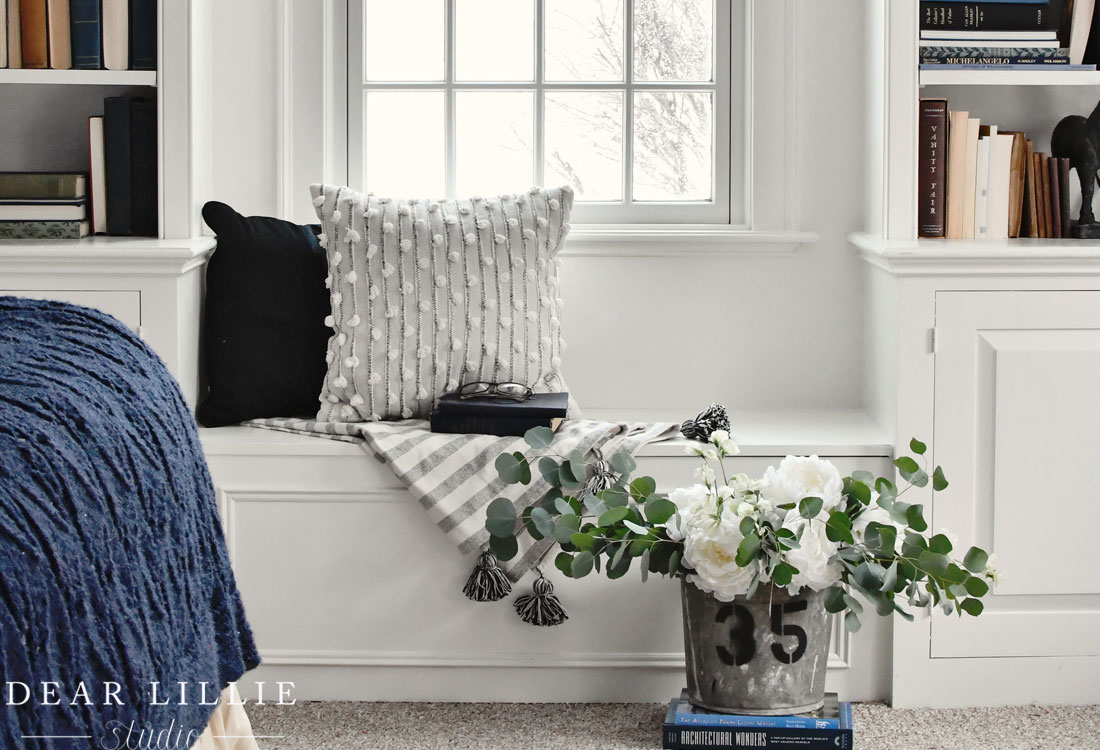


lovely space. All need is a good book and a warm cup of tea. lol
http://www.yourbeautypantry.com
Thanks!
-Jason
It looks like it’s always been there. Great addition.
Thanks, Lauren!
-Jason
Very pretty! Does the top/lid open?
Thanks, Susan! We actually thought about adding some hinges and making it a storage type seat, but ended up deciding not to. I think it would be a great spot for some extra storage though!
-Jason
Yes it would. A place for extra blankets and pillows. We always need storage!
Very nice! This is one my husband recen https://uploads.disquscdn.com/images/17750fc0ba59c4c872df73ba45b6297e77db326428a8a67b69017f45f6864534.jpg tly made for me in my office. Ours is a little more shallow as I wanted it line up with the existing bookshelves. Okay if you have a tiny little hiney… 😂
It looks great, Susan! I love the detail in front!
-Jason