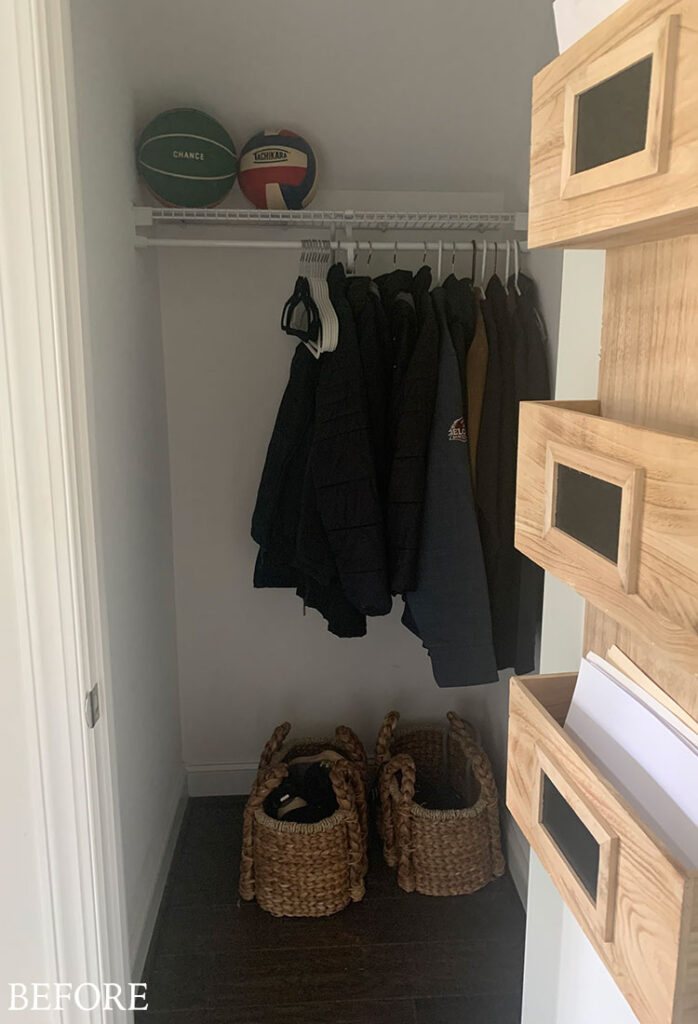
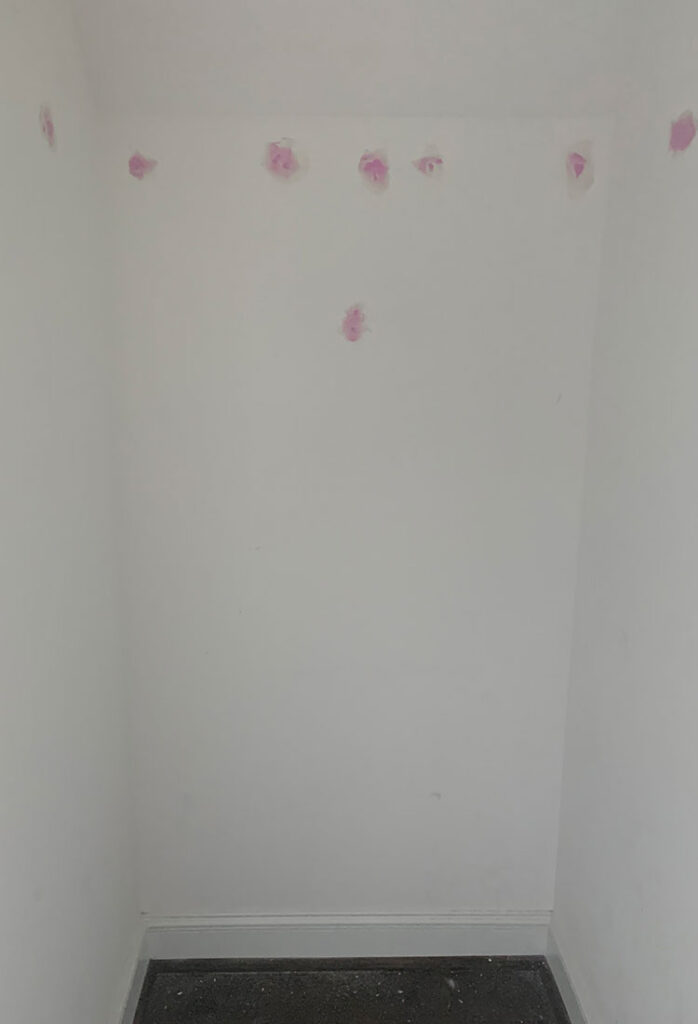
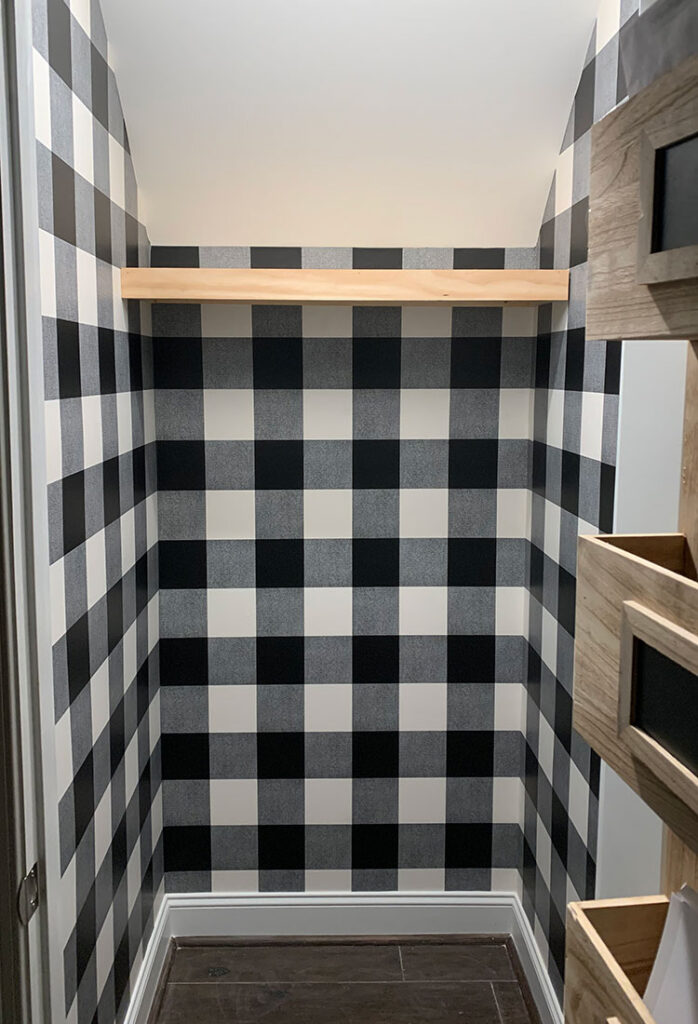
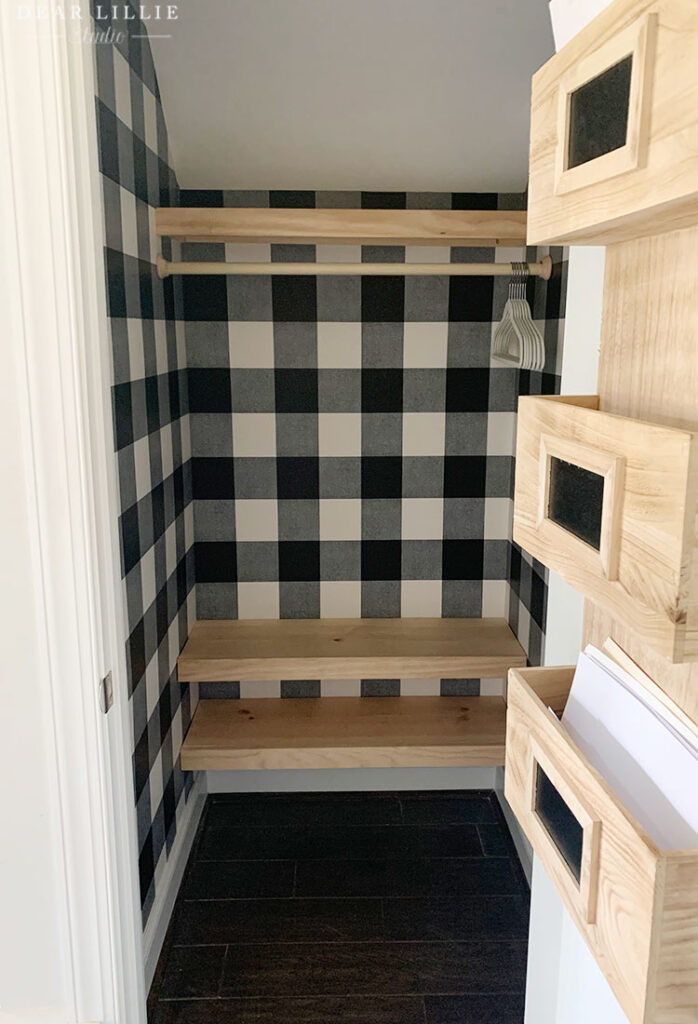
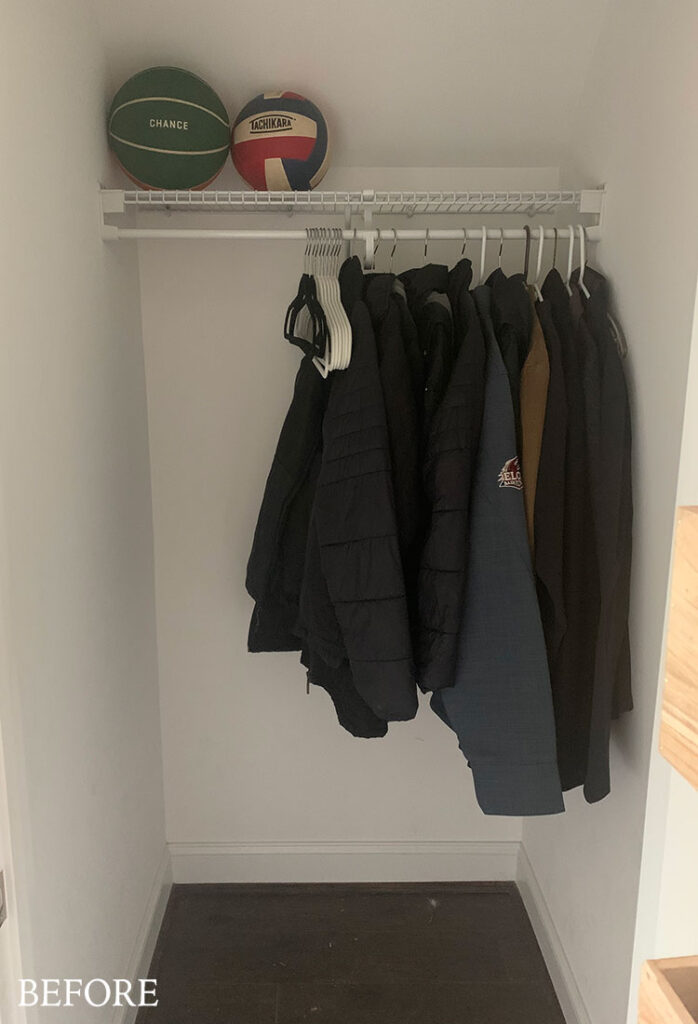
This week I tackled a really quick and easy makeover that I have wanted to do since the day we moved in. I spent about $50 or so on wood (and had some leftover) and then used 3 rolls of wallpaper that I got from Target so all in all it was a pretty inexpensive makeover and now it is so much more functional. The girls keep their backpacks in baskets in our mudroom now that we’ve made that space over and we’ve got lots of hooks in there for stuff too, so this closet was needed more for shoes, dog leashes/harnesses, and our winter coats (which we rarely wear – haha!) In fact when we went to put the coats back in we moved a few of Jon’s to our closet in our room because he hasn’t worn a couple of them in years. Here it was before. I decent size for a coat closet but with just a wire shelf and rod it the space wasn’t being fully utilized.
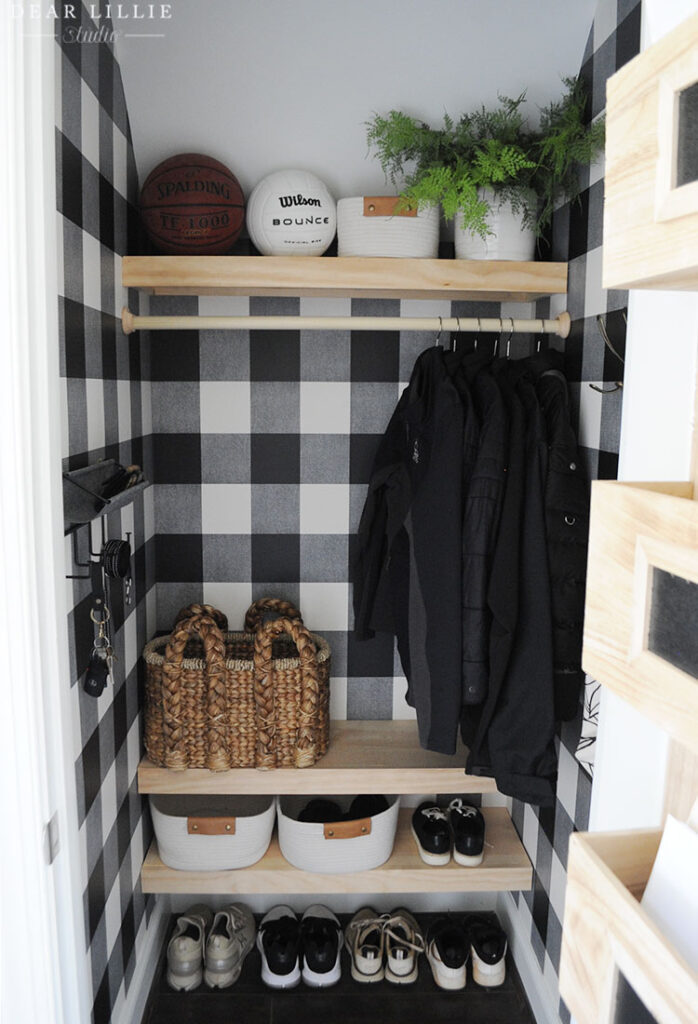
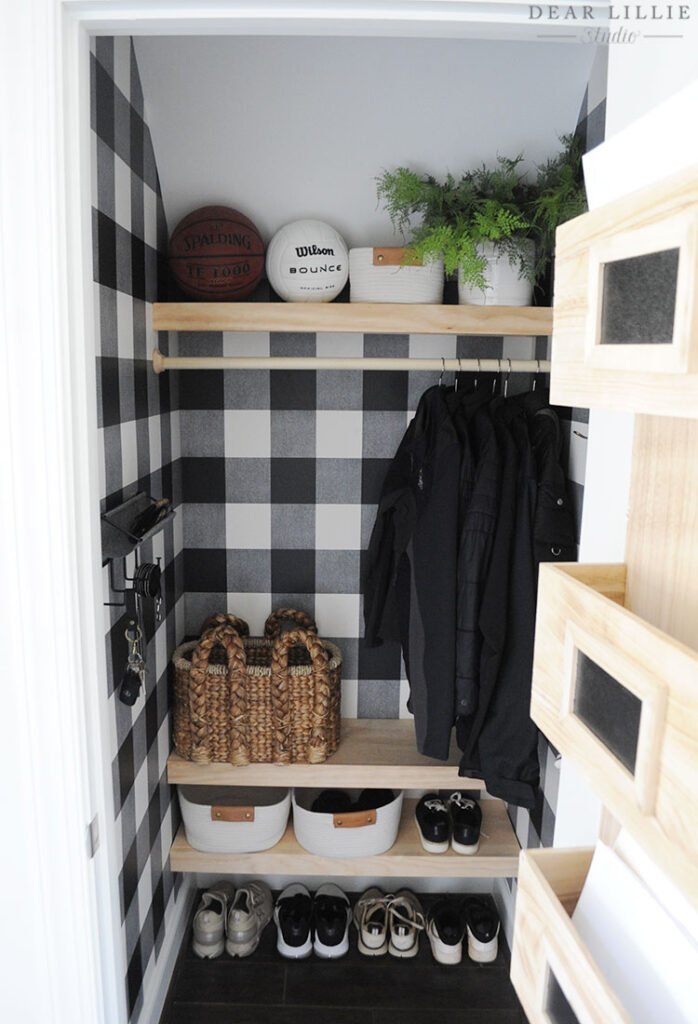
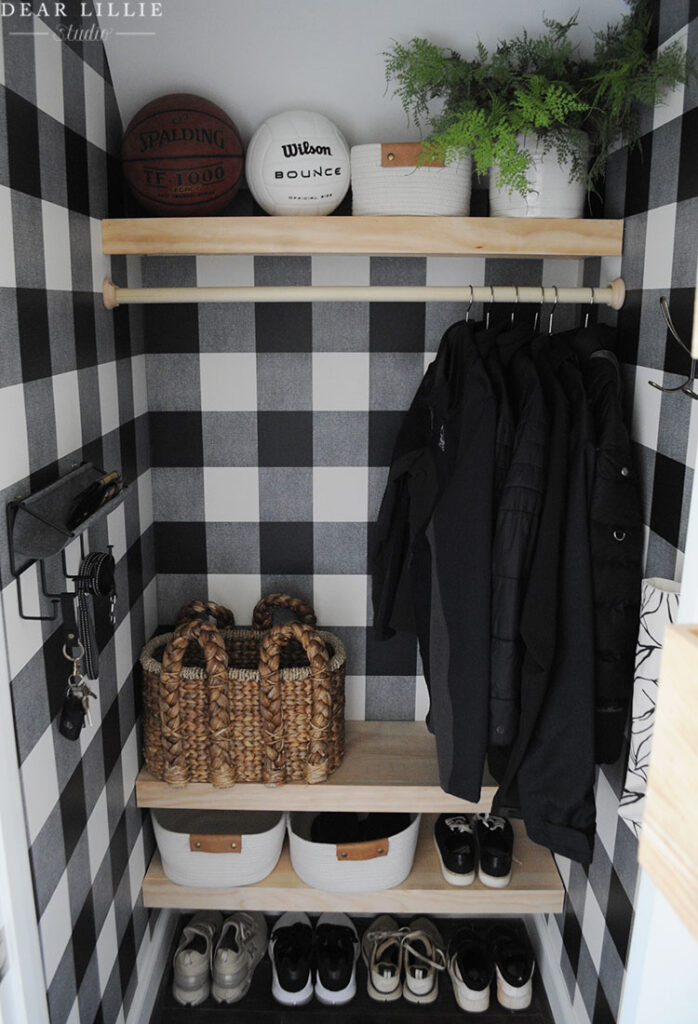
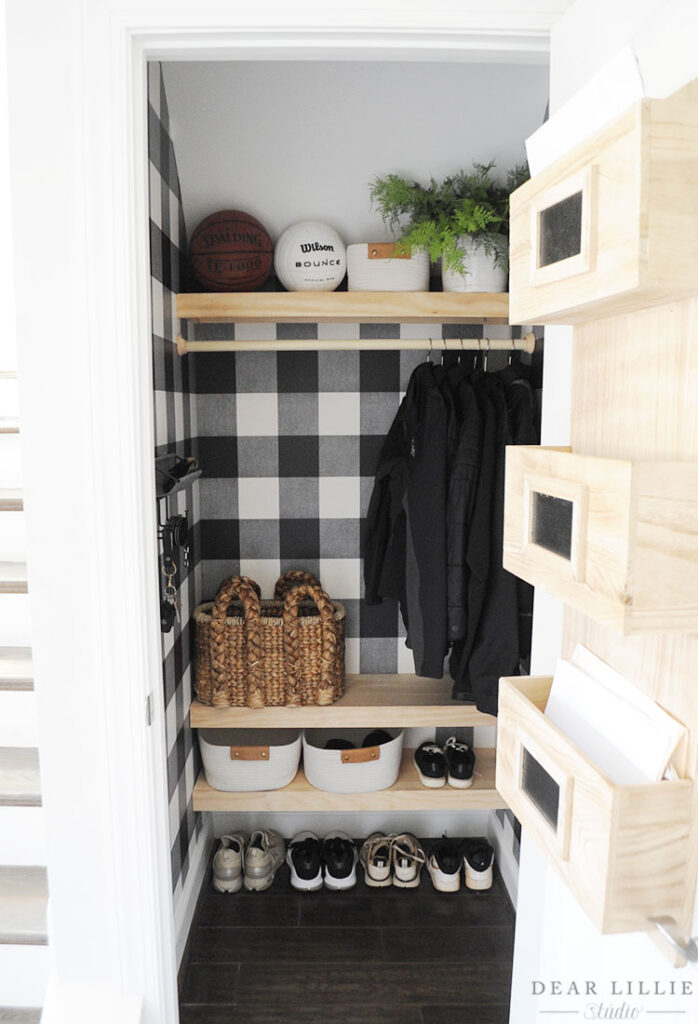
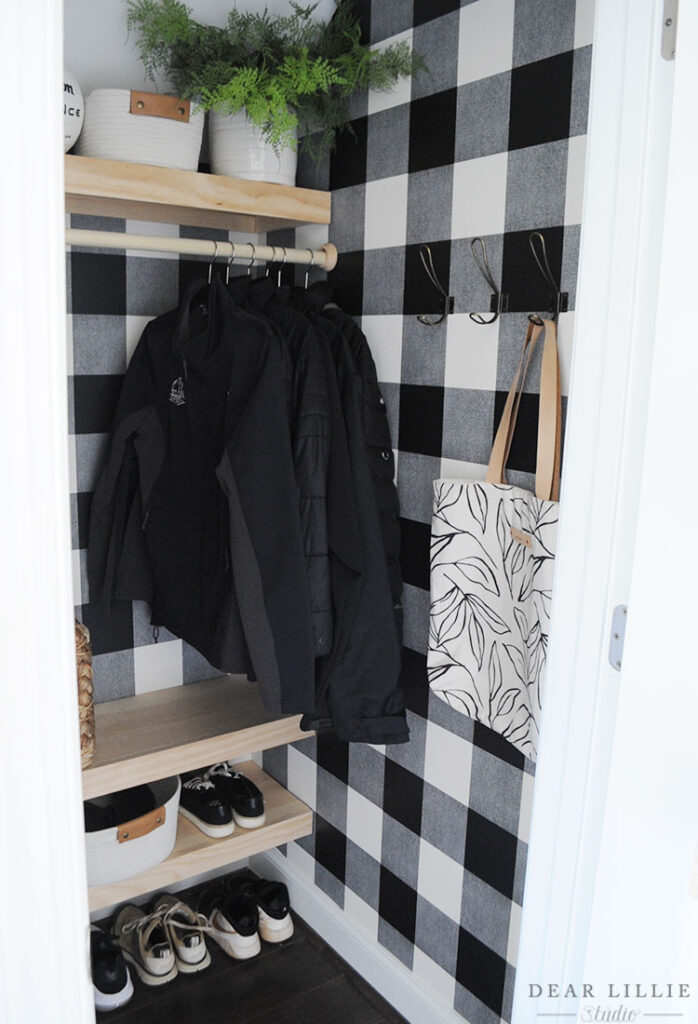
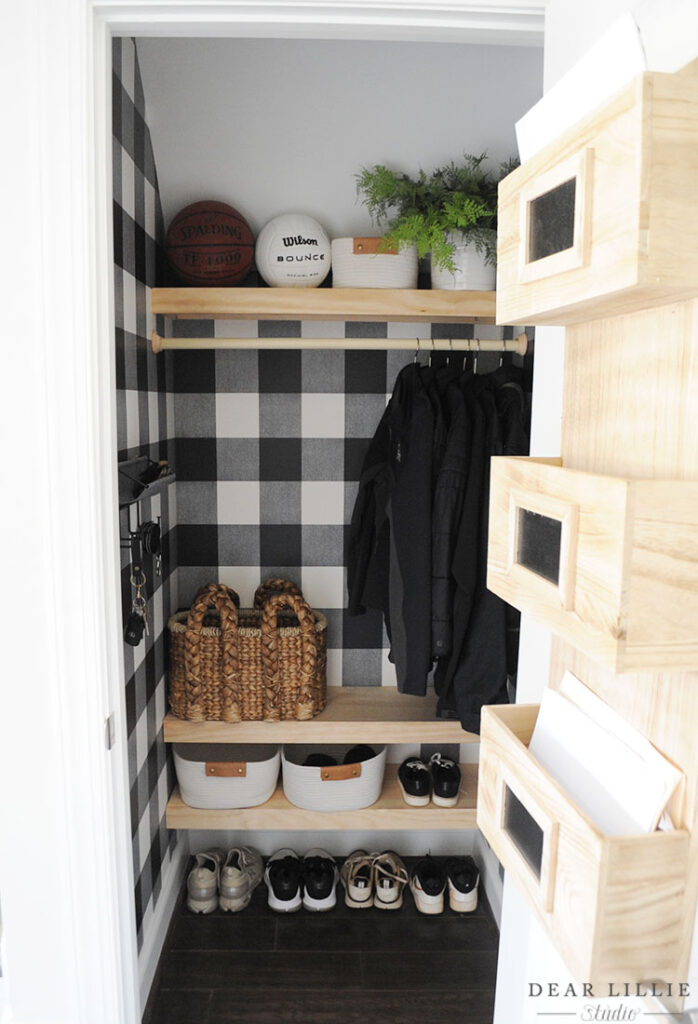
It is so much more functional now!

I started off by taking down the wire shelf and rod and then patched the walls. Once I sanded them down I was ready to wallpaper.
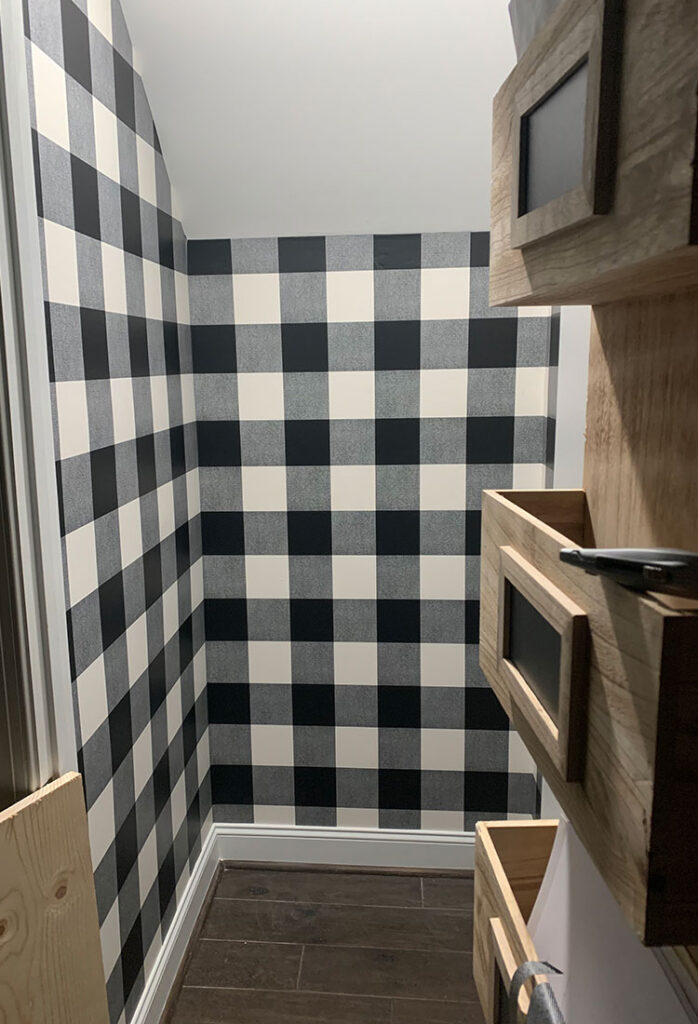
I had been deciding between this paper and this paper but then decided one day to just get it done and at that point didn’t want to wait for the paper to arrive so I went to Target to see what they had in stock. This was the only paper they had three rolls of available so I went with it! It has more of a farmhouse feel than I was going for but at least it’s still a classic pattern overall. I am kicking myself a little bit because it wasn’t the look I was going for but it’s finished and I may use one of those other wallpapers in our powder room now! I did kind of laugh though as I was putting our stuff back into the closet because if you know us in real life you know that we wear a LOT of black and therefore pretty much all of our shoes and coats ended up “matching” the closet – haha!
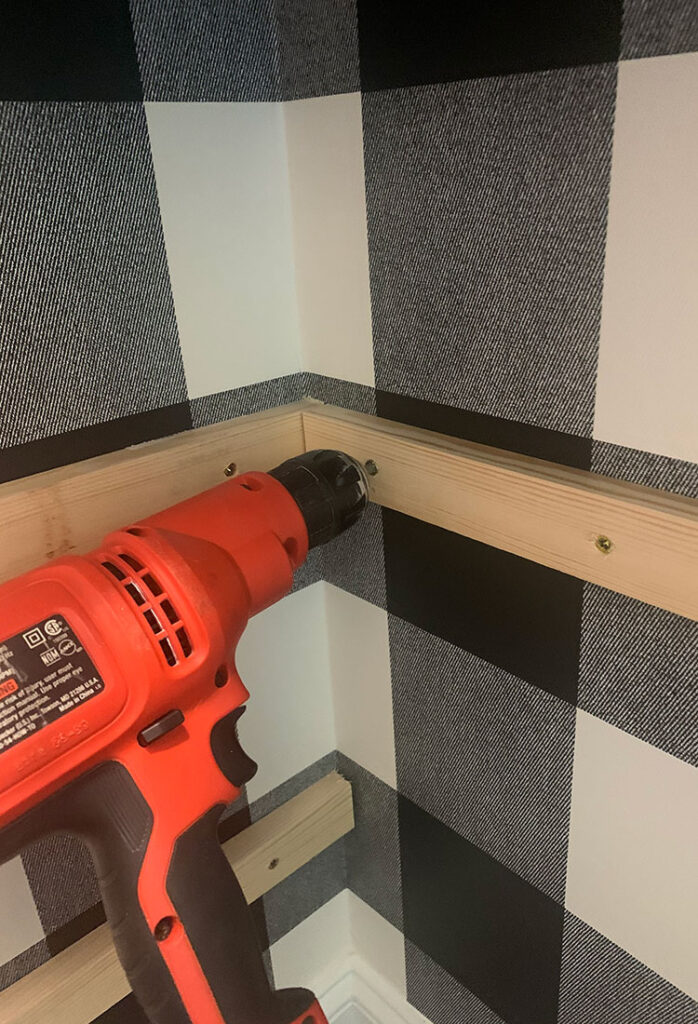
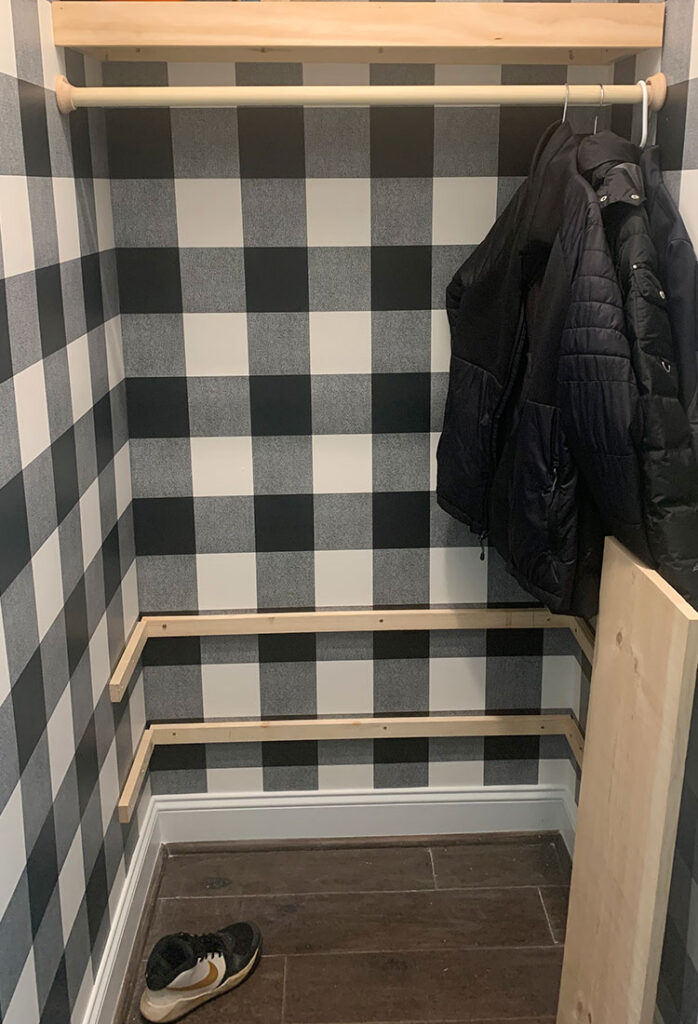
Then it was time to put up the shelves. I used really inexpensive 1 by 2’s for the bracing. Make sure you drill into the studs to it’s sturdy! This picture was from the lower shelves because I forgot to take a picture of the upper one.
Here’s the finished upper shelf – after the bracing I then added a 1 by 12 cut to the right length for our closet and set it on top of the bracing and then trimmed out the front with a 1 by 3 board.
I used a dowel and wood pole sockets to hang the rod. Again make sure you drill into the a stud for this so it can handle the weight of whatever you are hanging on the rod. And you can see the bracing is all ready to go for the lower shelves:
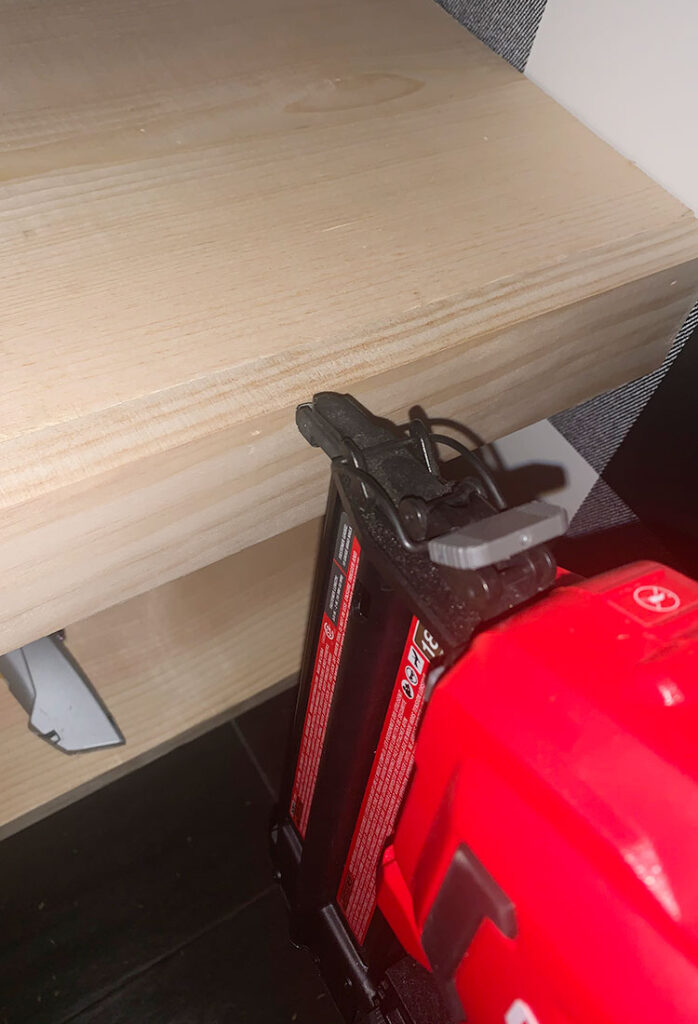
And then you lay the 1 by 12’s down on top of the bracing:
And then use a nail gun to trim out the front with a 1 by 3 so it looks more finished and like a thicker piece of wood:
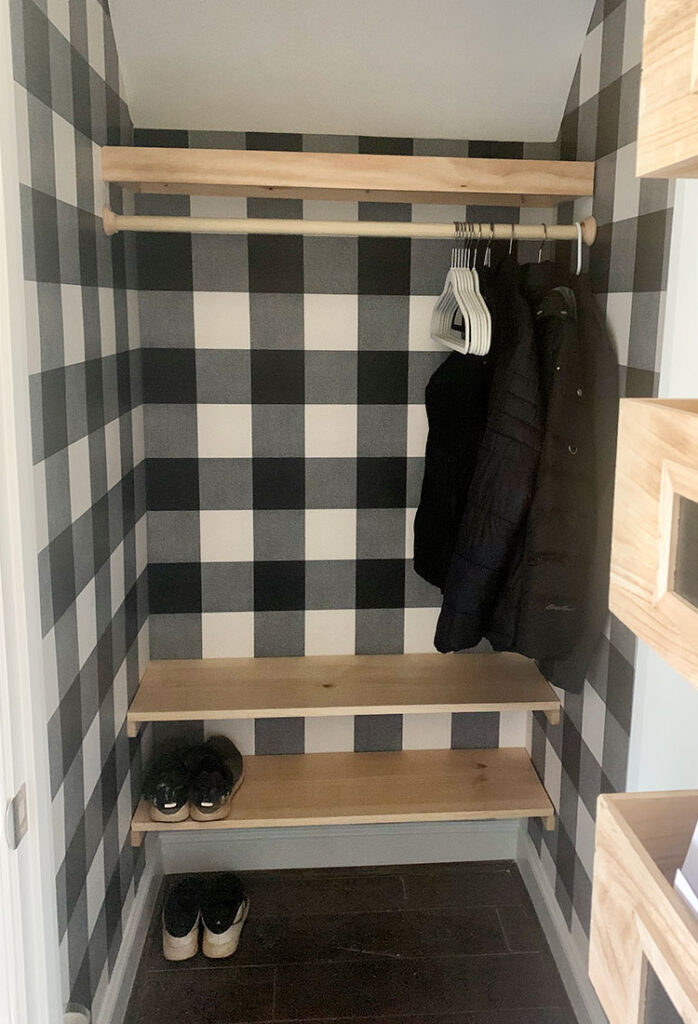
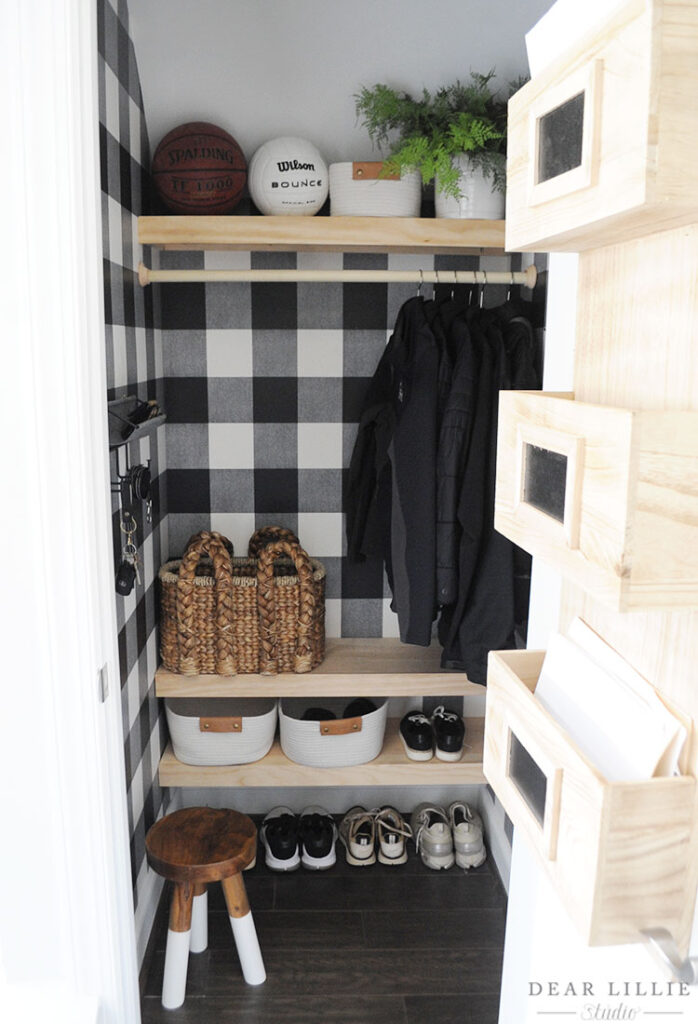
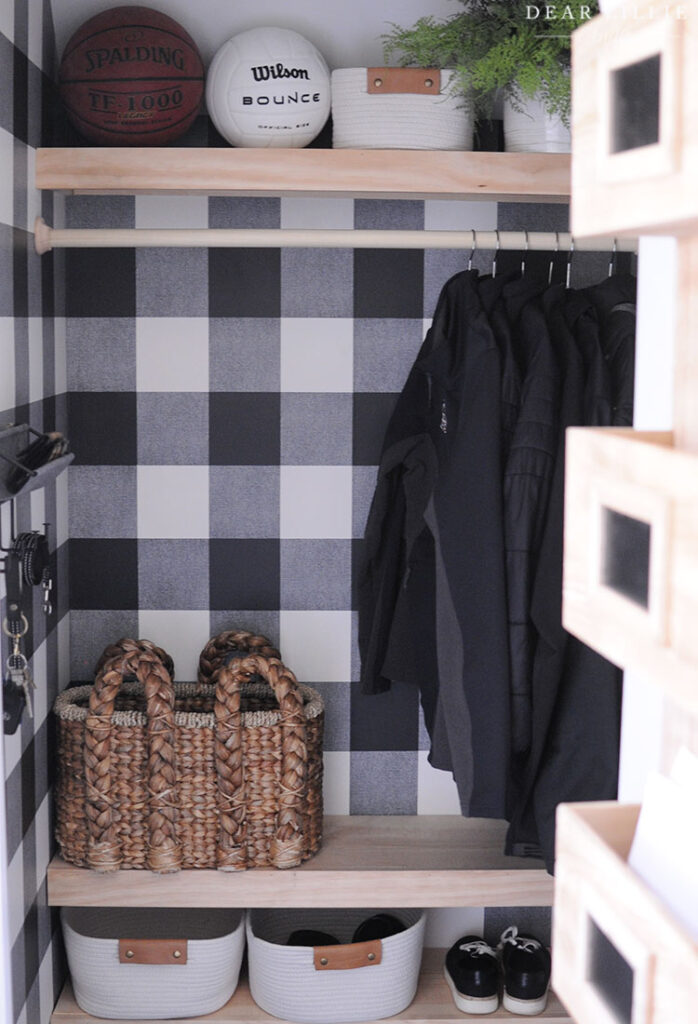
There you have it! This was a quick cell phone shot before I started putting the stuff in:
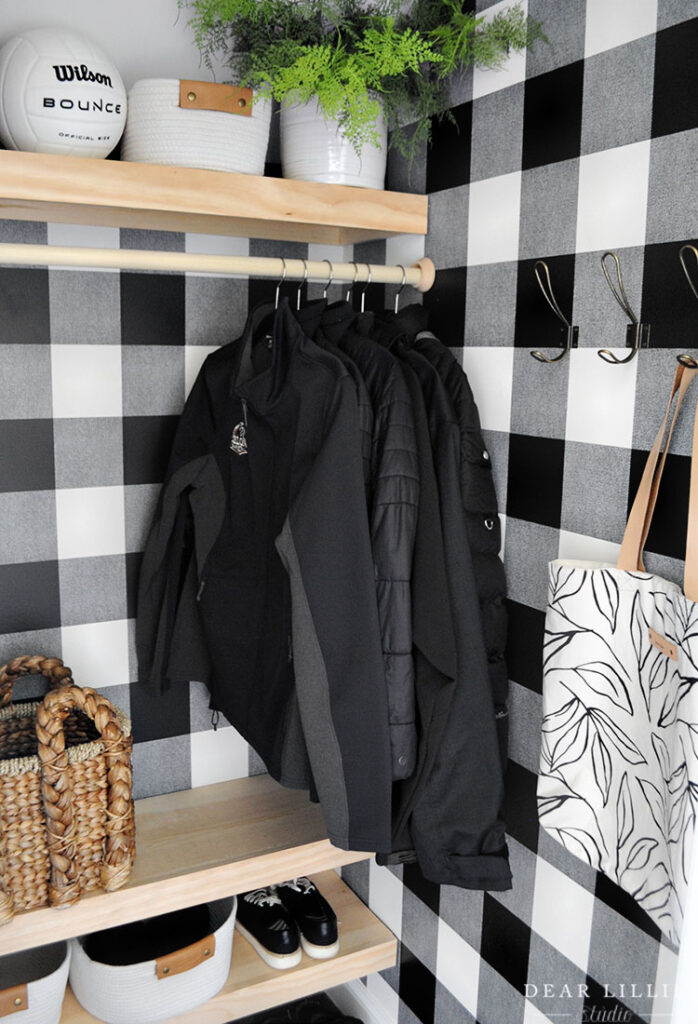
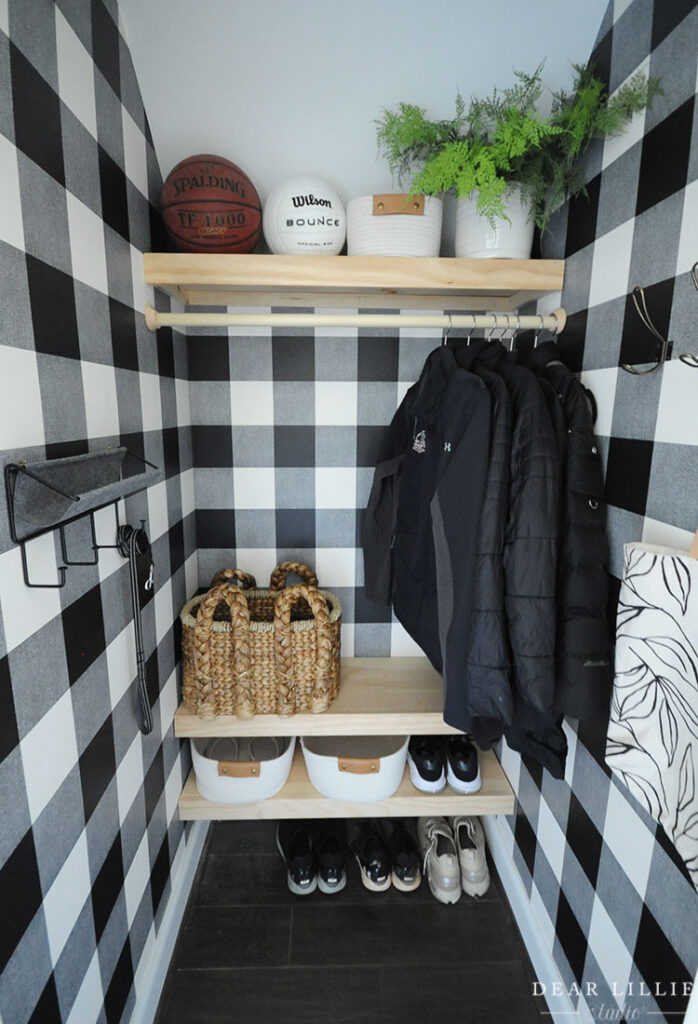
I haven’t decided what color I am going to stain the wood yet so for now I just left it as is. Also we have a lot of basketballs and volleyballs and keep most of them in the garage but the girls always have one of each in here so I swapped out the ones that were in here for some of our other ones that were a bit less colorful for the after shots – haha!

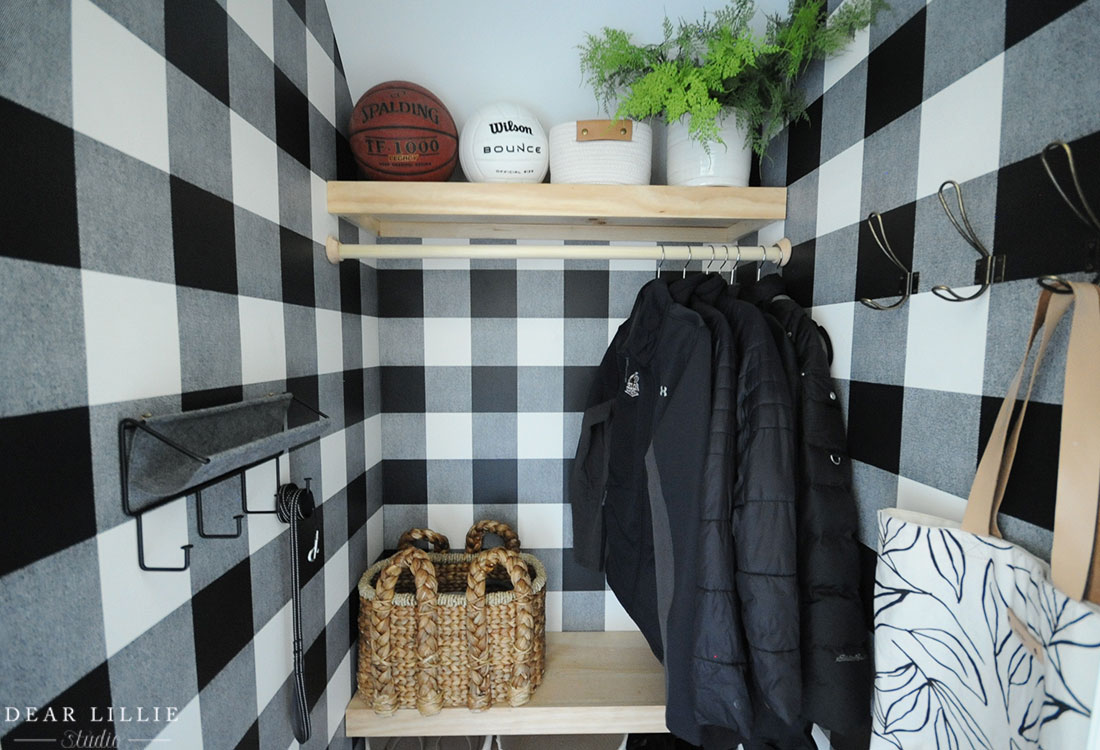
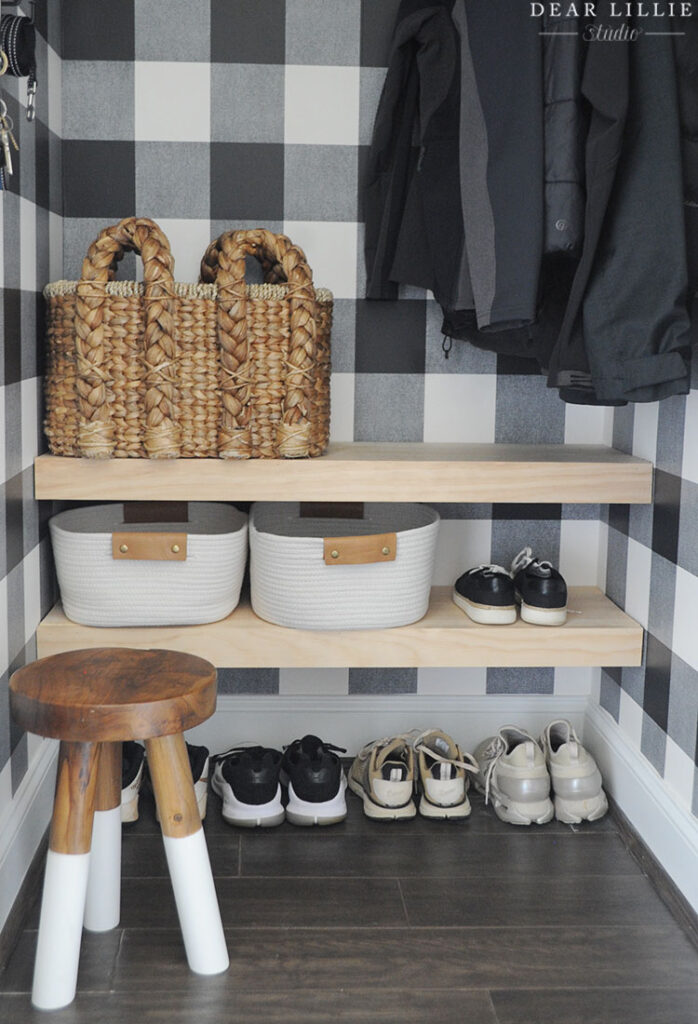
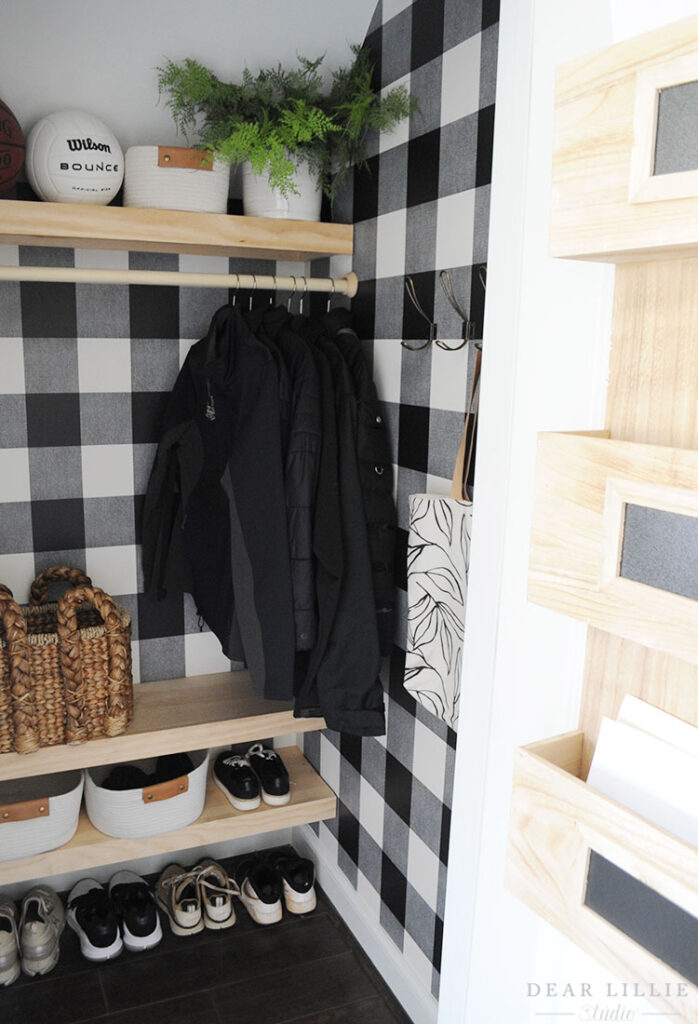
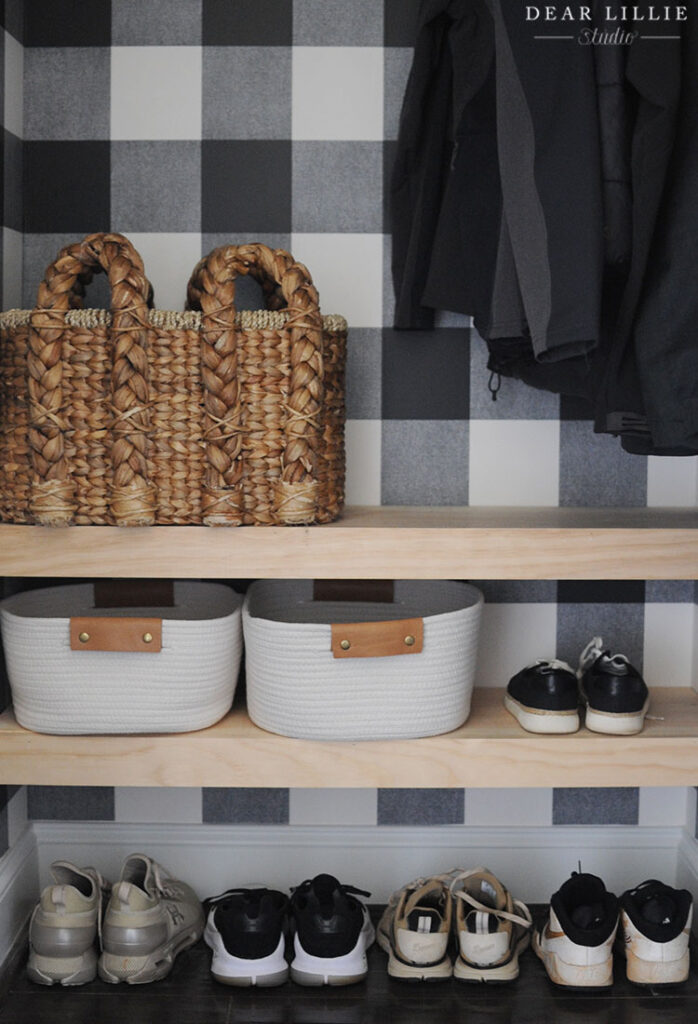
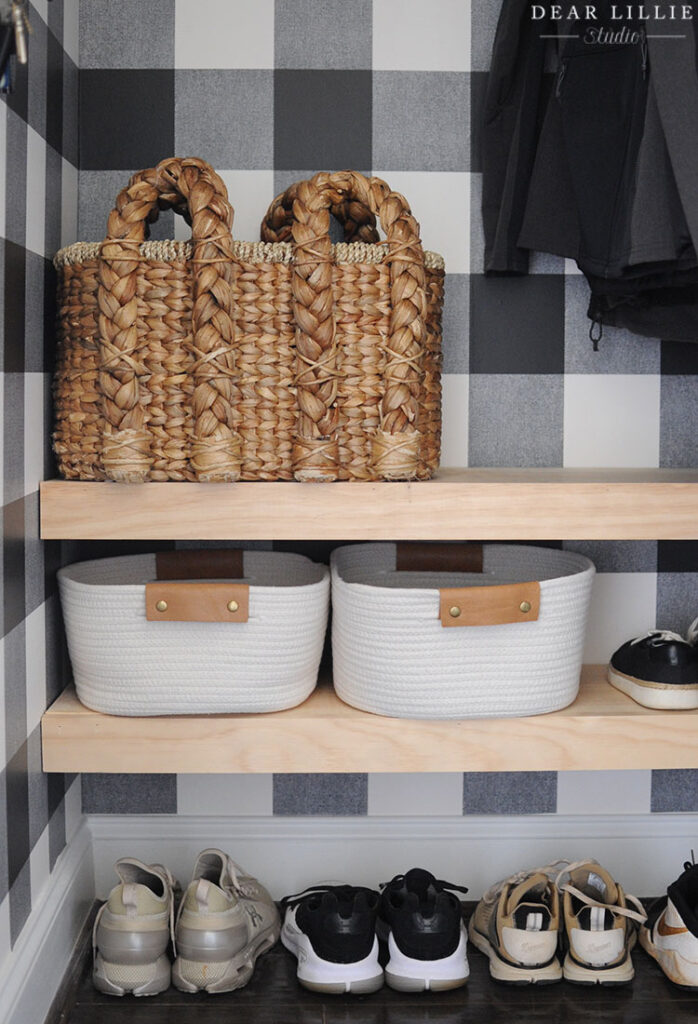
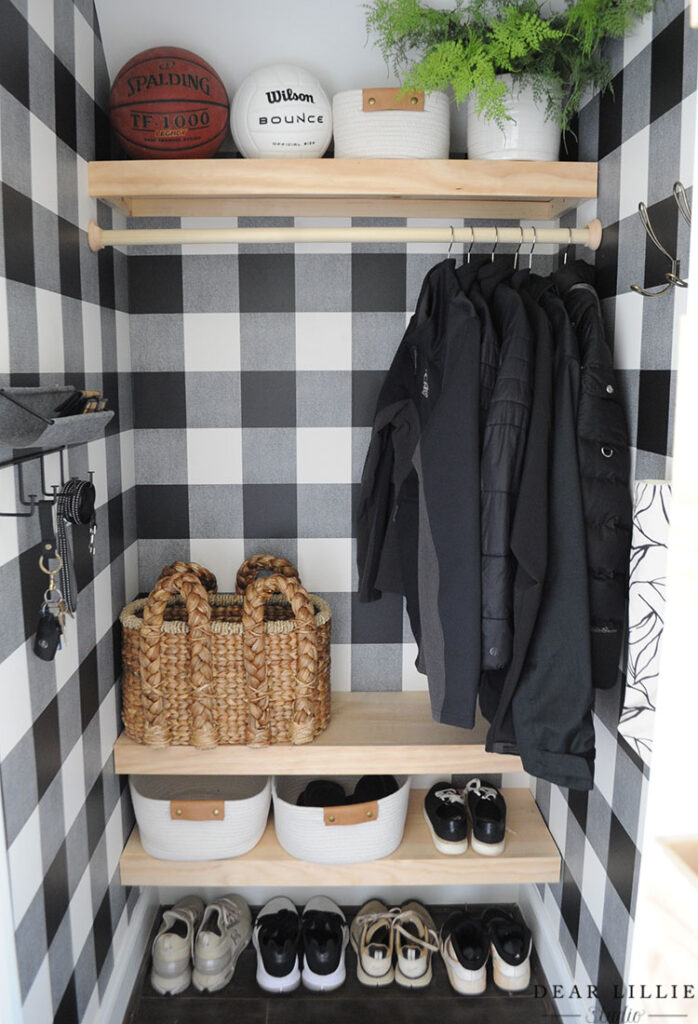
Here are some close-ups. We’ve had these baskets for years, ever since we made over this entryway closet. I played around with having a stool in here so you could set your foot up on it to tie shoes, but not sure if it will stay here or not…
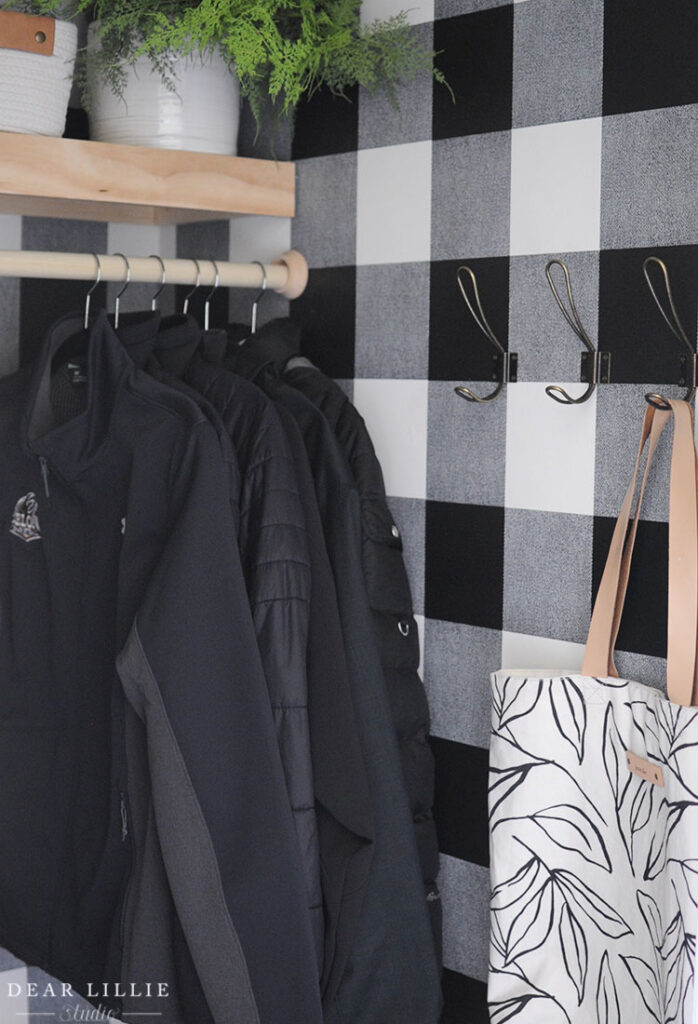
Over on this side I added a few hooks for the girls to hang their sweatshirts seeing how they aren’t likely to hang them on actual coat hangers and this is a great spot to just quickly hang one when we are running in or out of the house in a hurry.
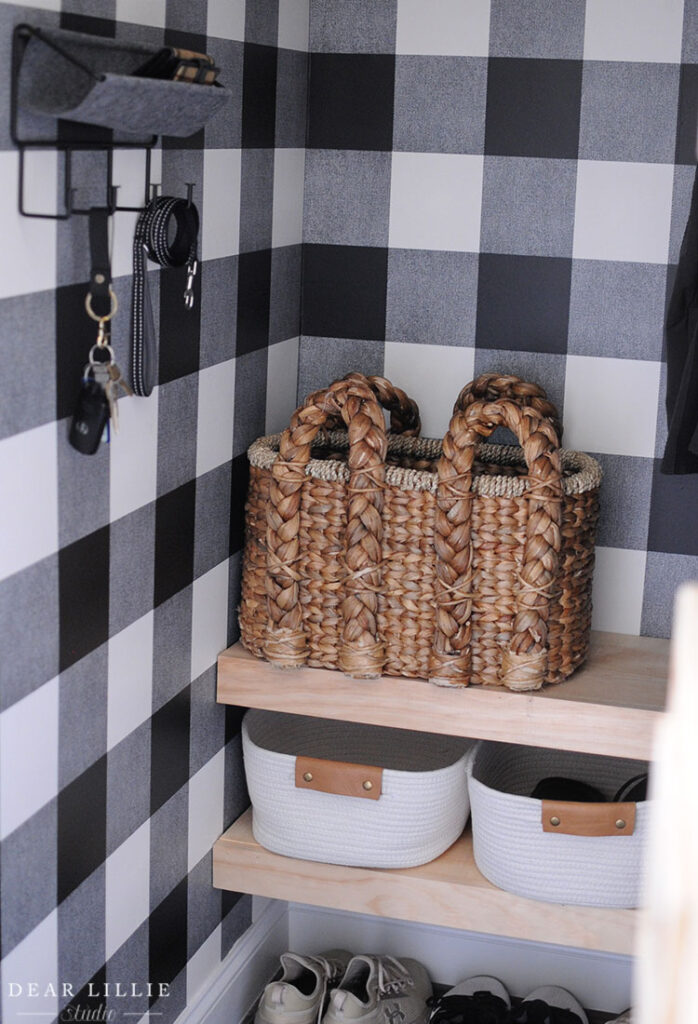
I think this is my favorite little addition to the closet. It’s the perfect spot to store our keys and wallets every day when we come in! And we’ve got an extra leash on their as well. Our regular leashes and harnesses are all in the basket for easy access but it’s also nice having one extra one handy too. Jon got me that wallet 15 years ago and it’s still going strong!

One more before and after shot:

Here is the info on the wood we used and all of the source info:
Sources:
Wallpaper – Target
White Baskets with Leather – Target
Faux Fern – Studio Mcgee for Target
Basketball – Similar here
Volleyball – Target
Key Holder – Target
Keychain – Minted
Bag – Minted
Leash – Target
Stool – Serena and Lily
Hooks – Amazon
Shelves on Door – HomeGoods years ago
Shoes on middle shelf – Vionic
Two left pairs of shoes on bottom – Under Armor
Hiking shoes second to left on bottom – Danner
Lola’s Basketball Sneakers – Nike
Wood info – our closet is about 37 1/2″ wide for reference:
For the bracing we used 1 by 2’s cut to fit our closet size
For the shelf we used 1 by 12’s cut to fit our closet size
For the trim to make the shelf look more “finished” we used 1 by 3’s cut to fit our closet size
For the rod we used a 1 1/4″ dowel cut to fit our closet size
Wood Pole Sockets
I hope you all have a wonderful day!
Warmly, Jenni


