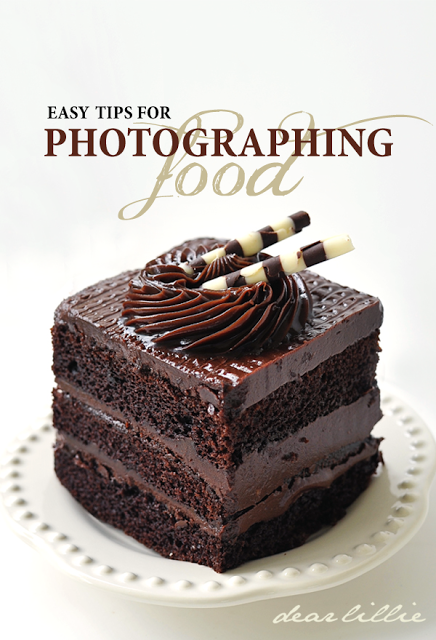


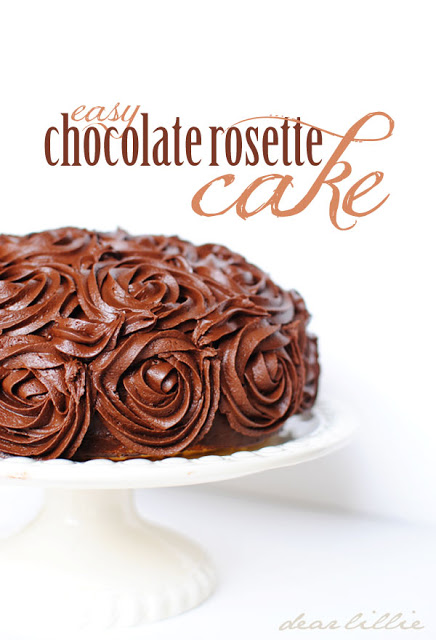
I had been planning on baking a new dessert to photograph for this tutorial but since returning back home there’s been so many other things to catch up on that I haven’t had time, so instead I cheated and bought this one little piece of cake from the Fresh Market here in Williamsburg.
As I do with most of my photography posts, I do want to give a few quick disclaimers. First, this is just how I do it and not by any means the “right” way to. I am just sharing my rather make-shift way to get some basic yet clean, crisp food images. Second, I took these on an overcast, rainy day so I am not thrilled with how they turned out, but I had already made Lillie and Lola wait a day to eat this and I was pretty sure if I made them wait another day someone was going to end up sneaking a bite, which would leave me with nothing to photograph. =) And third, although I do shoot most of my food related posts with this basic white backdrop, it’s not my favorite way to. I prefer the look of a styled kitchen or dining room setting for food but those take quite a bit of time to set up and generally I have my two little helpers by my side while I am baking and taking the photos so using a basic white backdrop makes it much quicker and easier to set up and take a few shots that I know will be easy to edit later once they are in bed. So, although it’s not necessarily my favorite look, it is so easy and I have to say the white backdrop does make for a bright, clean feeling which is always nice for food related photos.
Now that I’ve given my disclaimers, I will show you some pictures and then if you scroll down I will explain the setup and show you step by step the editing process for one of them. Wait until you see how easy it is!


Now here is the finished shot of the photo I will take you through step by step:
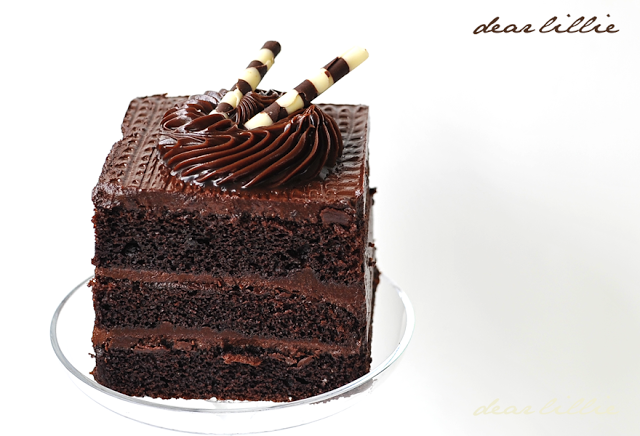
The first thing I did was set up two pieces of foam board that I broke in half a while ago (okay, not really in half, or even close to in half, although that was my intended goal when I broke them apart so lets just pretend that they are sort of even – haha). I placed one board flat and then propped the other one upright behind it. I normally do this on a table and prop the upright board in front of a mason jar or vase to hold it up. Because it was so dark and rainy, though, I had to take these on our back porch so I just used some pillows to prop up the back board. And that’s it for setting up! How fancy! =)

Then I just crouched down and started taking pictures. Here is this one straight out of the camera.

This first thing I did in Photoshop was remove the line where the two pieces of foam board met. For this I used the clone tool. It actually wasn’t necessary for this shot because I knew I was going to crop it, but I wanted to show you this step because quite often it is necessary.

Next I ran Pioneer Woman’s Boost action at about 80%.

And then Florabella Collections Sharpen/Defog action.

And then I played with the curves. To find this in Photoshop CS5 just go to “image”, then “adjustments” and then click on “curves”.

And then I cropped it.

And there you have it!

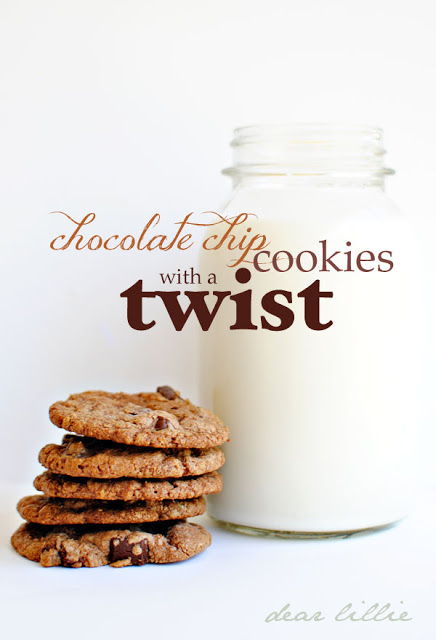
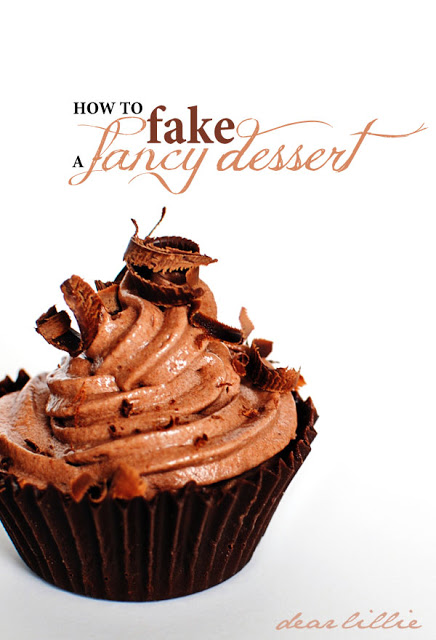
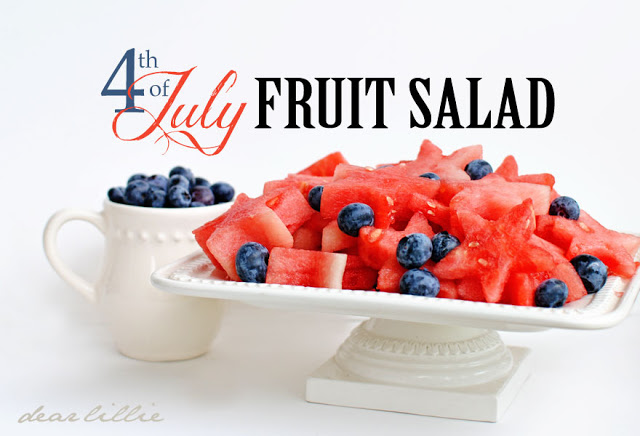
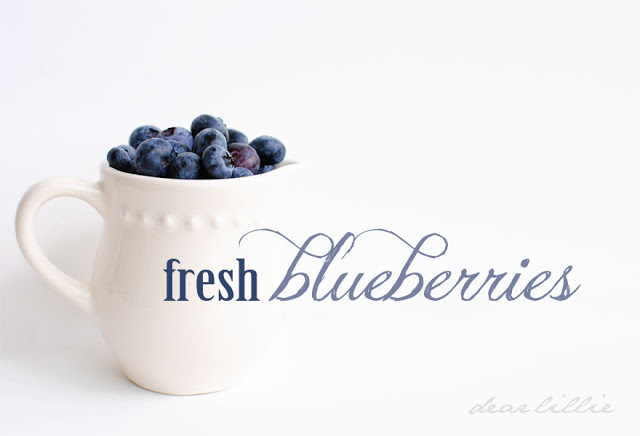
Here are some other photos where I’ve used this processing on. You can click on the picture and it will bring you to the full posts for each one which include directions or recipes.
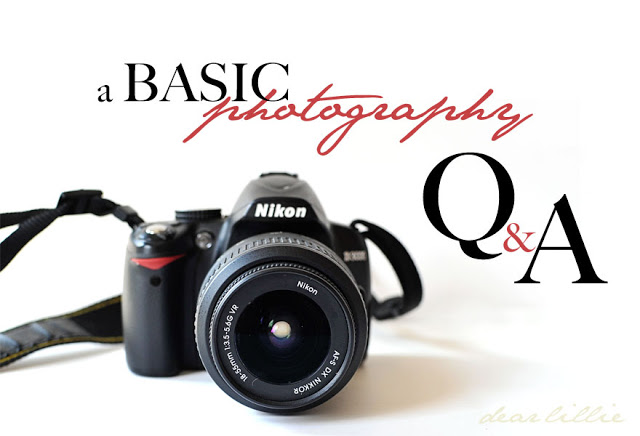
You can also read some photography related Q and A’s in this post:
I hope you all are having a wonderful week!


This is great information. Do you always use the white board as your back drop – or did you for all the photos above?
Yes, I used it for all of the photos above and have been using a white backdrop for product type shots for a few years now but don't use it for just general type photos.
How fun, can't wait to try this out! Did you use your new camera for this shot? The cake sure looks good, no wonder your little ones were eyeing it 😉
I did! I'm still trying to figure it out, though.
This is great information and very helpful. That cake looks so good.
What I love the most besides your beautiful photography is that almost all of those pictures have chocolate in them. 🙂
Actually your "signature crisp white background" sets you apart (and imho definately above) the rest of the foodie bloggin' peeps.
I LOVE it, love your amazing photography and look forward to every single post.
So, necessity being the mother of invention? Don't make it more difficult for yourself, this WORKS.
And, um, after midnight here and now I wanna piece of chocolate cake.
/smack.
(note to finch rest self: only read DL in the daytime.) the end.
Great tips! Thank you!
Your photos are always gorgeous. I need to get a little fancier camera than I have so I can try all of this. I've been very intrigued with photography lately.
This is so fantastic!! I have tried white cloth before, but it was so frustrating, and kept falling down 🙁 I even have white foam board on hand! You made my day. Great post!
Thanks for the two photography posts lately. I'm sure they took a while to write up for the blog but it is much appreciated!
Wow, great advice and gorgeous photo!!!! Have a lovely day!
Beate 🙂
Great tips!
alison@soiledrotten.blogspot.com
I have ALWAYS wondered how to get that perfect bright white background. Thank you for sharing your secret! I always end up taking my food photos out on my back deck in the early morning or evening.
Gah, beautiful. I've got to get better at this! Great tips.
Beautiful. I hope you thoroughly enjoyed that piece of mouthwatering cake!
I love how open you are to sharing your magic tricks! Thank you for this post. 🙂
I also love how so many of your gorgeous images start with simple things like foam board and glue guns… it is encouraging to see how you accomplish all this while still being a hands-on mom. As always, thanks for the inspiration!
🙂
Thank you so much. You are so generous with your ideas and tips . . . blessings right back to you.
Thanks for taking the time to share this info. I have been inspired to try some of your tips myself. Thanks again for your time and this beautiful blog. I read it every day.
That was awesome, thank you for showing how you did it! You could do photos of chocolate and treats for a living, they are so amazing. I can almost smell the cookies and cakes when i look at the screen! Beautifully styled, perfect fonts, and some pretty darn good looking treats!
Cindy
That was so awesomely informative! Thank you for that!!! -gillian http://www.seasonsgredings.com
Can you tell what is the name of font that you've used?
Thanks 🙂
xxx
Just sent you an e-mail!
Thanks so much for your answear! Xxx
Thanks again for such valuable information! What are some of the fonts that you use for the script writing! I love how you mix them up perfectly! Any tips on adding text to photos?
What's the dessert called with the layers of cake and frosting ? Lol
I like this post i do have problems with food photography I wish I can make my photos look like yours one day 🙂
Excellent tutorial!! I love shooting on white, and have to remind myself sometimes that I need to expand my color horizons. Thank you for the PS examples… I'm going to try!
I need to learn how to add text to a photo and have it actually look good!
omg, I can't get over how gorgeous this cake (that frosting!) looks! Great photos!
Its interesting articles,i already enjoy read its.
Thanks for the tips! It is so hard to take nice food pictures, I am so jealous yours are very pretty! And the cake looks delicious
This is so beautiful and I’m sure it’s all super delicious! Looks so pretty,
I just saw this post thru Pinterest. Love your photos and love the photography tips. Just wondering what software you use for your text graphics. Is that done through Photoshop as well?