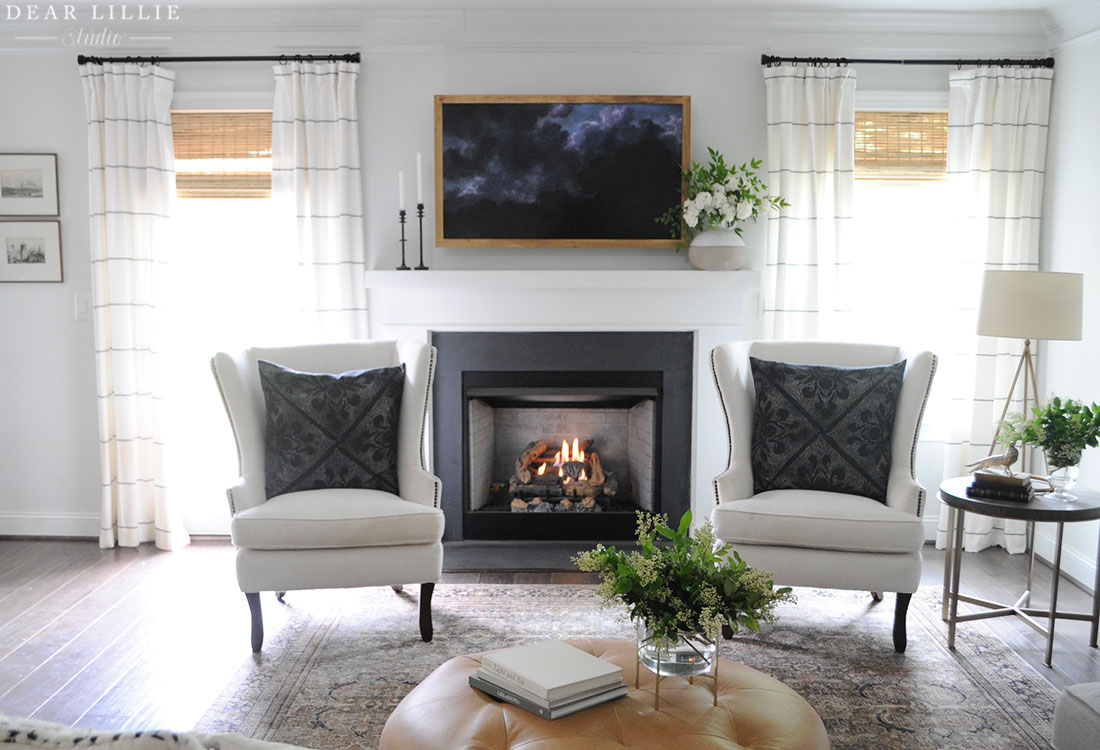
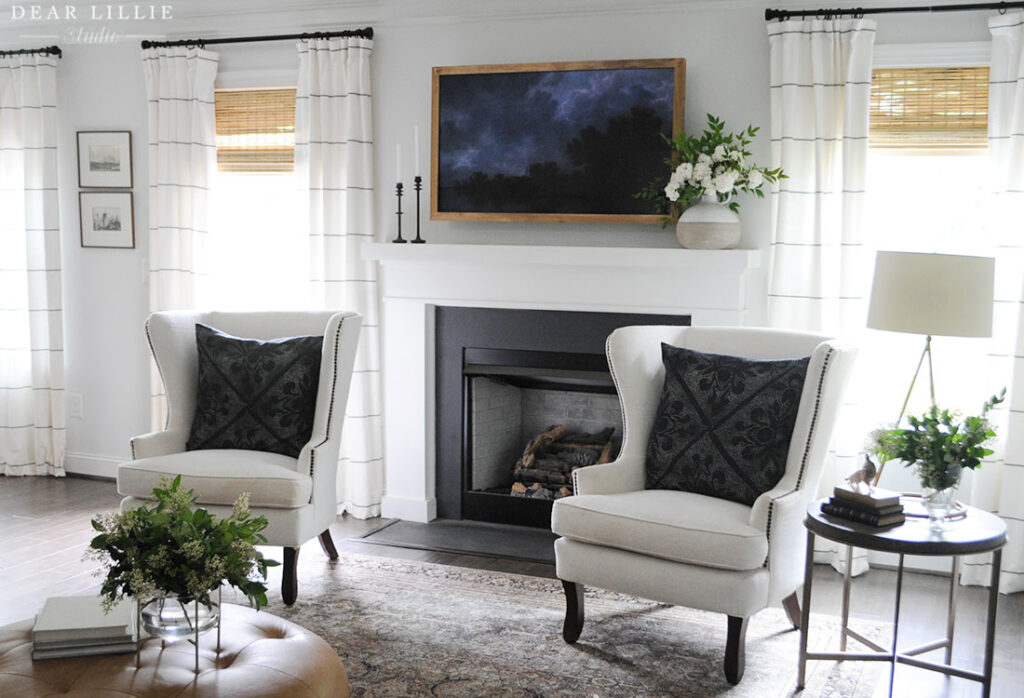
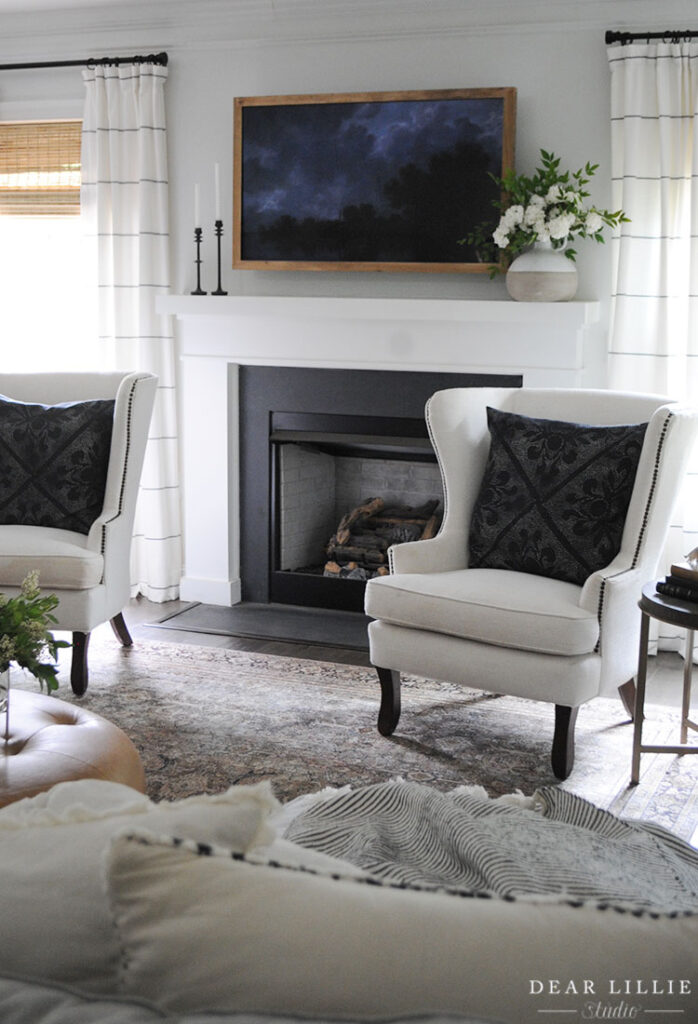
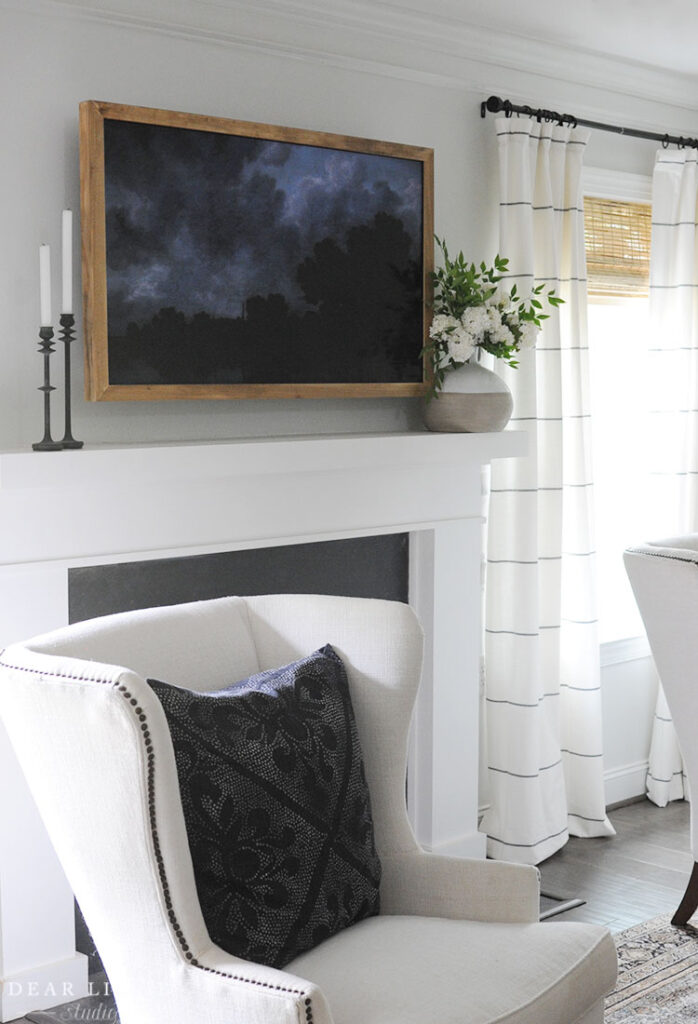
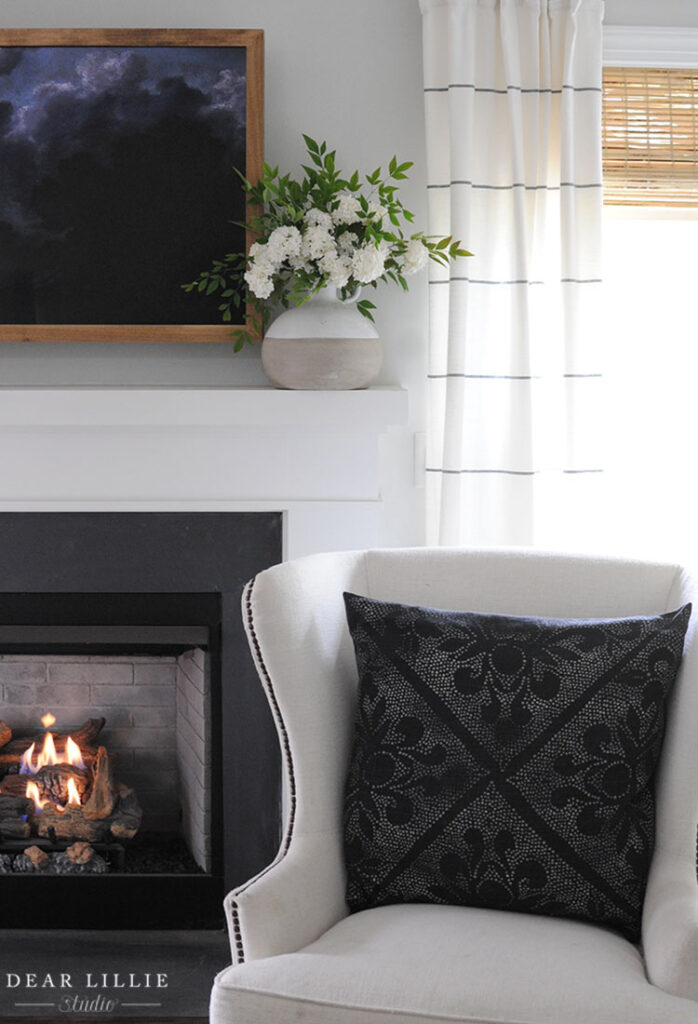
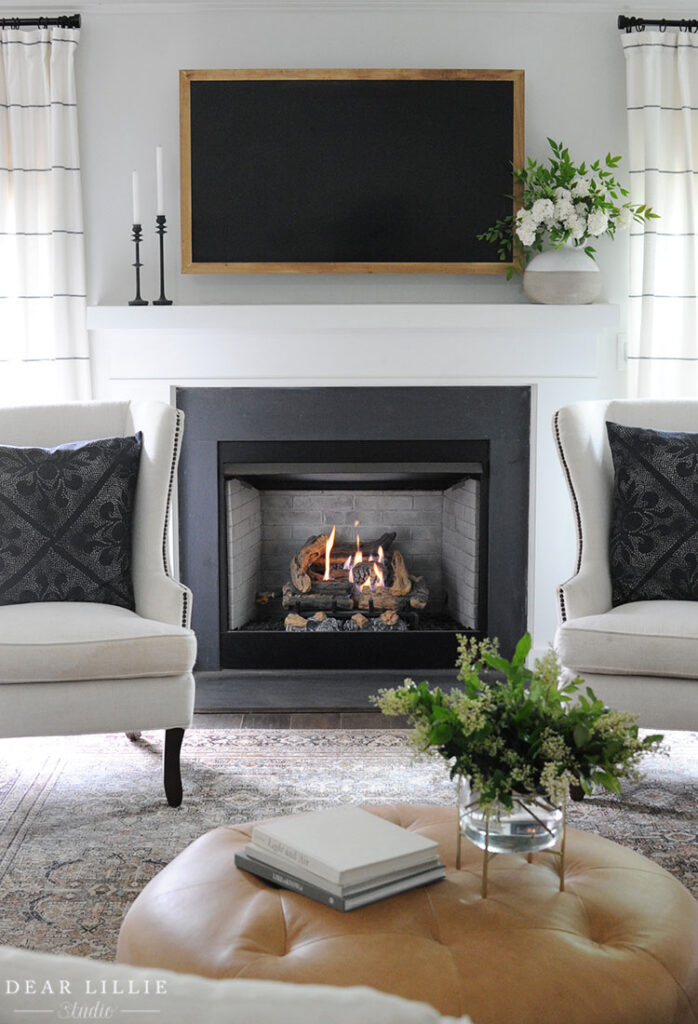
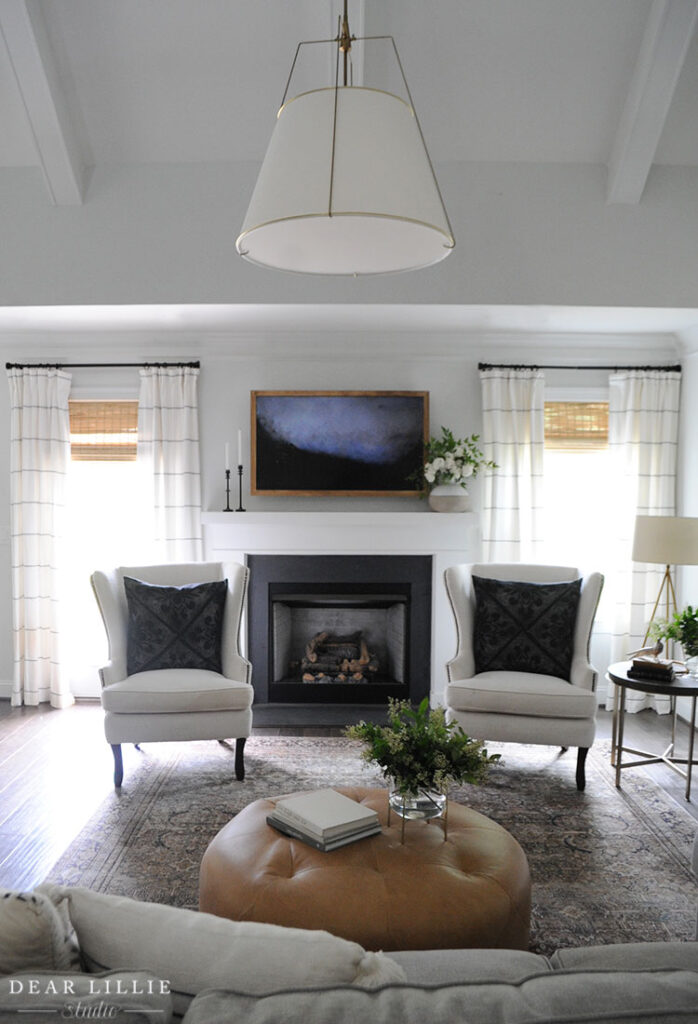
Good morning! Another weekend is here. We’ve gotten pretty spoiled with beautiful weather for weeks and weeks now and I am dreading this heat that appears to have arrived. Today I wanted to share with you our $18 “Frame TV”. We have used the real Frame TV in client’s homes and LOVE it. When we moved here last summer and realized the TV was going to have to go on top on the mantel we decided we would finally get a Frame TV for ourselves. Well, when I went to our Best Buy they didn’t have the size we were looking for in stock and I started feeling bad because we already had a perfectly good TV in the exact size we wanted so I decided to just go ahead and put the TV we already had up there and figured maybe somewhere down the road we could replace it or maybe I could try to build a frame for it. Then honestly I kind of forgot about it for the most part. Haha!
A couple of weeks ago though I saw a great post from Blesser House about displaying art on any Smart TV and that inspired me to finally do that with ours and then I decided to build a frame around it to. I read a whole bunch of tutorials and ended up mixing a few together (these were the two I found most helpful here and here). Because I was a bit hesitant it would actually work and that everything would still work smoothly with the remote and the air flow I decided to build a super cheap frame to try for a few weeks and then if it did work I figured I could build something a bit more “pretty” like the one in this tutorial. Well we’ve had this up for about two weeks now and it has worked great! Although at this point who knows if I will ever get around to making a prettier one. I discovered that taking a photo of art on a TV is actually quite hard – it reads so much brighter in the photo than in real life so the artwork I prefer on the screen isn’t the one in these photographs. This is just a really darkened landscape painting for the sake of it not looking too bright in these photos.
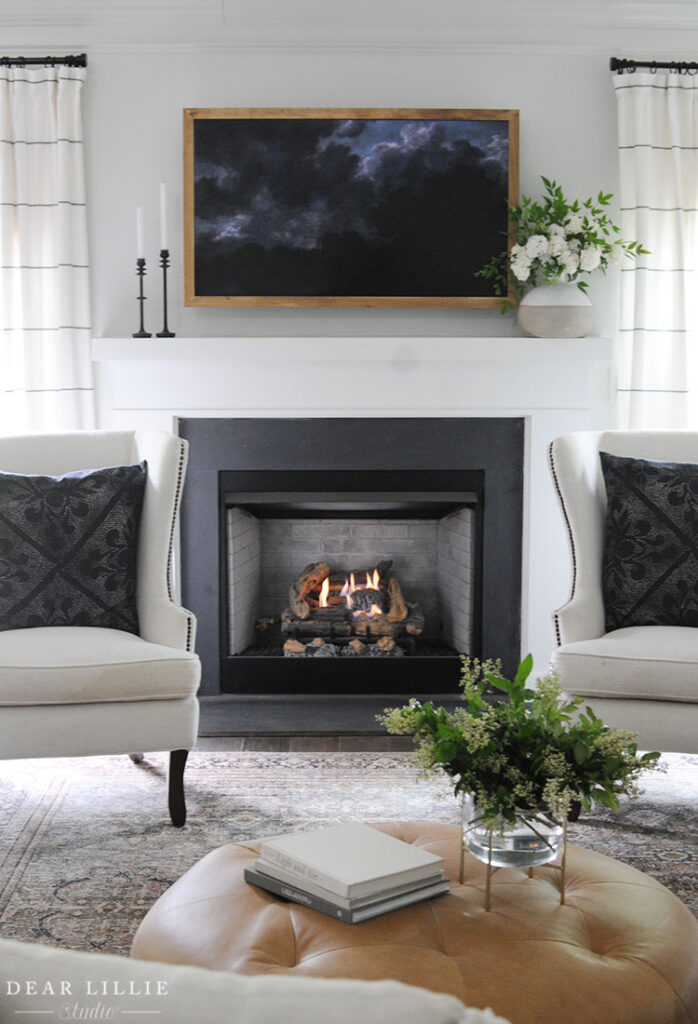
I definitely don’t think it looks as good as an actual FrameTV but for $18 it is a nice backup for now!

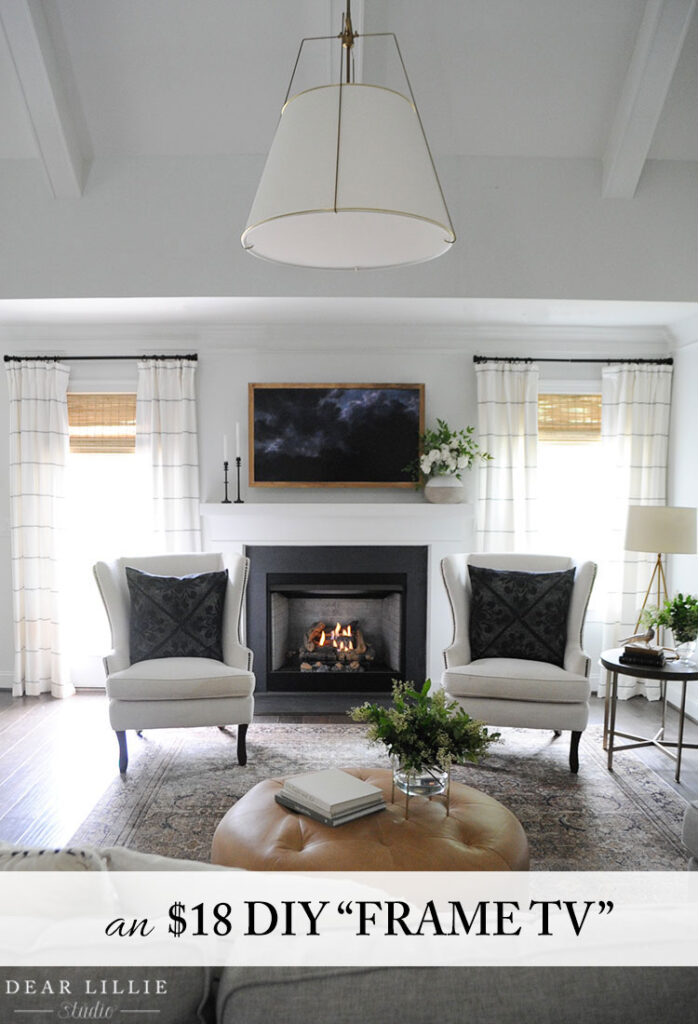
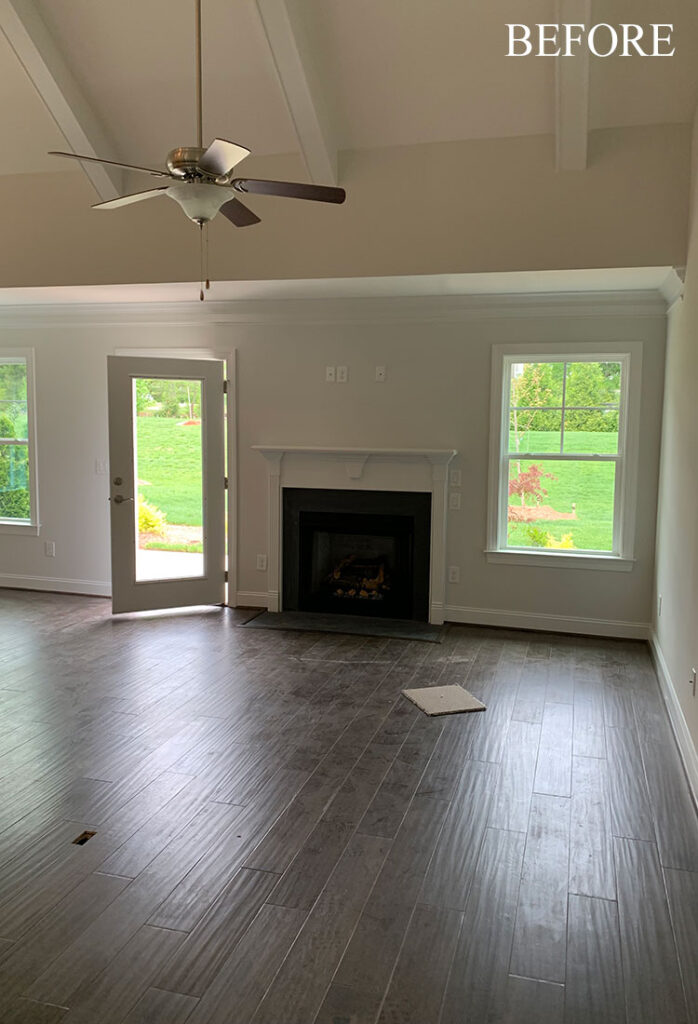
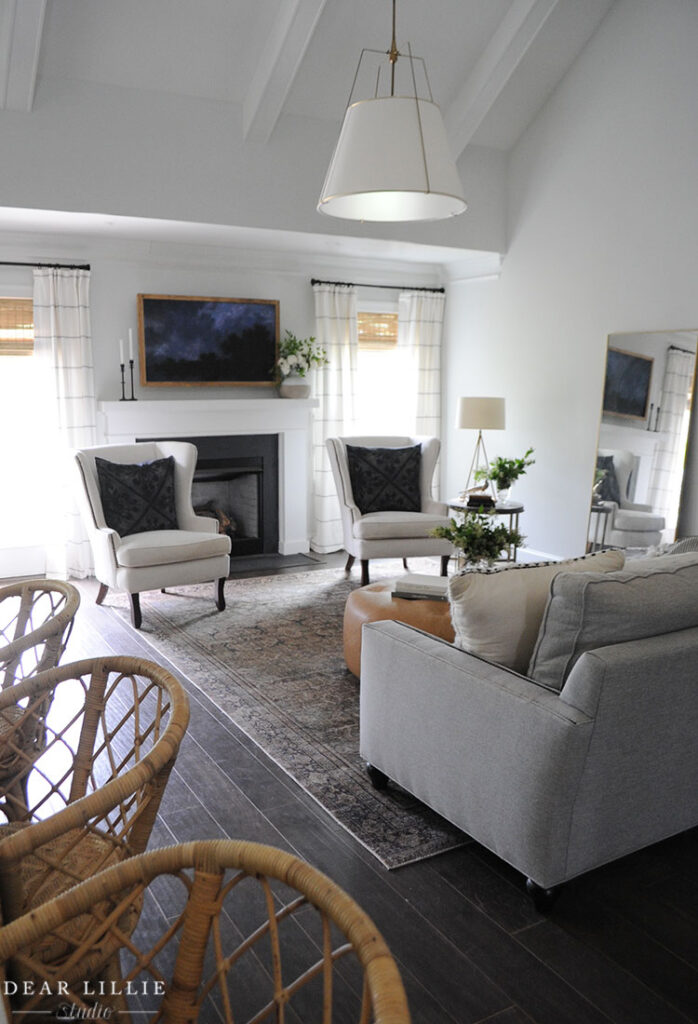
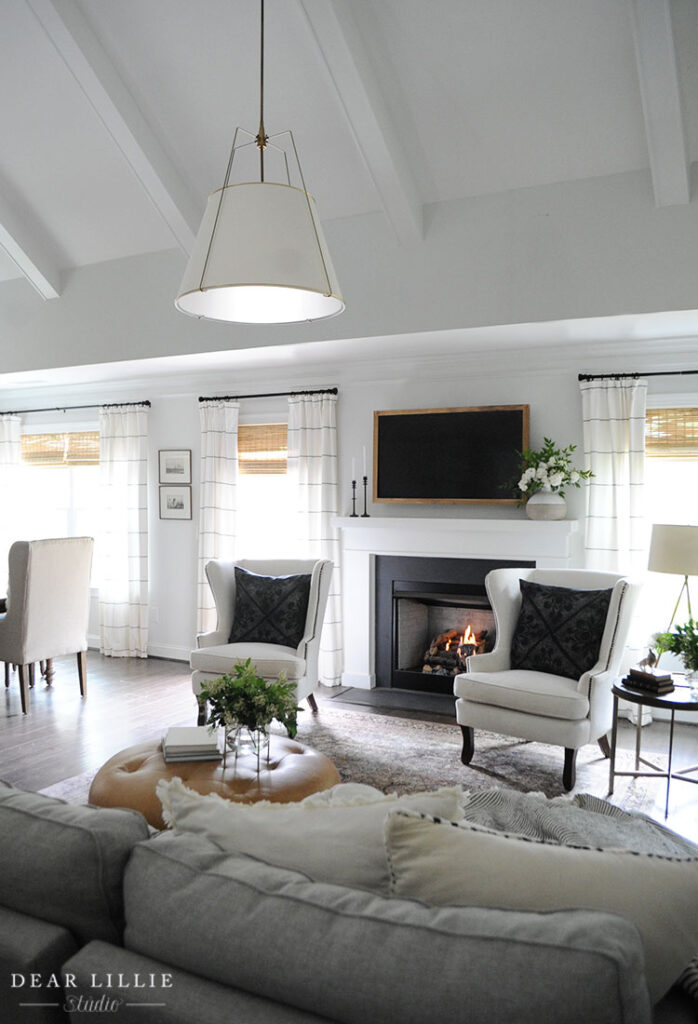
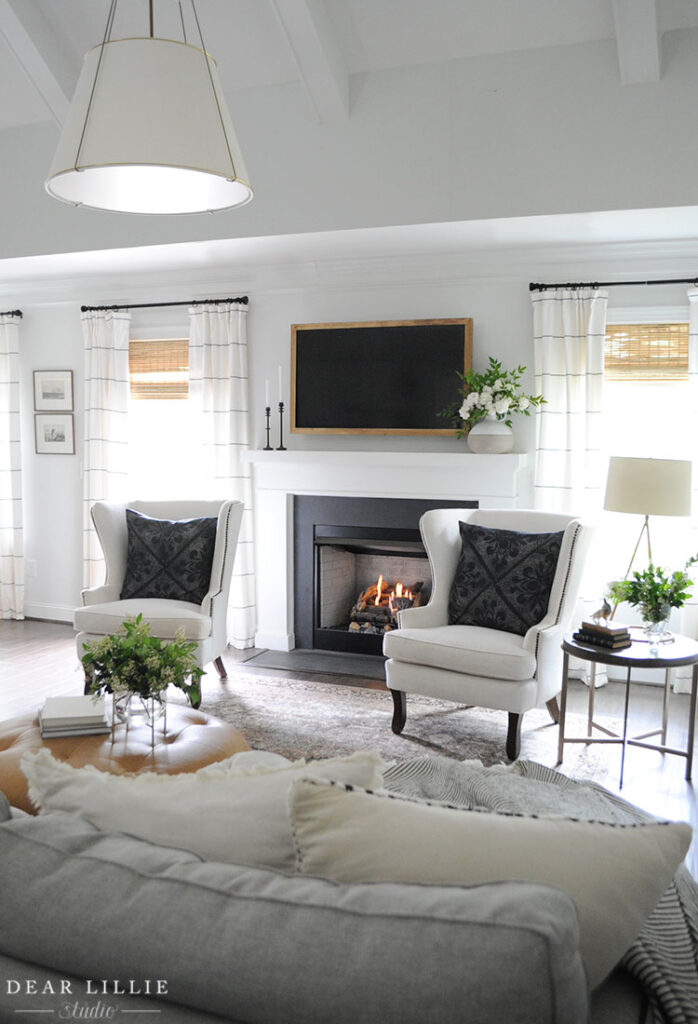
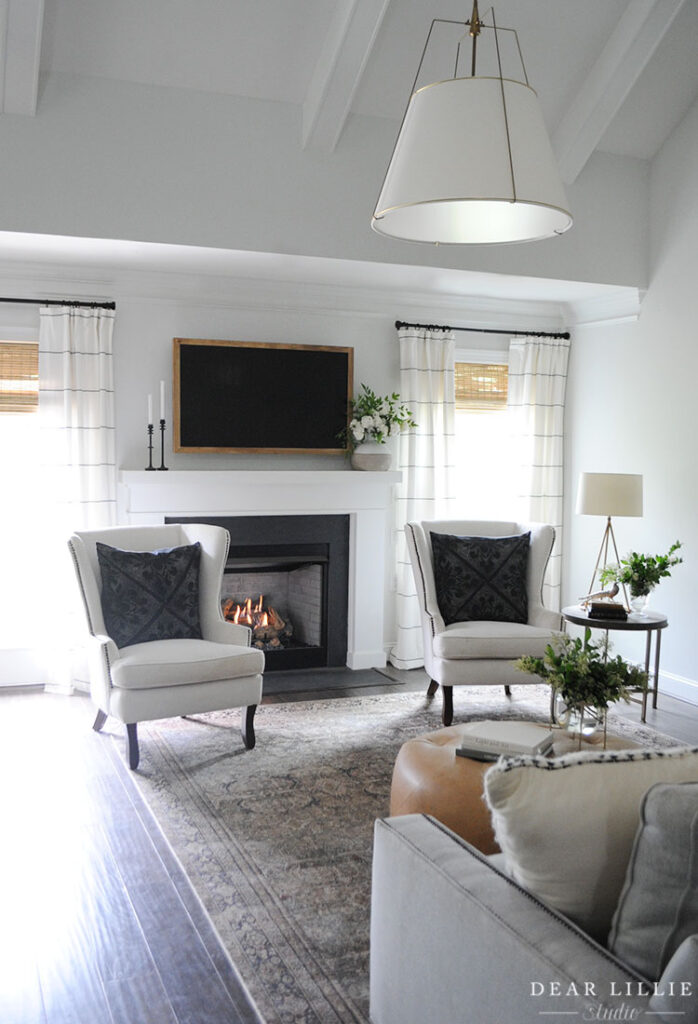
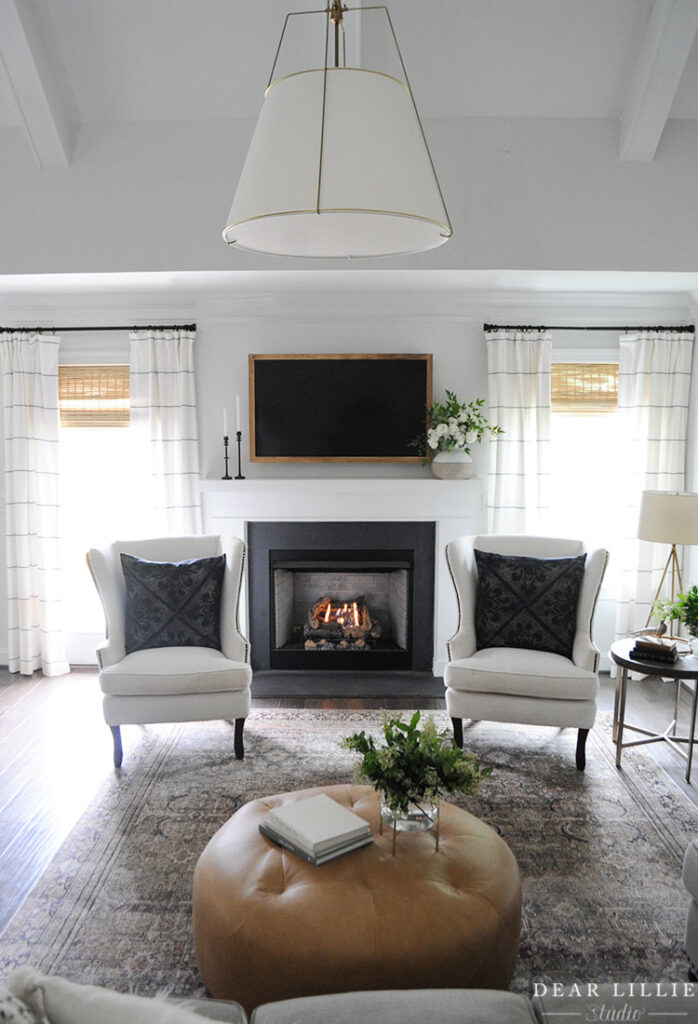
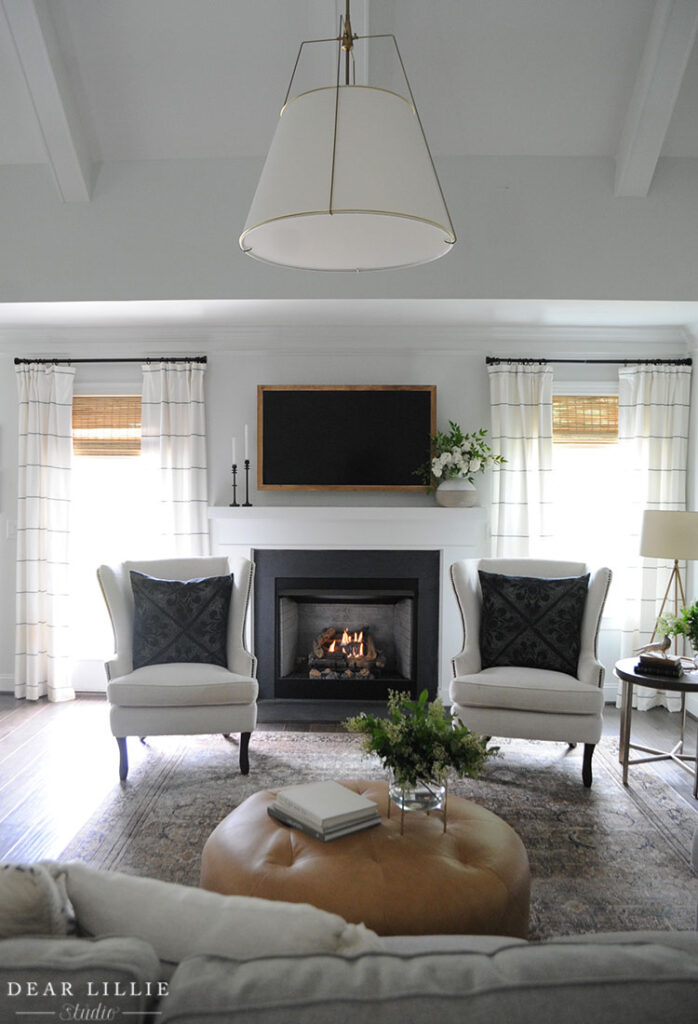
Here’s a little reminder of the starting point of this room:
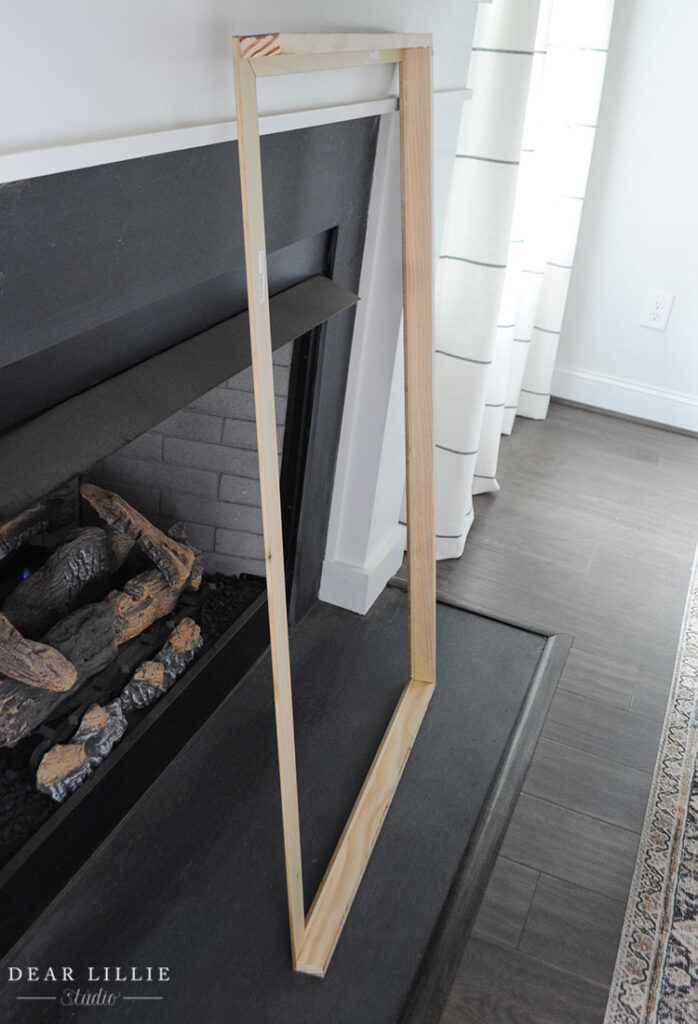
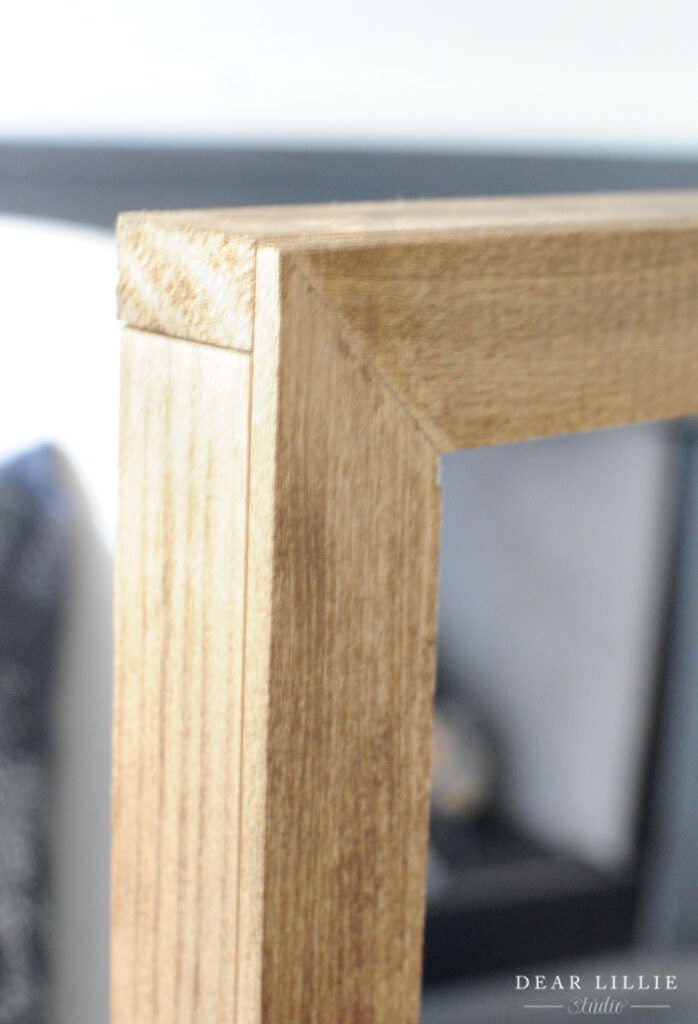
I used 3 pieces of 1 by 2’s (pine) for the back that going around the TV – one for the top and two for the sides. Then I used four pieces of 1/4 by 2’s (poplar) for the front of the frame. I intentionally left the bottom part of the back part off so that it would make it easier for the remote based on where our sensor was. I wasn’t positive it would work this way but figured it was worth trying and fortunately it worked great!
From this angle you can see better how the bottom part just as the face part of the frame and not the sturdier back piece.
This is what it looks like from the side (sorry it’s so blurry):
This is the top which cannot be seen at all once the frame is on the TV:
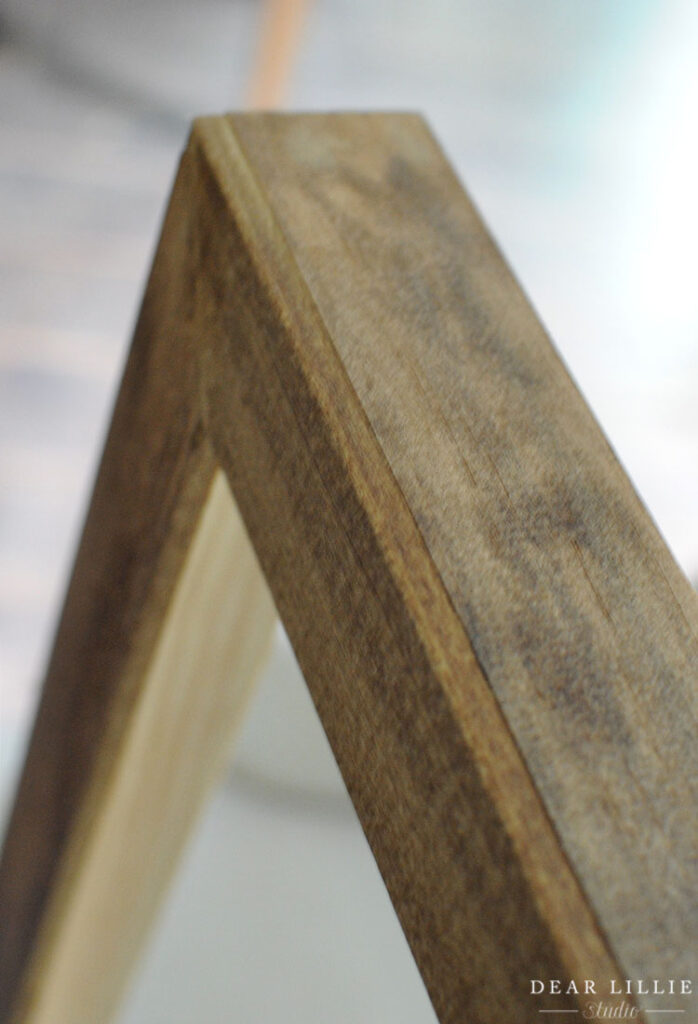
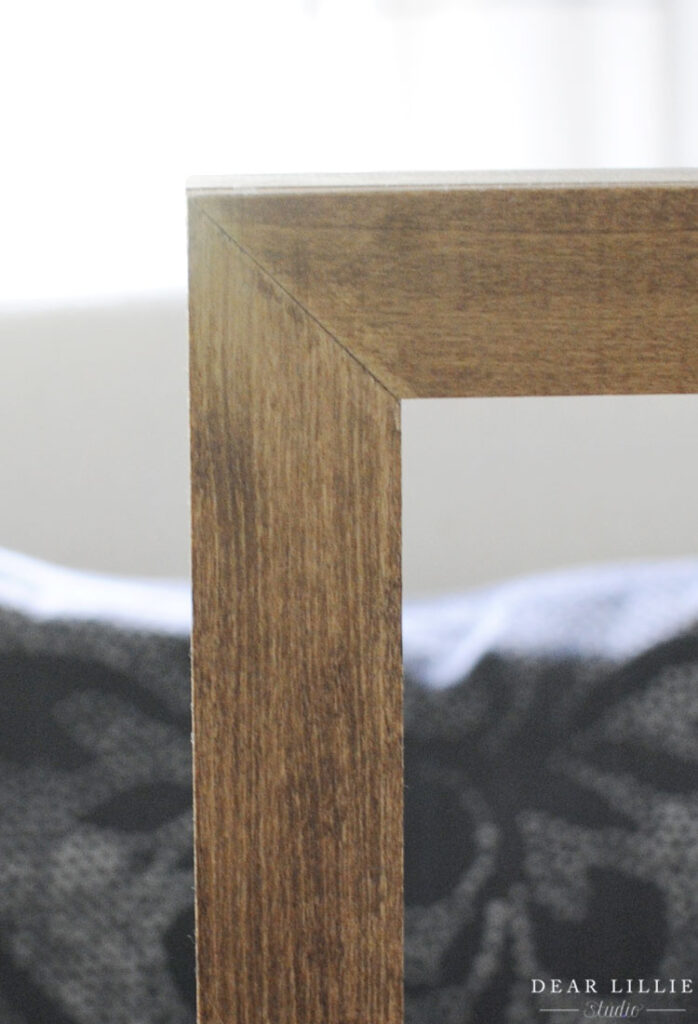
For the front I angled the pieces to look a bit nicer although it’s a very rustic basic frame:
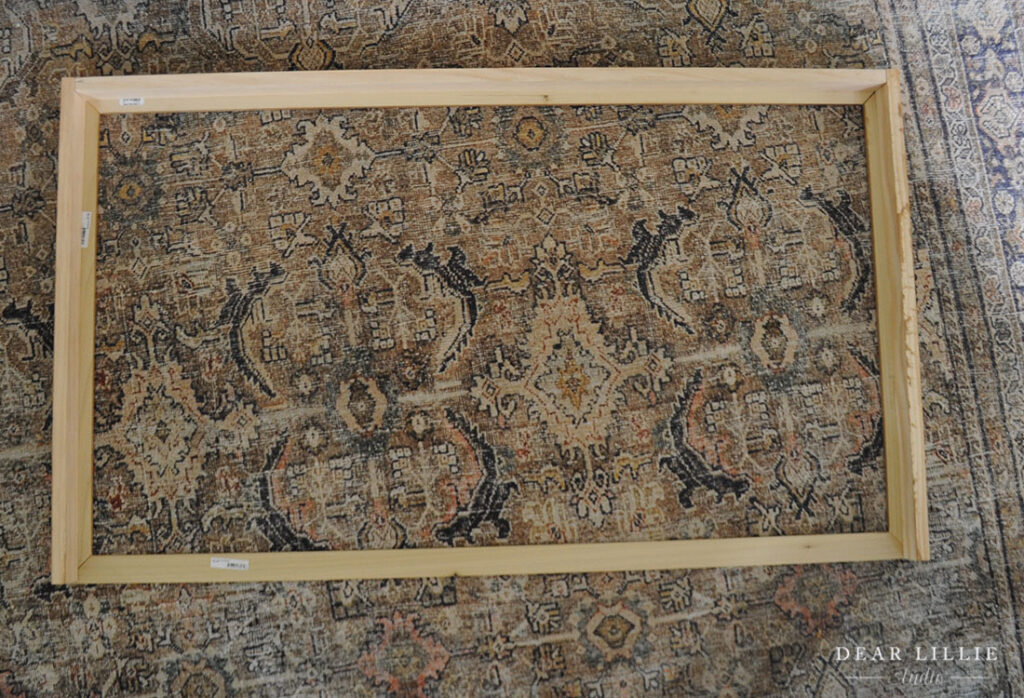
And here is what it looks like if you don’t have any artwork on the TV:
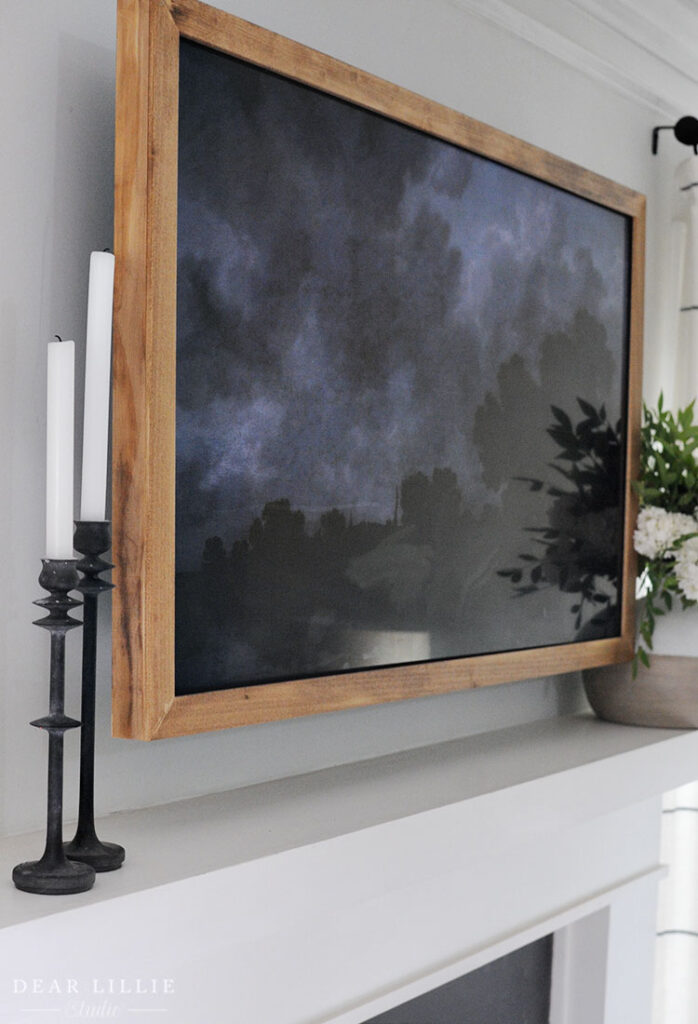
It’s really easy swapping different artwork out.
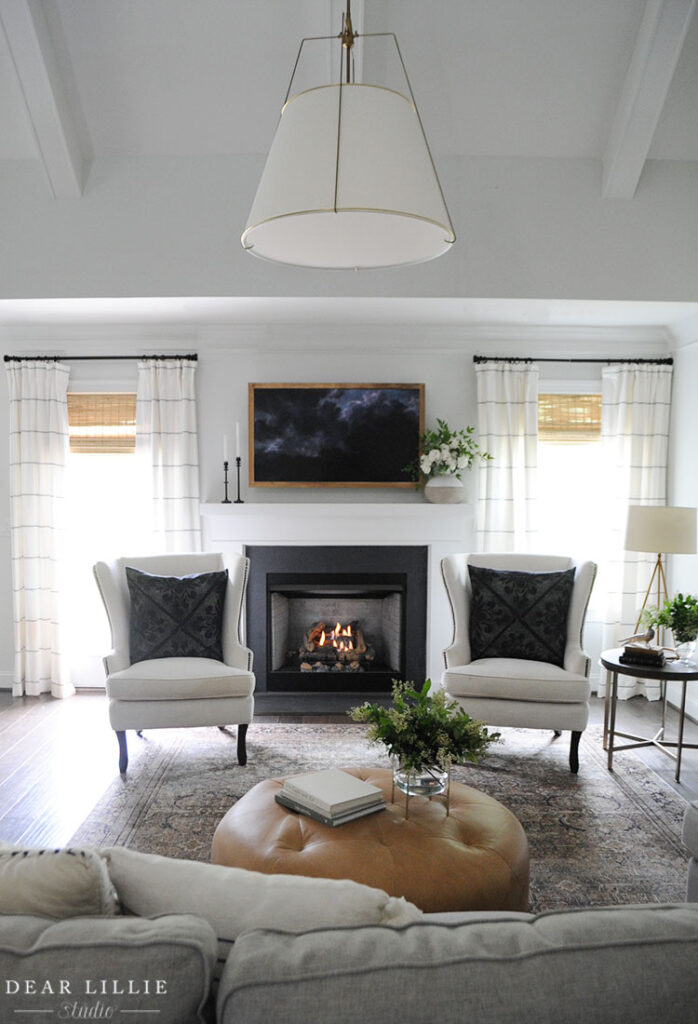
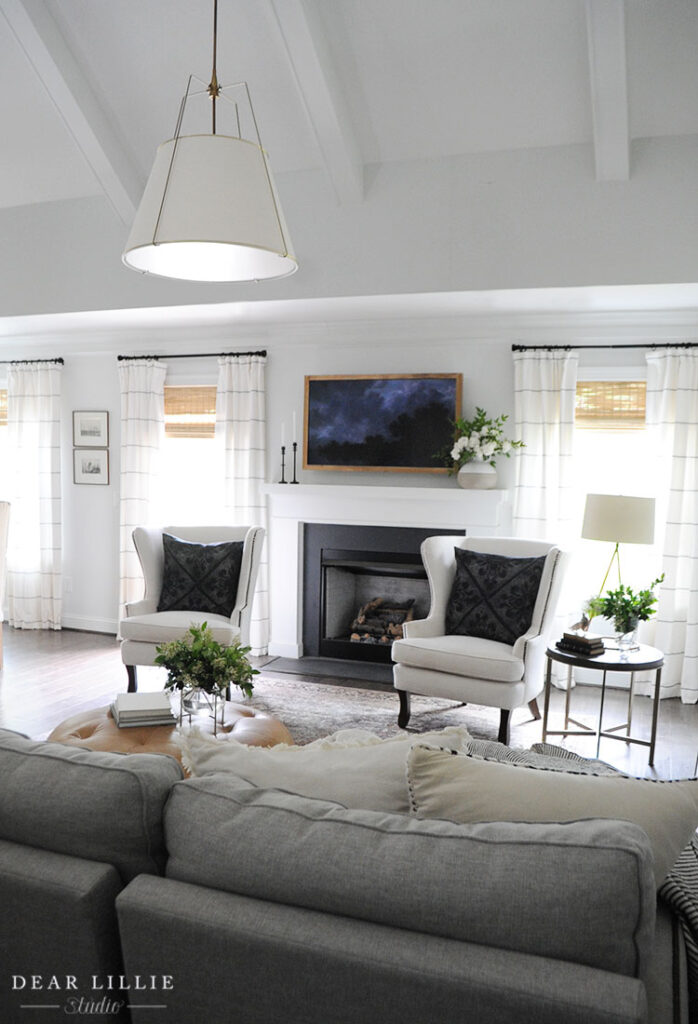
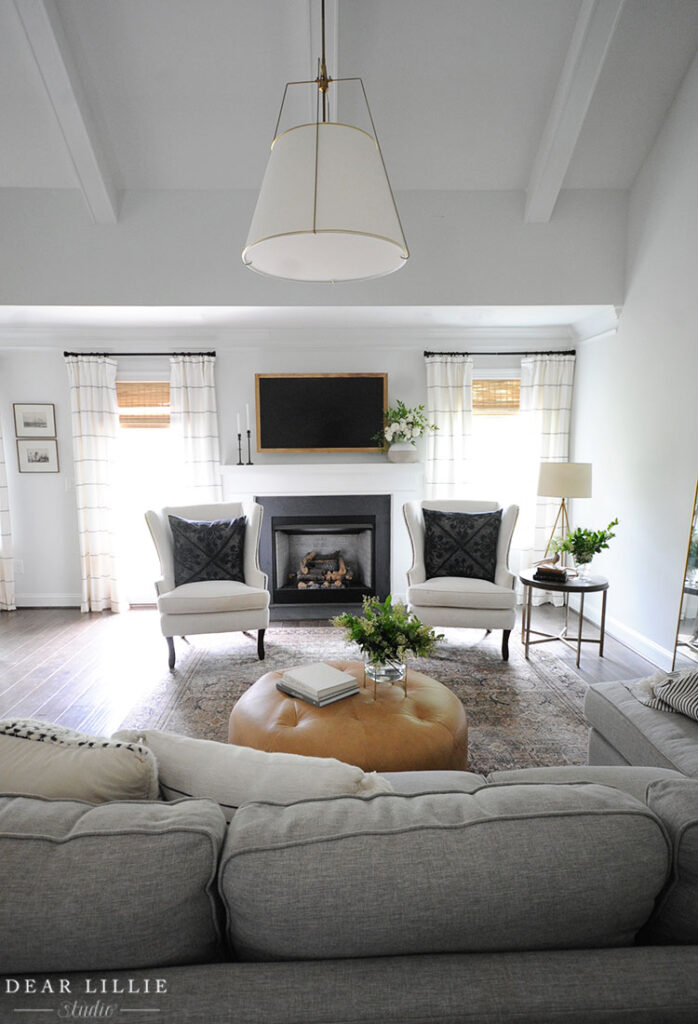
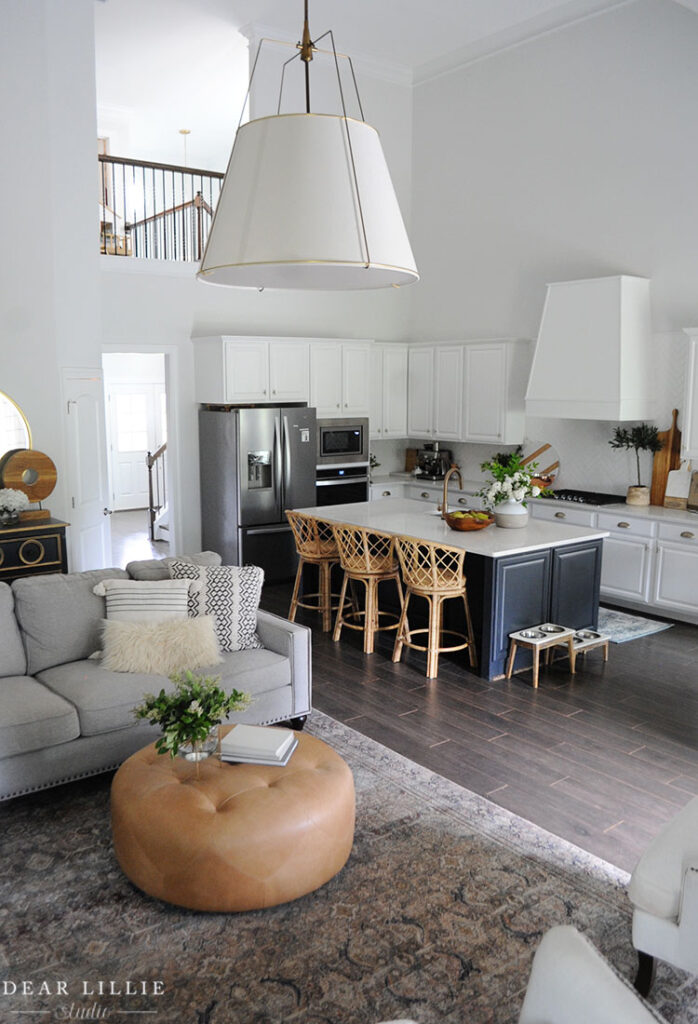
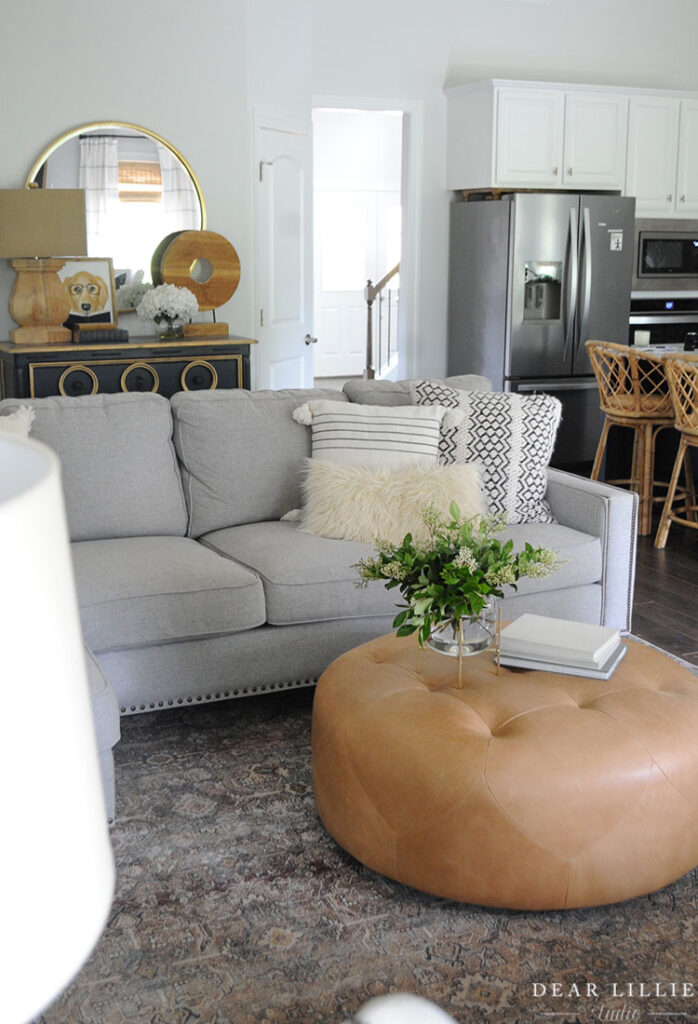
Here’s another angle of our main living space:
Well, that’s it for today! I hope you have a lovely weekend!
Living Room Source Information:
Wall Color – Frosty White by Sherwin Williams
Trim Color – Extra White by Sherwin Williams
Floors – Existing and don’t have info on them, NEVER would have chosen dark with a golden retriever – haha!
Pendant Light – Rejuvination (30″ antique brass with white shade)
Curtain Rods – Walmart
Drapery Rings – Bed Bath and Beyond
Drapery Panels – Ballard Design – Indigo
Roman Shades – Walmart
Rug – can be found here – mine is the 9 by 12 size
Chairs – Birch Lane
Navy Pillows in Chairs – Serena and Lily
Candle holders on Mantel – Walmart
Pitcher on Mantel – World Market (no longer available)
Books – Vintage
Leather Tufted Stool – Joss and Main
Sofa – Bassett Furniture
Ottoman – Article – Timpani Ottoman in Charme Tan
Vase on Ottoman – World Market
Knit Pillow on Sofa – HomeGoods years ago
Striped Pillow – Serena and Lily
Fuzzy Pillow – World Market
Chest with Gold Circles – Soft Surroundings several years ago and no longer available
Disc Sculpture on Chest – Birch Lane
Books – Vintage
Small Vase – World Market years ago
Dog Art – I painted it during our “homeschool” art class last week – haha (now available here)
Frame – have had for years
Side Table – Bassett Furniture
Lamp on side table – Serena and Lily
Two Prints on Wall – Vintage
Kitchen Source Information:
Wall Color – Frosty White by Sherwin Williams
Trim Color – Extra White by Sherwin Williams
Cabinets – Existing (pretty standard white)
Island Color – Soot by Sherwin Williams
All Appliances – Existing
Floors – Existing and don’t have info on them, NEVER would have chosen dark with a golden retriever – haha!
Counters – Existing (some form of Quartz)
Bar Stools – Serena and Lily
Faucet – Walmart
Cabinet Cup Pulls – Amerock in Golden Champagne (can be found here and here)
Cabinet Knobs – Amerock in Golden Champagne (can be found here and here)
Vase with White Bottom – Serena and Lily
Espresso Machine – Can be found here and here
Backsplash – 2 by 8 subway tile from a local store but can be found here with basic white grout
Dog Bowl Stands – Target
Oversized Cutting Board – World Market
Round Wood and Marble Cutting Board – World Market
Ceramic Bread Box – World Market
Small Cutting Board with Marble – can be found here
Copper Colander – Walmart
Candle – Oliver Henry
Utensil Holder – Williams Sonoma years and years ago
Cabinet Cup Pulls – Amerock in Golden Champagne (can be found here and here)
Cabinet Knobs – Amerock in Golden Champagne (can be found here and here)
Warmly, Jenni


One thought on “A DIY “Frame TV” for $18”
Comments are closed.