Just to clarify before I get started, these are NOT after shots. These are just a few “during” shots to share some of the progress I have been making in our powder room and what a difference just a few small changes and only a little bit of money can make! My goal was to redo this for under $500 and so far in these photos I spent $68 on the wood for the board and batten and $70 on the new mirror so I am at just under $150. (Note: I actually finished the bathroom this weekend and I’ll give you a little spoiler – I came in at $401! However I am behind on the photos and all of the progress shots so it will probably be at least another week or two before I share the full “reveal” but for today I wanted to at least share the progress and how even with just adding the board and batten and swapping out the builder-grade mirror what I difference it can make.)
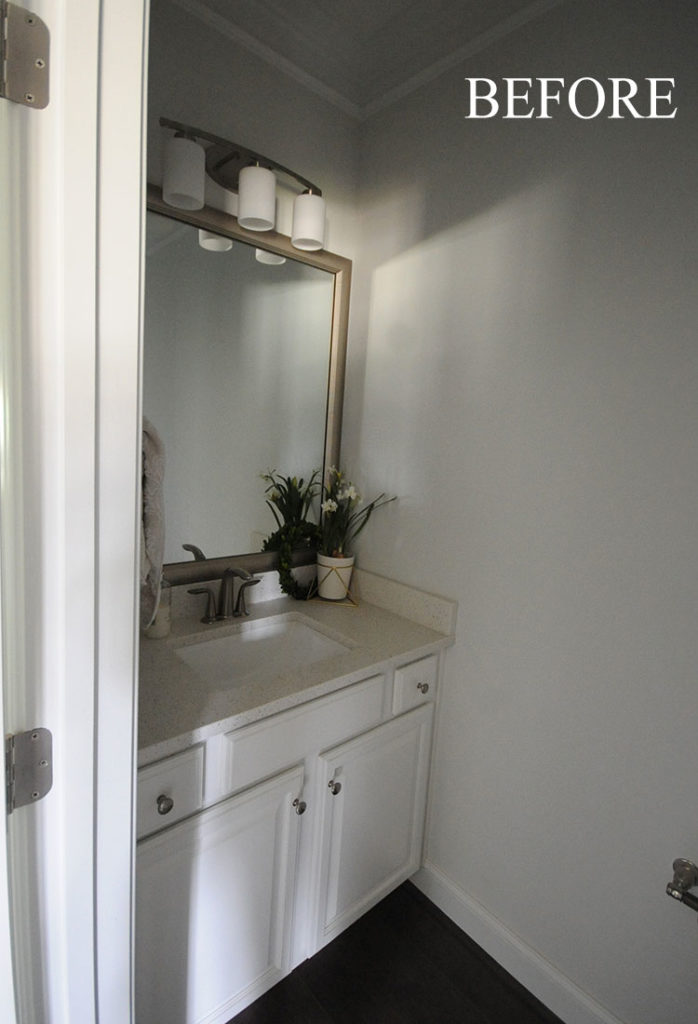
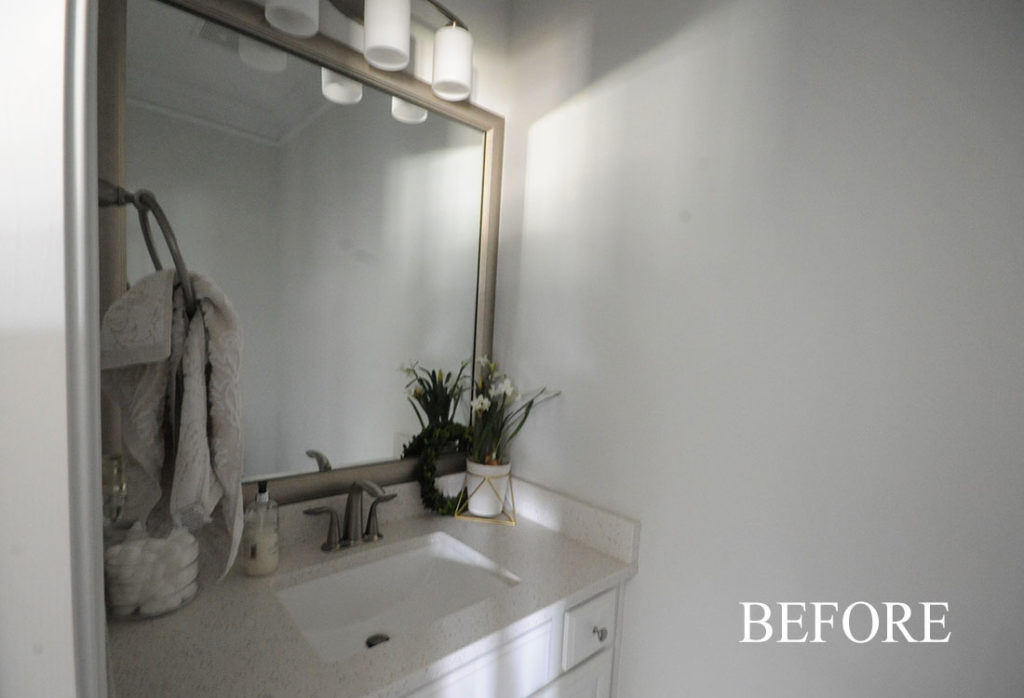
Here is the before! I perfectly nice bathroom – just a little gray and boring but a great starting point.
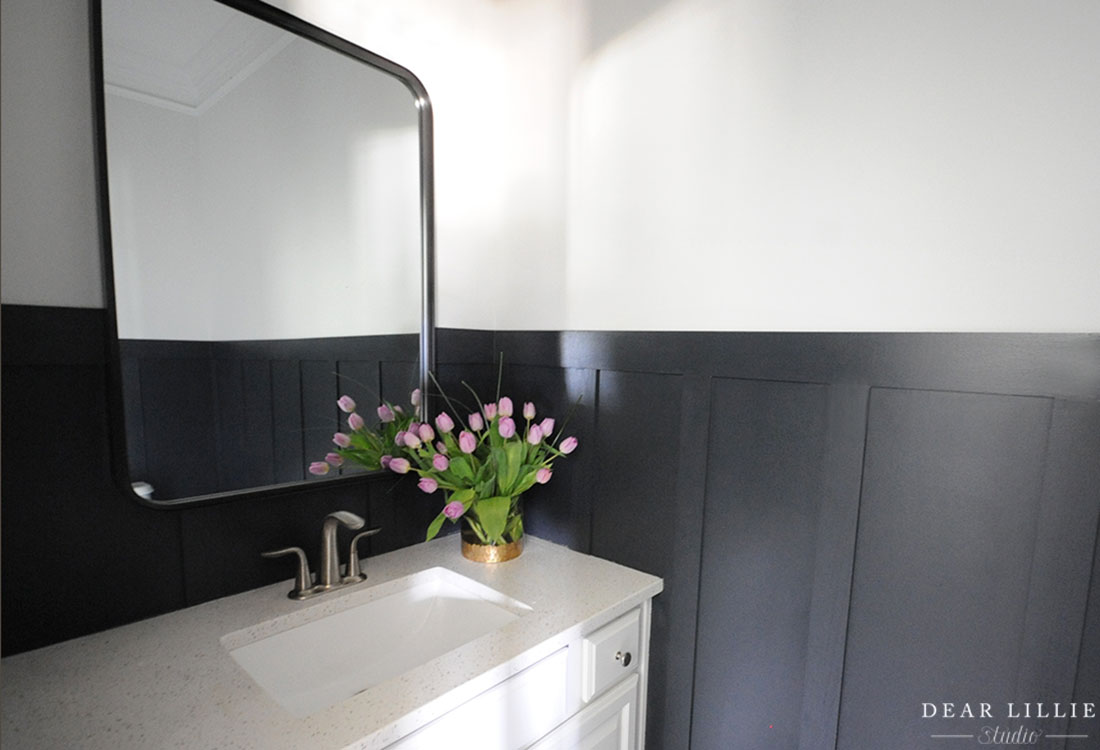
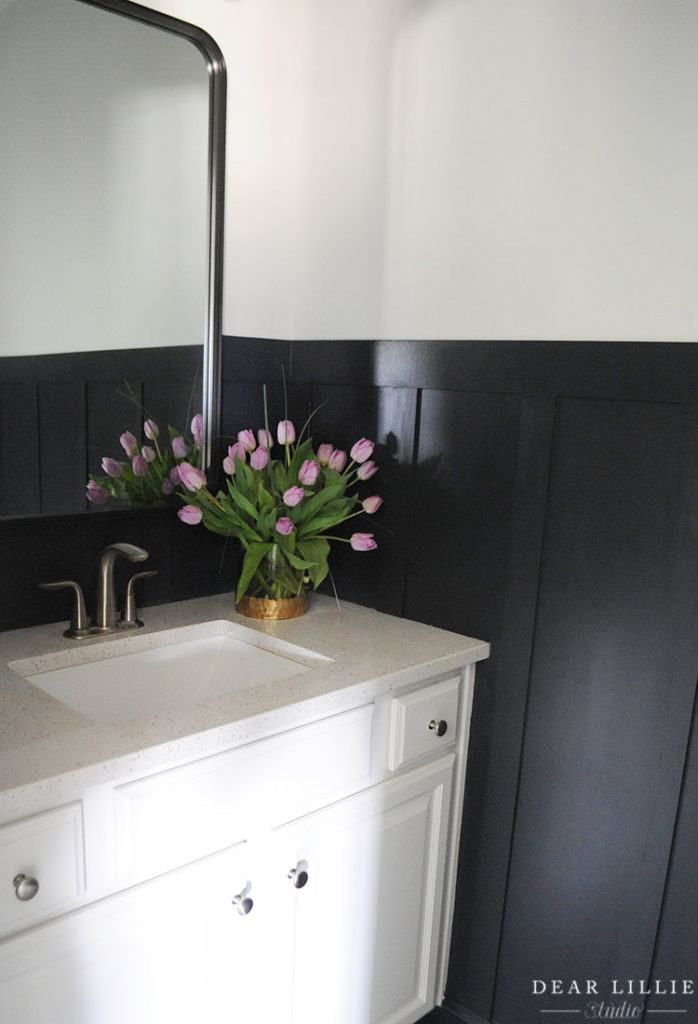
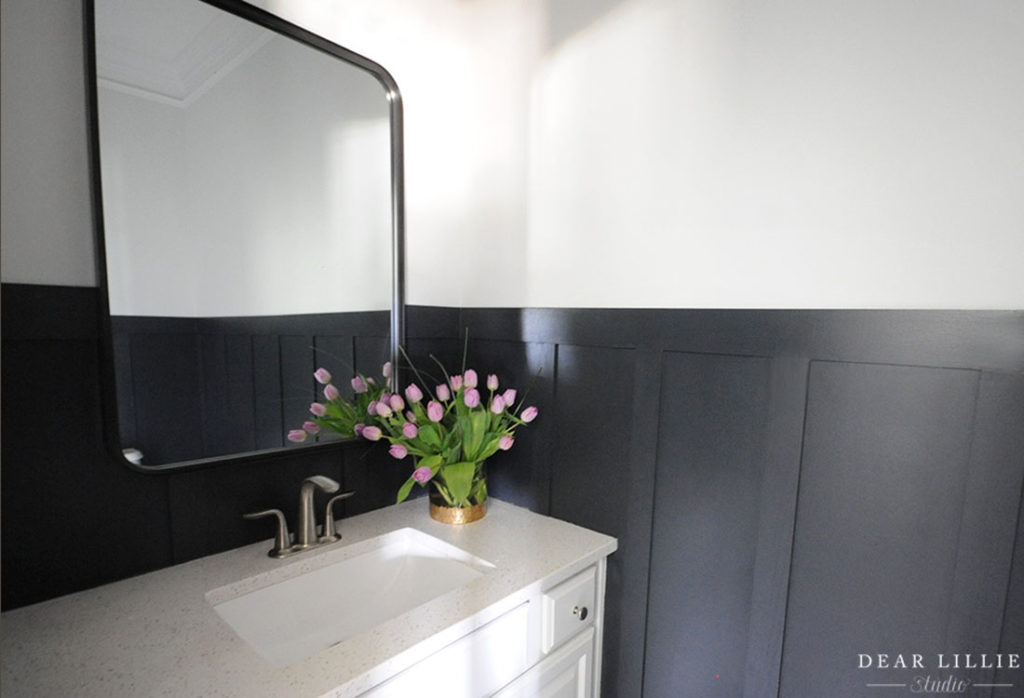
The first thing I did, that in my opinion makes a big difference, was to remove the side splash and backsplash. It took a little bit of work and I got really nervous as I pried the first one off, but I was able to do it on my own and I am so glad I did it! Once that was done I removed the mirror (which also was a bit nerve-wracking because it was glued to the wall) and then I patched the walls and did lots of sanding and then added the board and batten. Board and batten gives you so much “bang for your buck”. I will try to include some progress shots of whole process when I do the full “after” post. For those asking on Instagram – I used very narrow boards for this project – they are poplar and are a quarter inch think are are 2.5″ by 48″. This made it easy to hang a mirror over and also easy to slide behind the toilet so I didn’t have to remove it. I painted those boards before I nailed/glued them to make it easier.
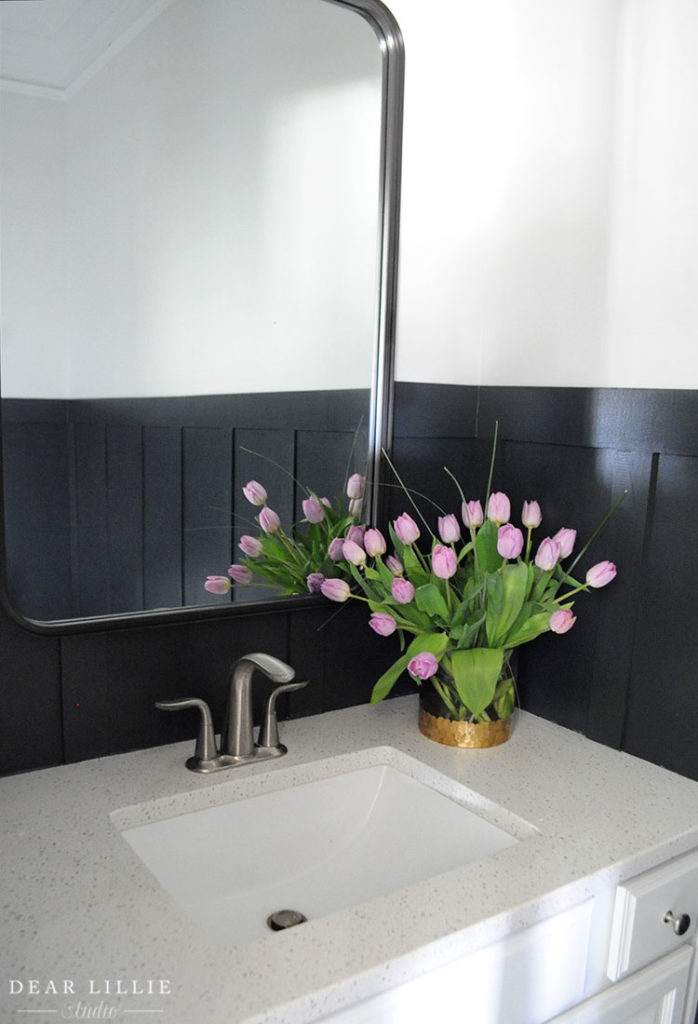
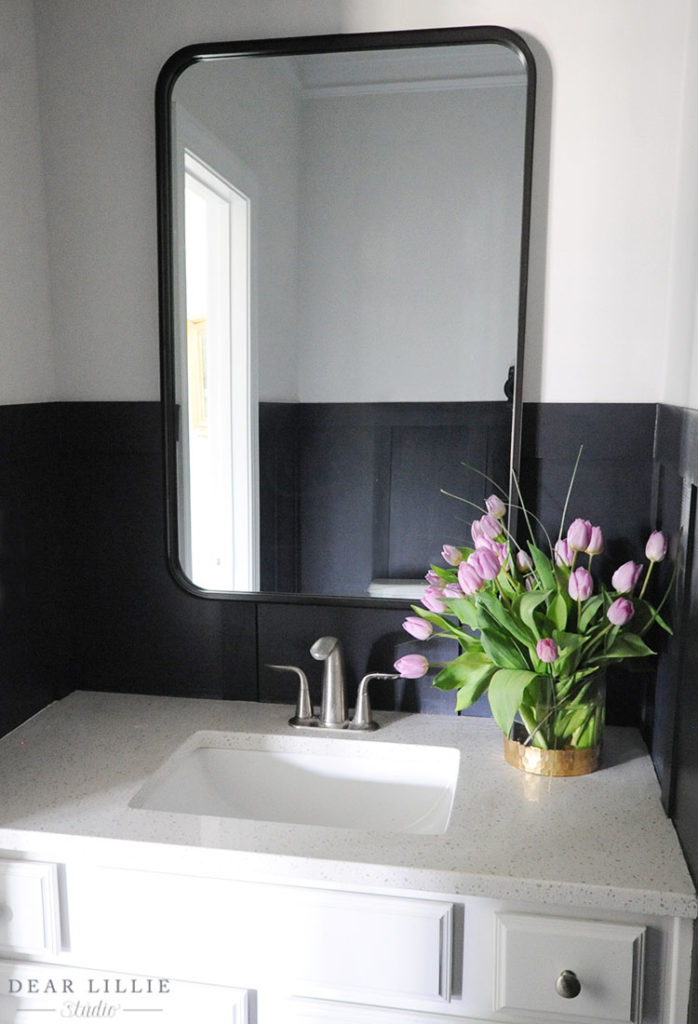
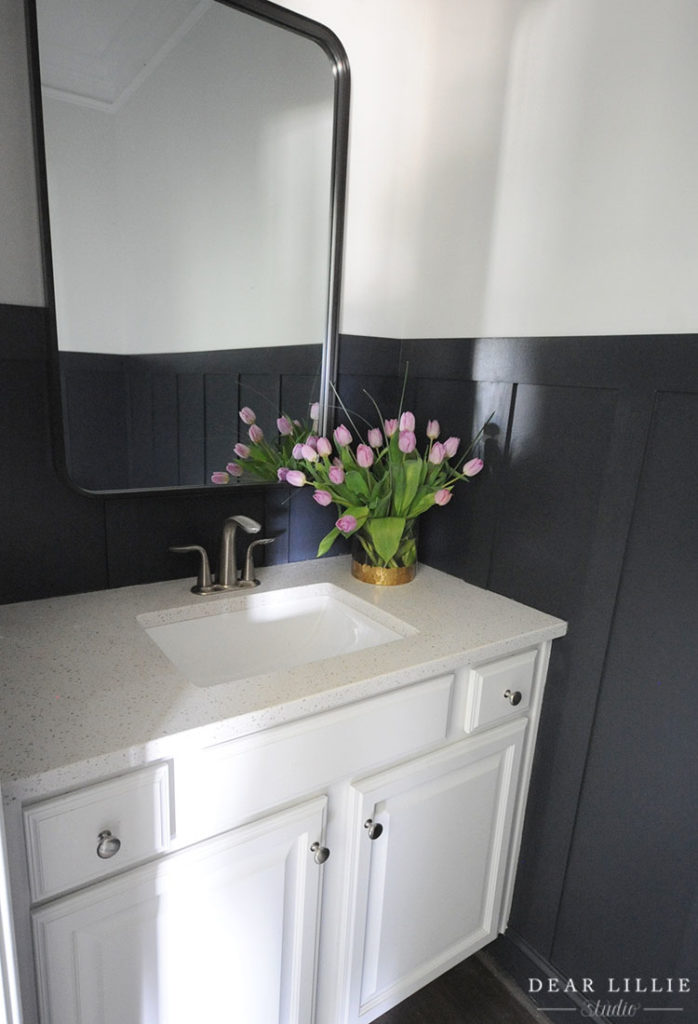
I went ahead and painted the board and batten dark and just used the last bit of Soot that I had left over from our kitchen island and the laundry room built-ins. Then I found this Studio McGee mirror at Target and that’s all I have changed in these photos. I can’t wait to share the finished photos where the light fixture, cabinet pulls, toilet paper holder and faucet are all swapped out!
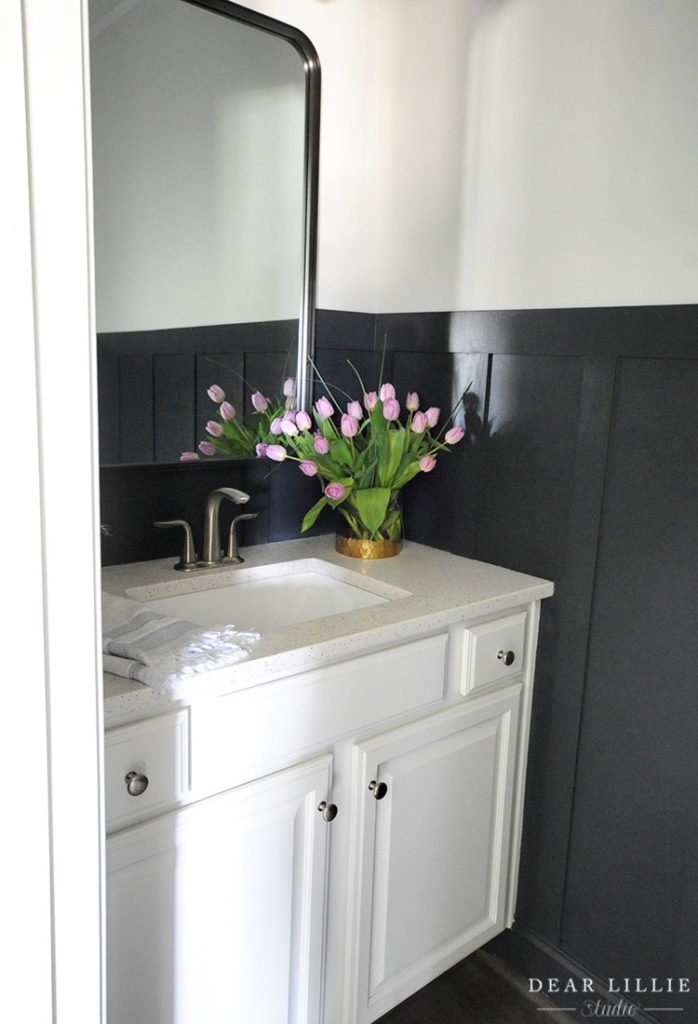
Here are a few more photos of the progress so far. (And this bathroom has zero natural light so it’s so difficult to photograph. Sorry!)
That’s it for today! I hope you all have a great week. And I might share a little peek of the fully finished powder room on Instagram in our stories either today or tomorrow.

Source Info
Trim Color – Extra White by Sherwin Williams
Wall Color – Frosty White by Sherwin Williams
Board and Batten Color – Soot by Benjamin Moore (for this I used their Advance line in a Satin finish) ($68 for supplies)
Board and Batten – I used Poplar boards that were .25″ thick and 2.5″ by 48″
Cabinets – Existing (pretty standard white)
Floors – Existing and don’t have info on them, NEVER would have chosen dark with a golden retriever – haha!
Mirror – Studio McGee for Target ($70)
Vase – World Market
Sconce – Was already here but switching to this one ($89)
Faucet – Was already here but switching to this one in Satin Brass ($129)
Cabinet Pulls – Were already here but switching to ones similar to these ($9)
Toilet Paper Holder – Was already here but switching to this one ($36)
Other items not shown but in finished bathroom:
Soap Dispenser – Target
Hand Towel – Target
Candle -Target
Architectural Prints – They were part of our Collection at Soft Surroundings but unfortunately no longer available
Warmly, Jenni


