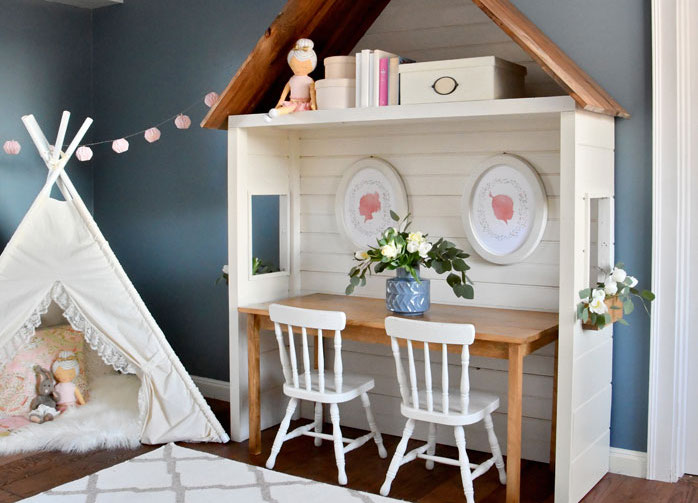
Hey, everyone–this is Jason again! I thought I would drop in to show you all an overview for how we built Jamie’s art space. You can view last week’s post on that with lots of finished shots here: An Art Space For Jamie’s Playoom. We don’t have a traditional step-by-step tutorial for this project, as we ended up making some decisions, changes, and adjustments on the fly. However, we still wanted to show some photos of our process in case anyone wanted to try to build something similar on their own!
Our starting point was basically that Jamie knew she wanted a wooden structure that was wide enough to fit the table part way inside it, and that she wanted a window on each side and a storage shelf up top. Using the width she wanted, the height of her ceilings, and a depth that we thought wouldn’t take up too much of the room or get in the way of traffic walking through the door into the kitchen, we drew up a rough sketch of the structure in SketchUp (I think I have mentioned before that I much prefer drawing something in SketchUp over actually making it in real life haha).
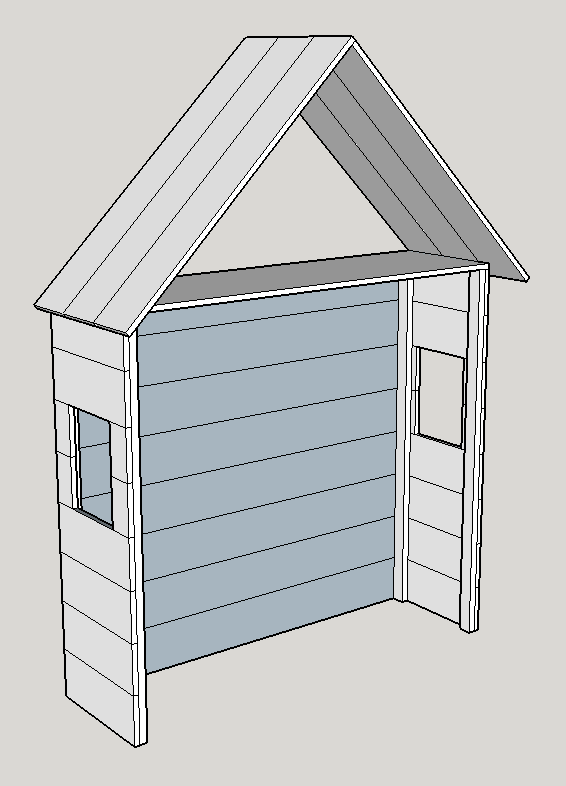
This is what we ended up working off of for plans. At the time we didn’t know if the upper shelf area would end up having a back wall or not. Ideally we also would have made the top point of the roof about 6-10″ lower, but we figured it was easiest to make the roof come together at a 45º angle. The sketch was close enough to what we wanted though to allow us to start actually working on it!
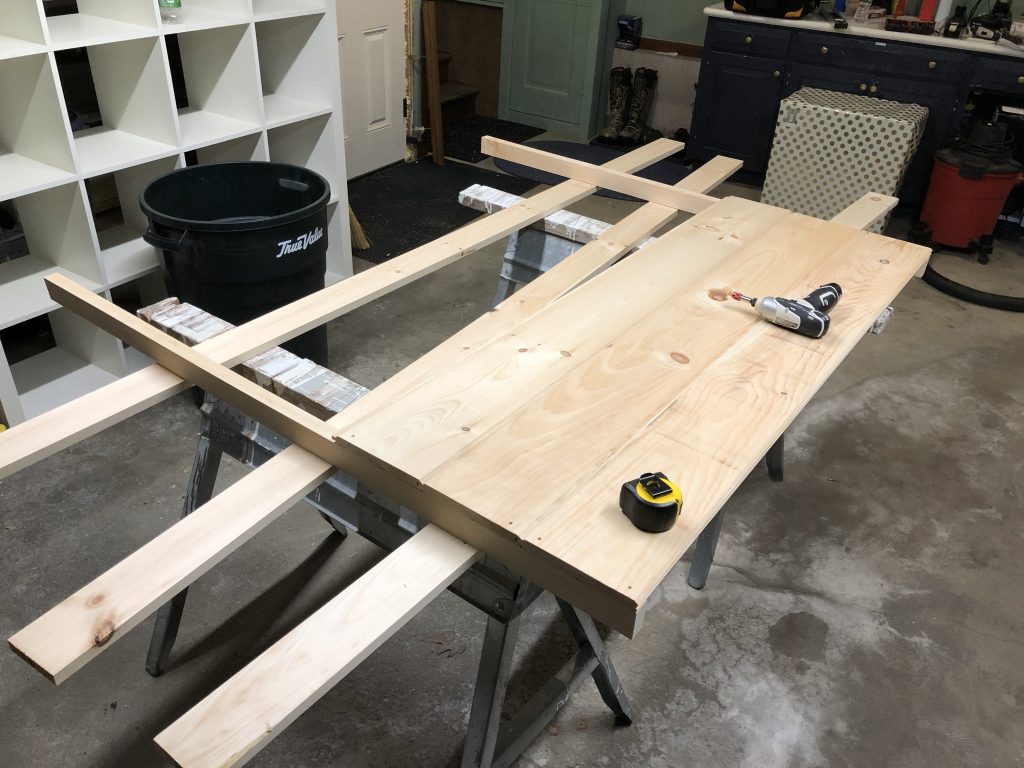
After making all of our cuts, we decided the easiest place to start was the back wall. After going back and forth over what material we wanted to use for the walls, we ended up deciding on 1″x8″ edge and center bead and worked our way from the bottom up to the top of the wall.
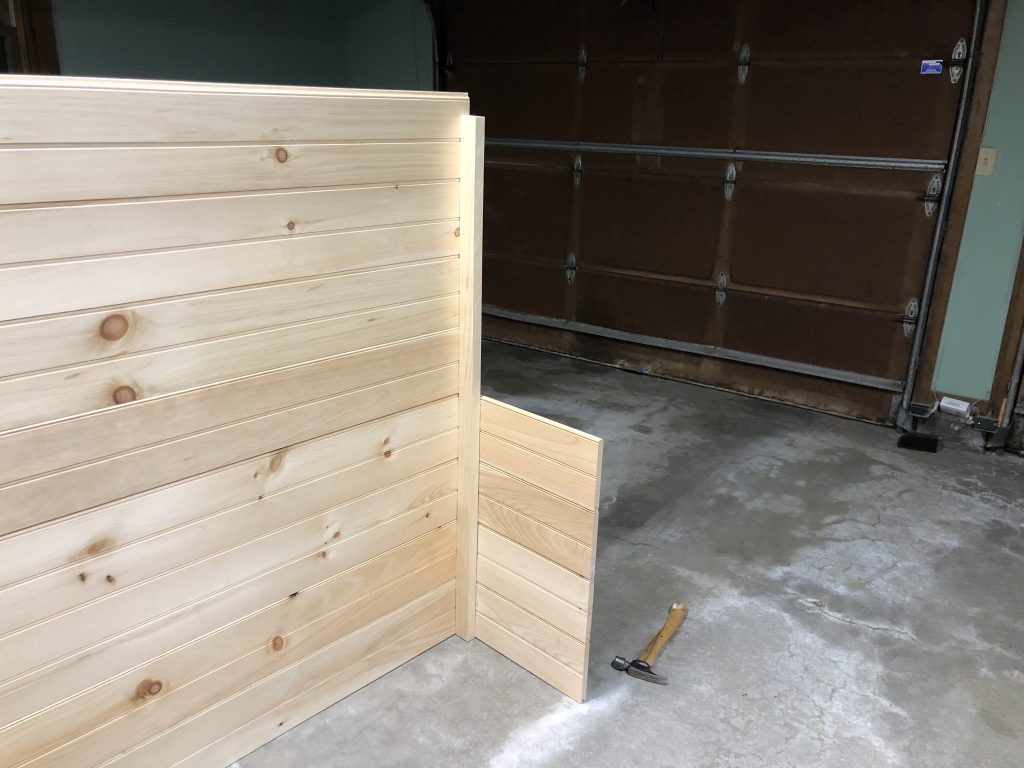
We then worked our way up the side walls, stopping at the bottom of where the windows would eventually be.
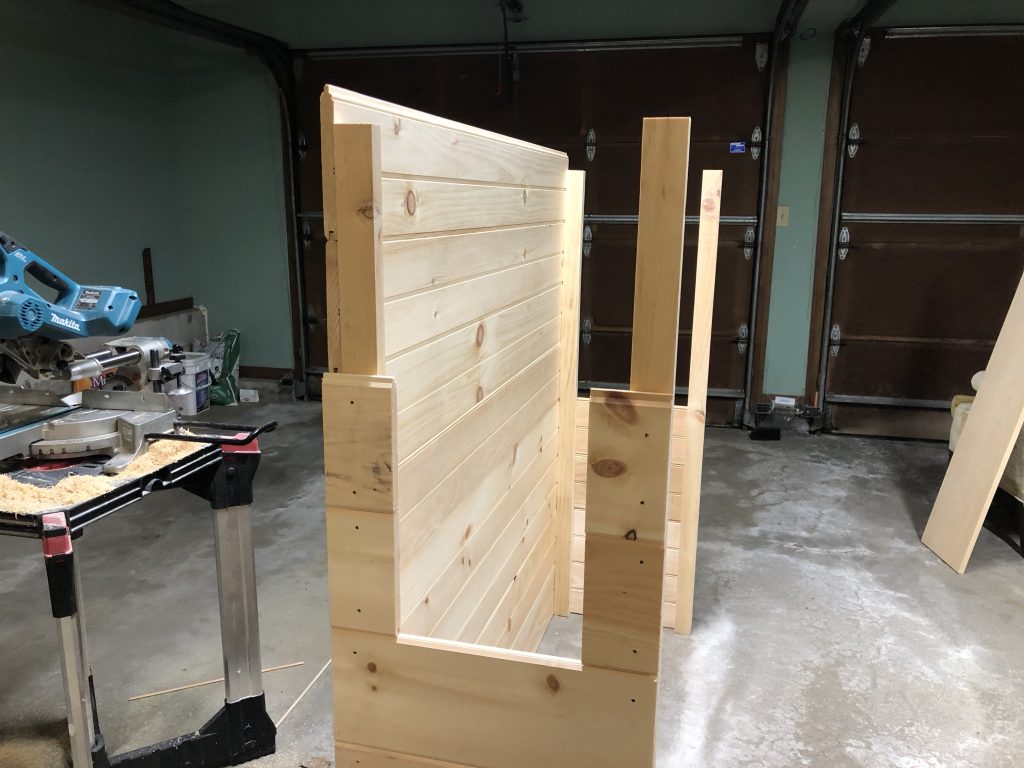
We then screwed the siding into the front framing board to stabilize the structure. For each window we cut four pieces of siding only a couple of inches wide and placed two on each side.
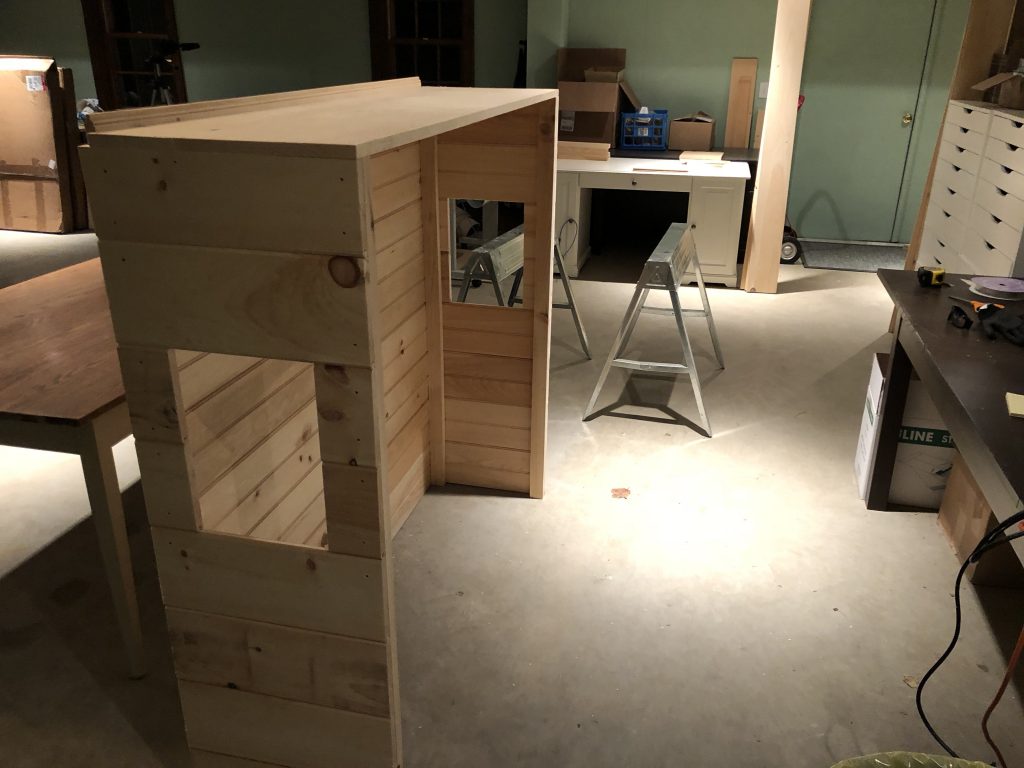
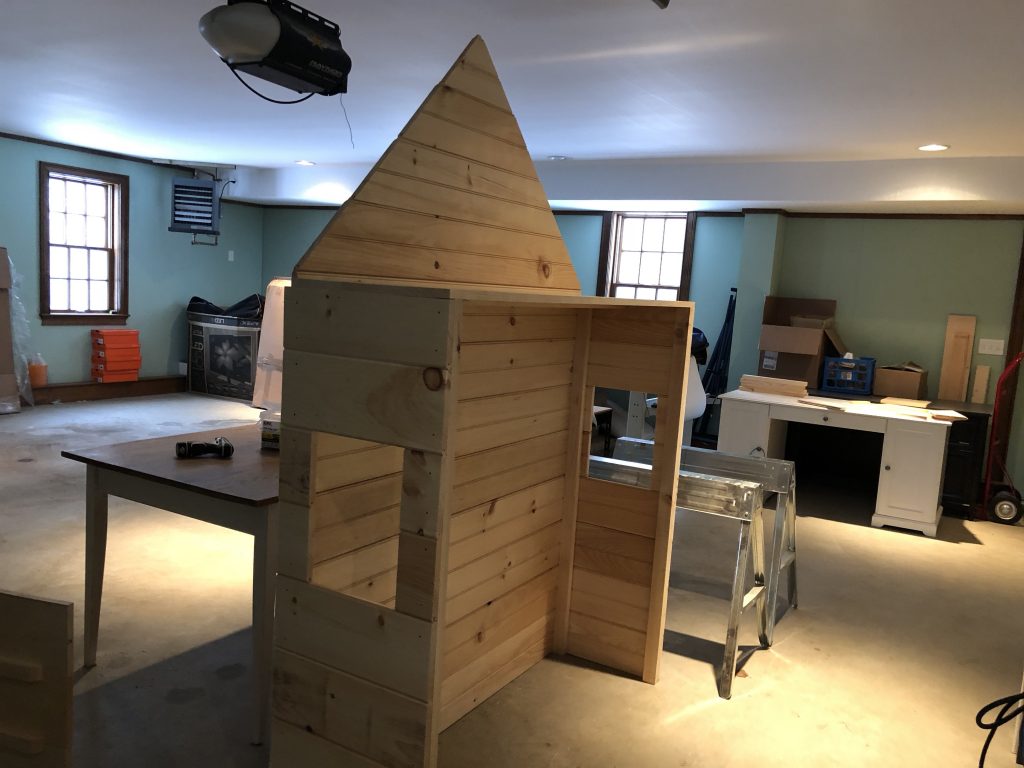
We built up the rest of two side walls, and screwed in two wider boards across the top to make the shelf area. That pretty much completed the bottom portion of the art space, and I have to say it was much more heavy duty and sturdy than I had originally envisioned when we were drawing up plans!
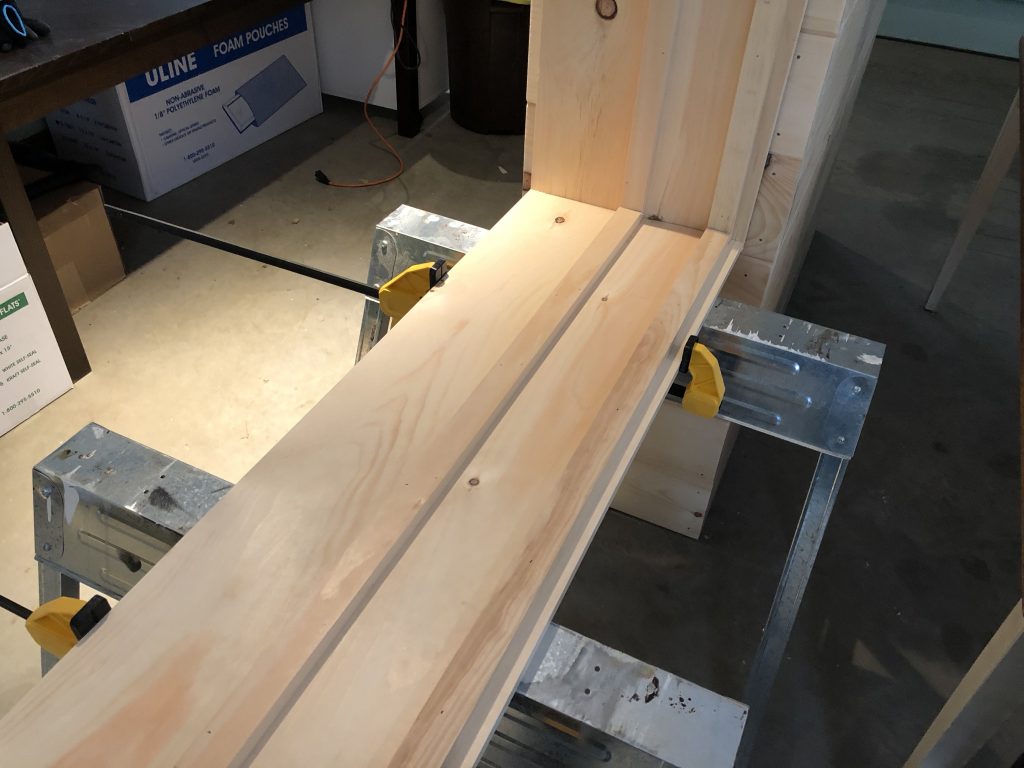
For the roof we used three regular 1″x8″ pine boards per side (not tongue and groove like the walls). In the picture above we are 2/3 of the way through the process and still have the third board to connect on each side. We connected them by nailing 1×2’s over the seam, and also nailed a 1″x2″ 3/4″ from the back edge of the roof to give us something to screw the back shelf wall into at a later point.
We then cut the ends of the edge and center bead back wall boards at 45º angles to make sure they would line up with the angle of the roof. The back shelf wall stood up on its own for the sake of double checking out cuts, but it definitely was not stable like this.
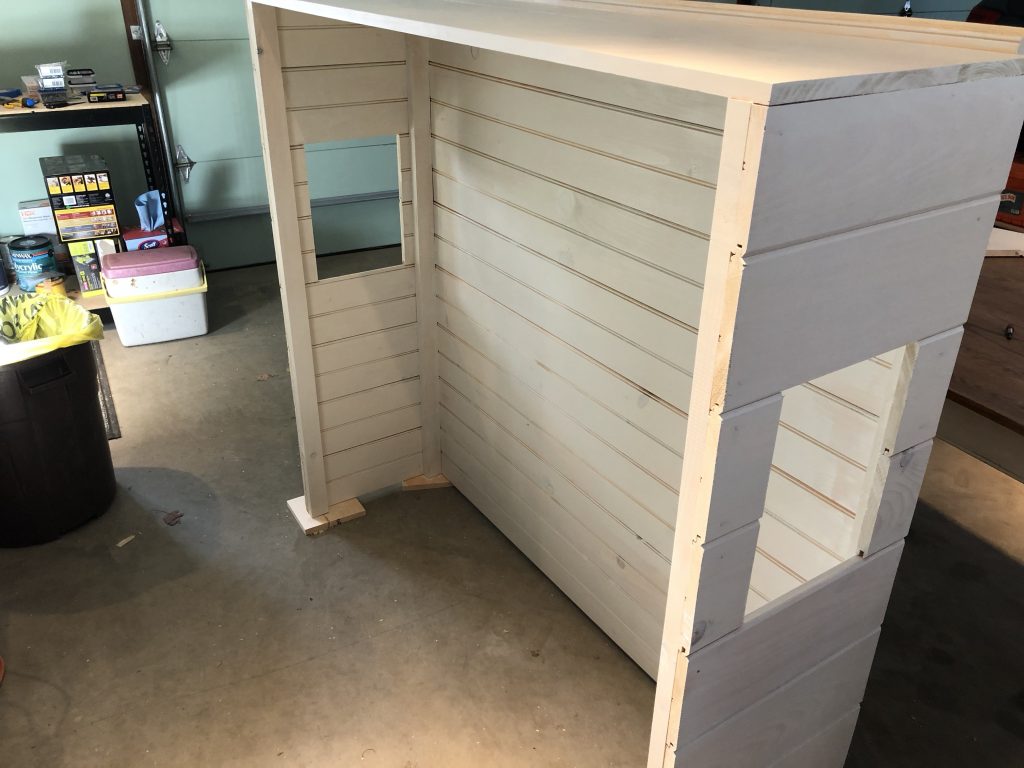
Next we painted the bottom part of the art space Ballet White by Benjamin Moore.
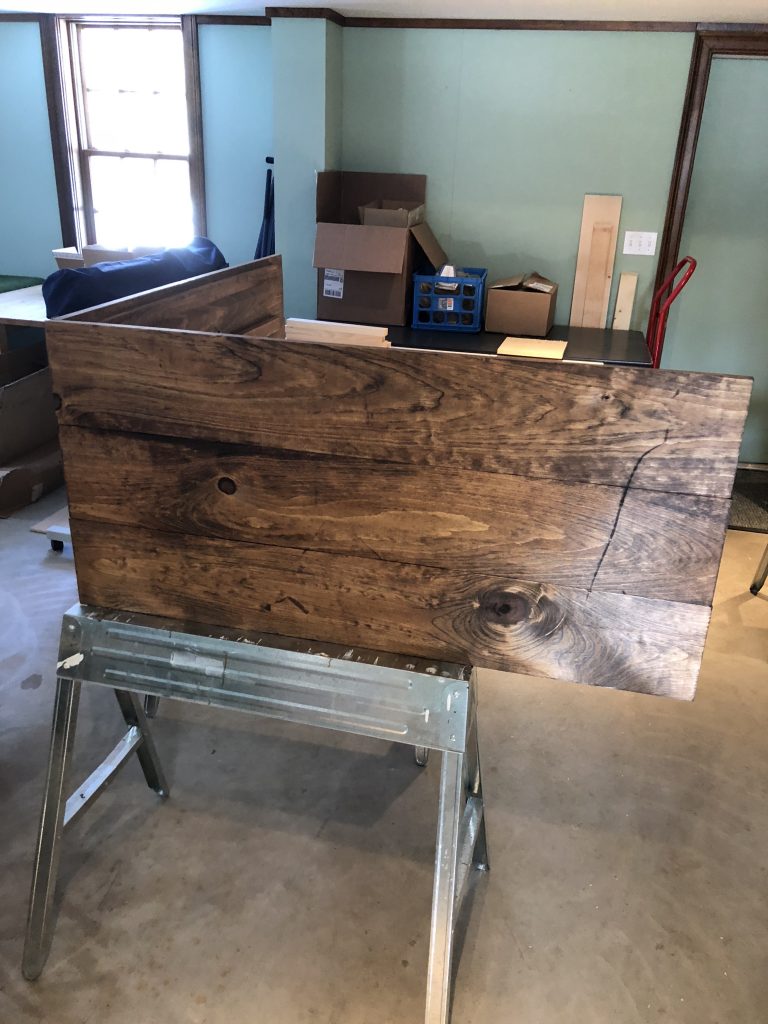
We then stained the roof Provincial by Minwax.

We drilled the roof into place by using long screws to go down through the top and into the shelf. Then we secured the back wall into the 1″x2″ support piece on the back underside of the roof using shorter screws.
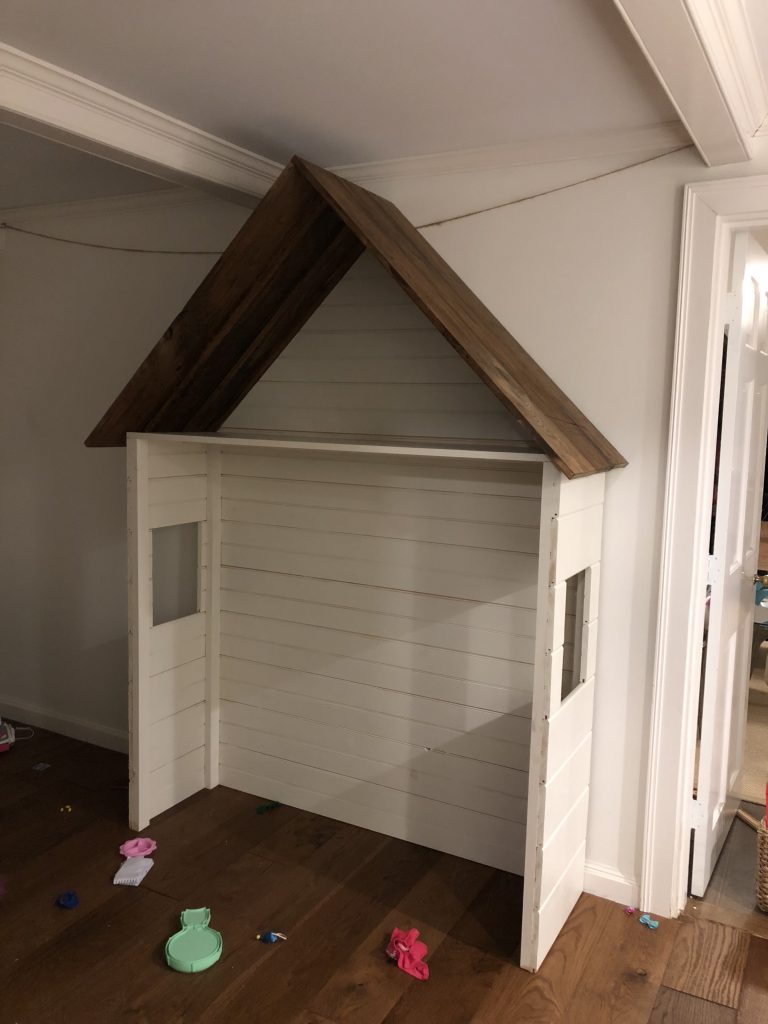
Here is what it looked like with the roof in place!
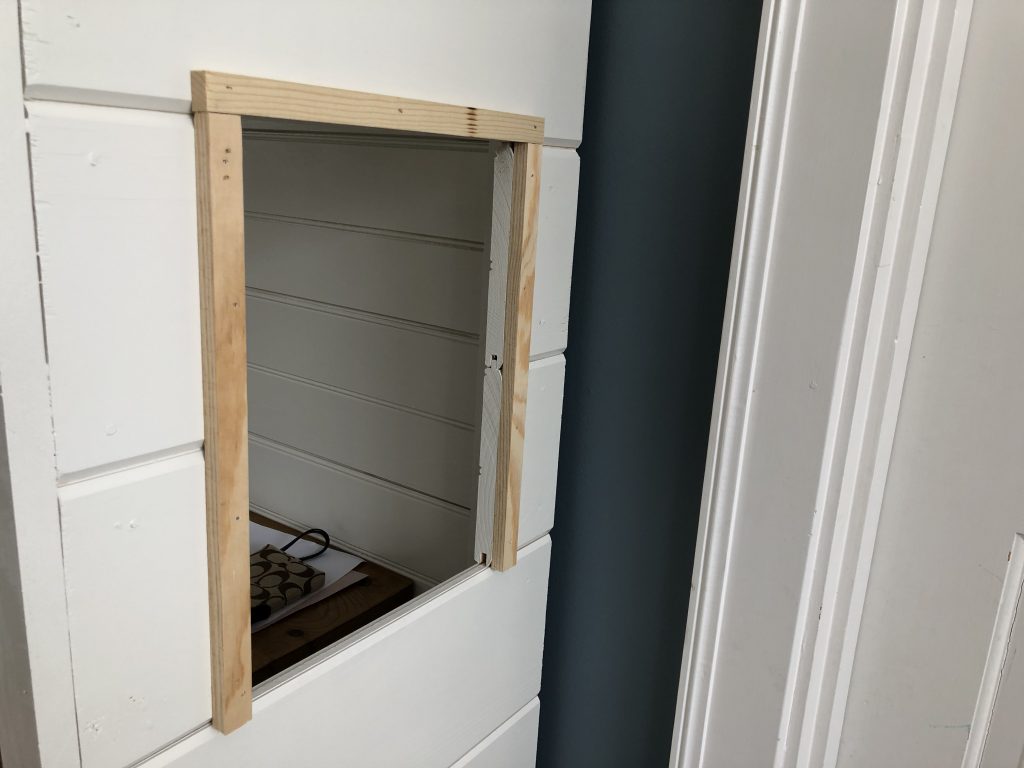
We then added some thick trim pieces to the front of the structure and nailed in some really thin trim pieces to the inside and outside of the windows!
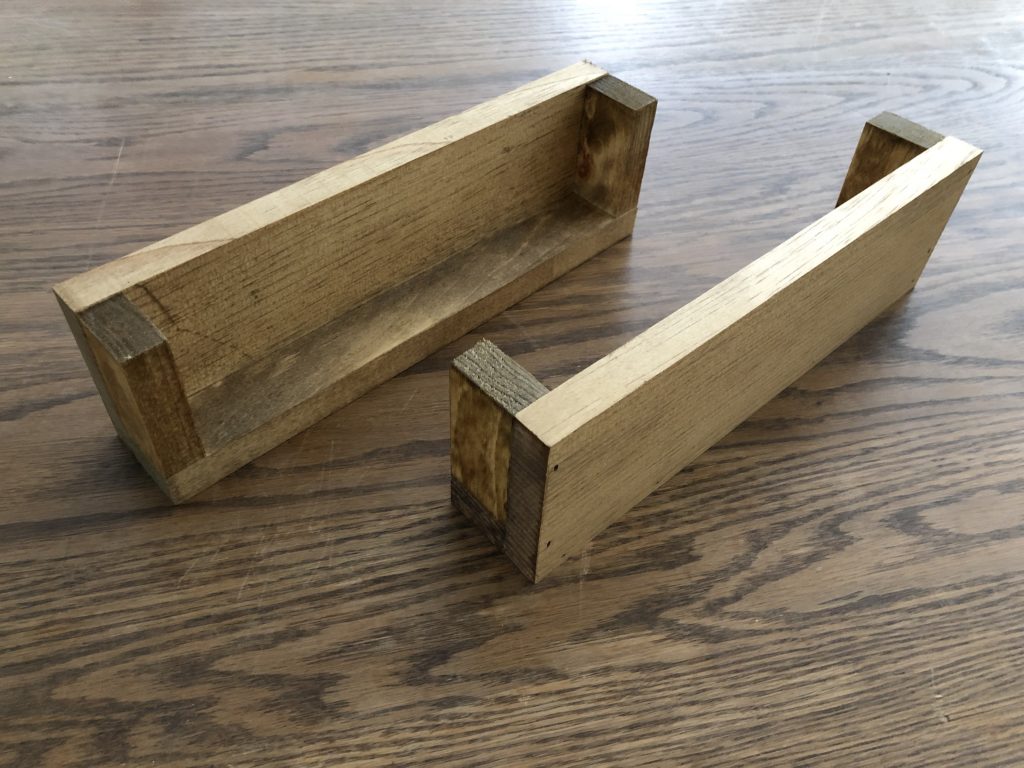
The last little touch we wanted to add was some flower boxes underneath the outside of both windows. Josh made them pretty quickly by nailing together some scrap pieces, and I threw a light coat of stain on them!
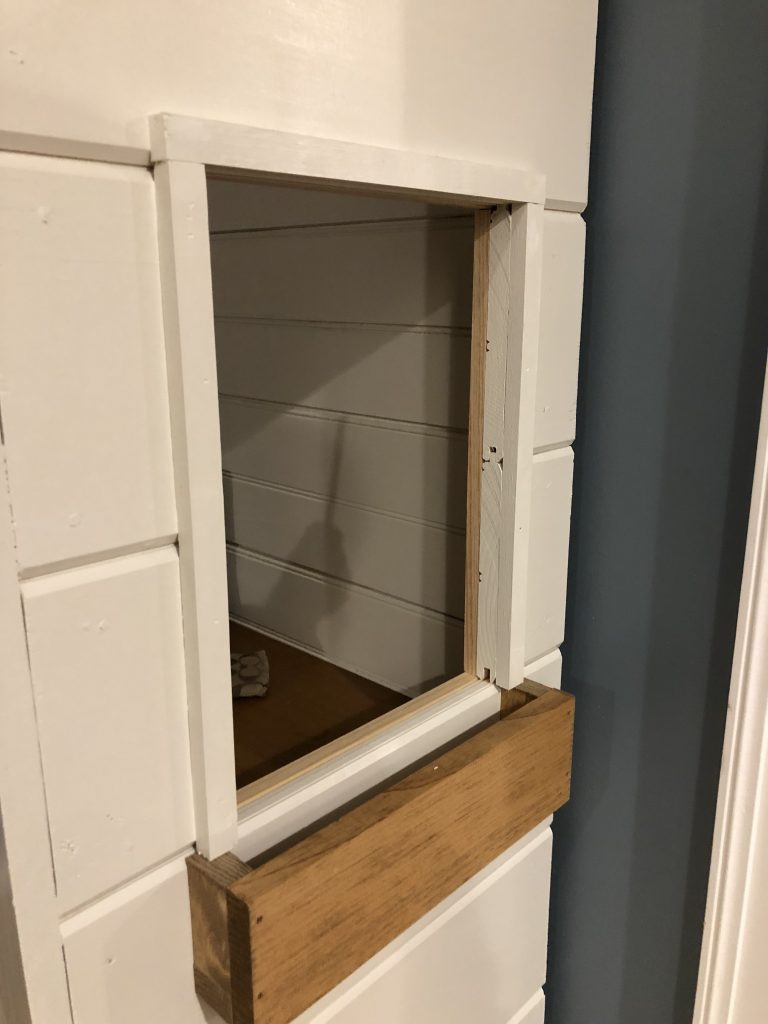
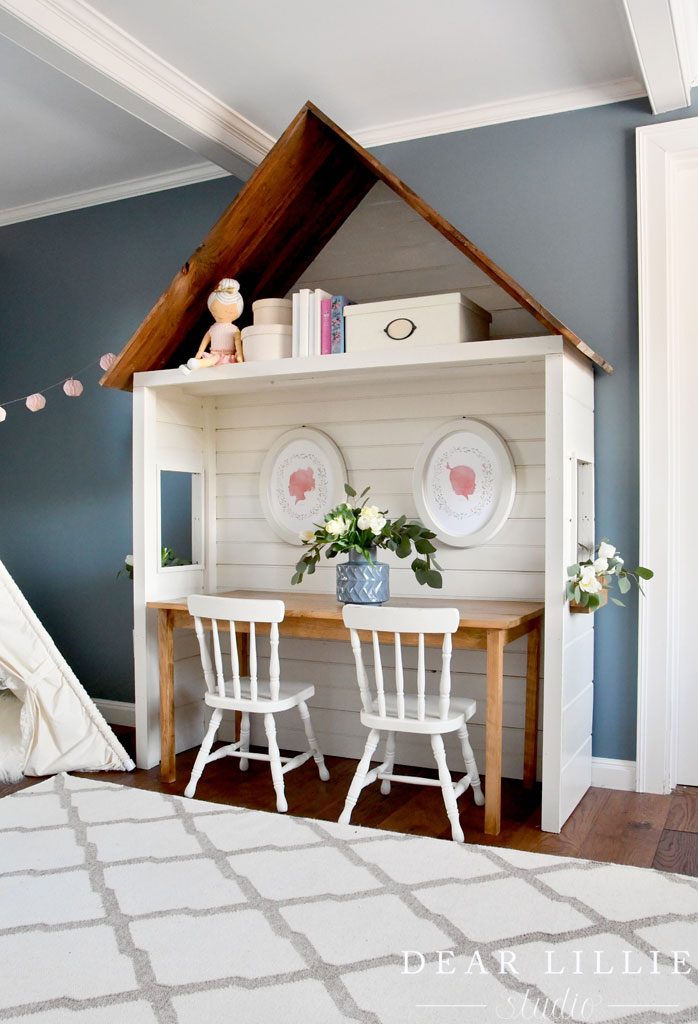
Once the stain dried we screwed the flower boxes in place from the inside out, and Jamie got to styling the space!
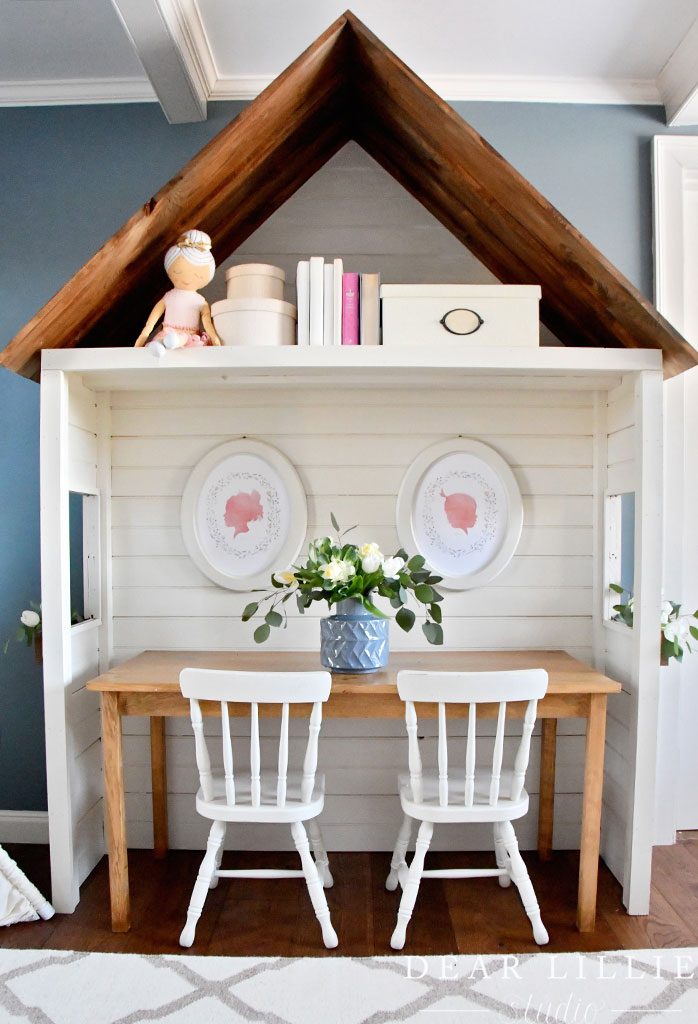
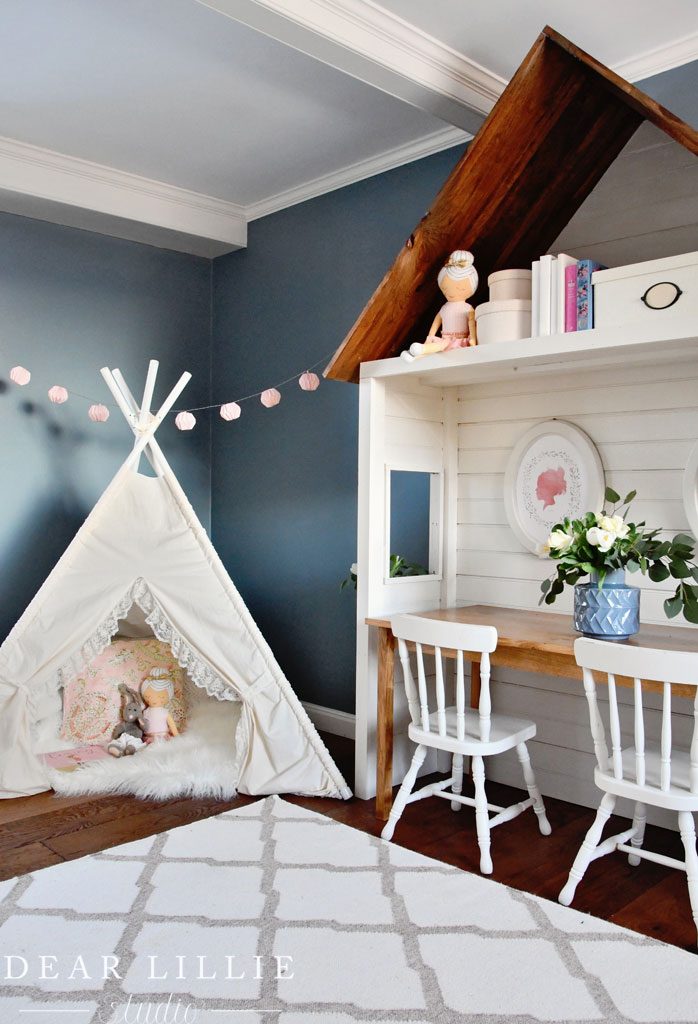
And that is how we built Jamie and Josh’s art space!
-Jason
Playroom Source List:
Wall Color – Smokestack Gray by Benjamin Moore
Flooring – Hallmark Floors Alta Vista Collection in Carmel Oak
Doll – Target
Vase – Target
Hat Boxes and Other Shelf Items – IKEA
Rug – Plush Rugs
Silhouettes – A Family Print Shop
Teepee – Sugar Shacks Teepees
Hanging Paper Decoration – HomeGoods


