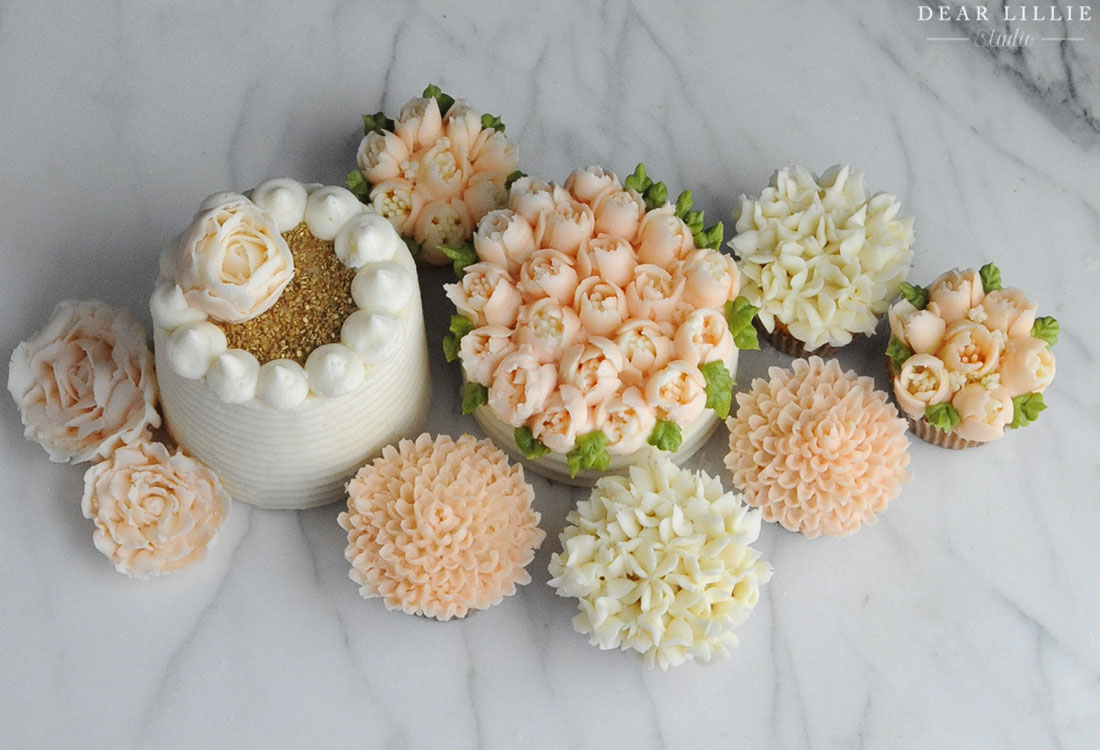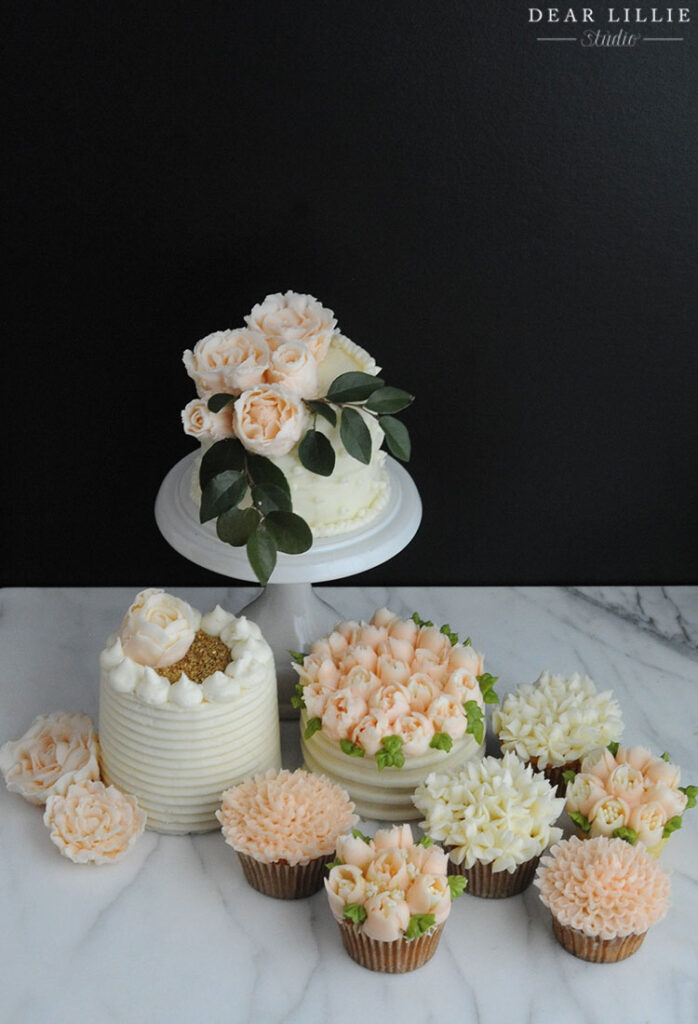
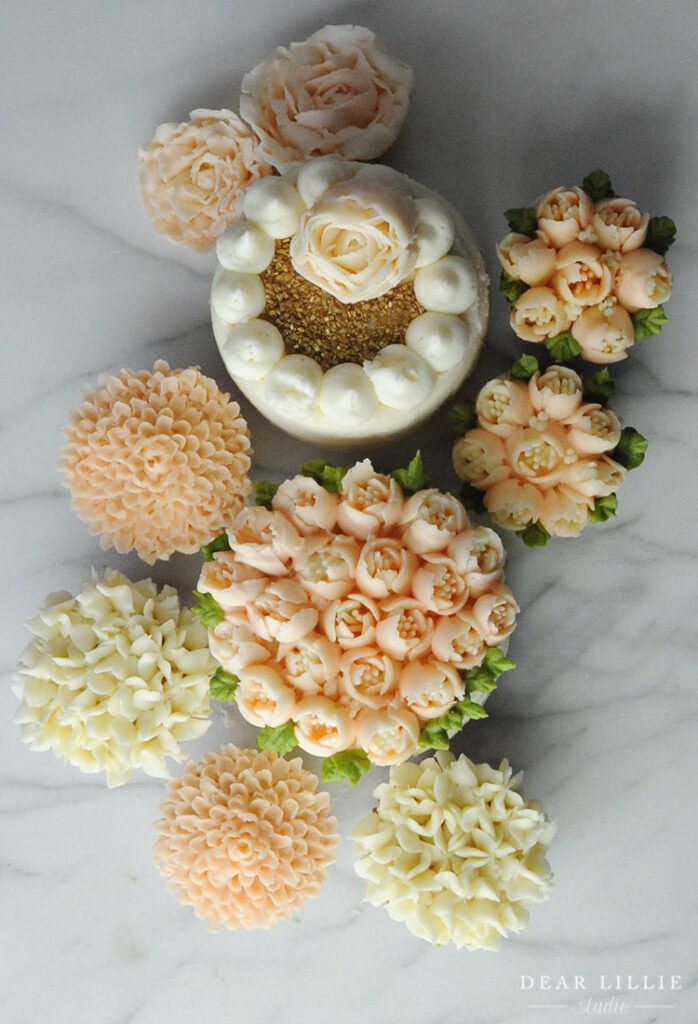
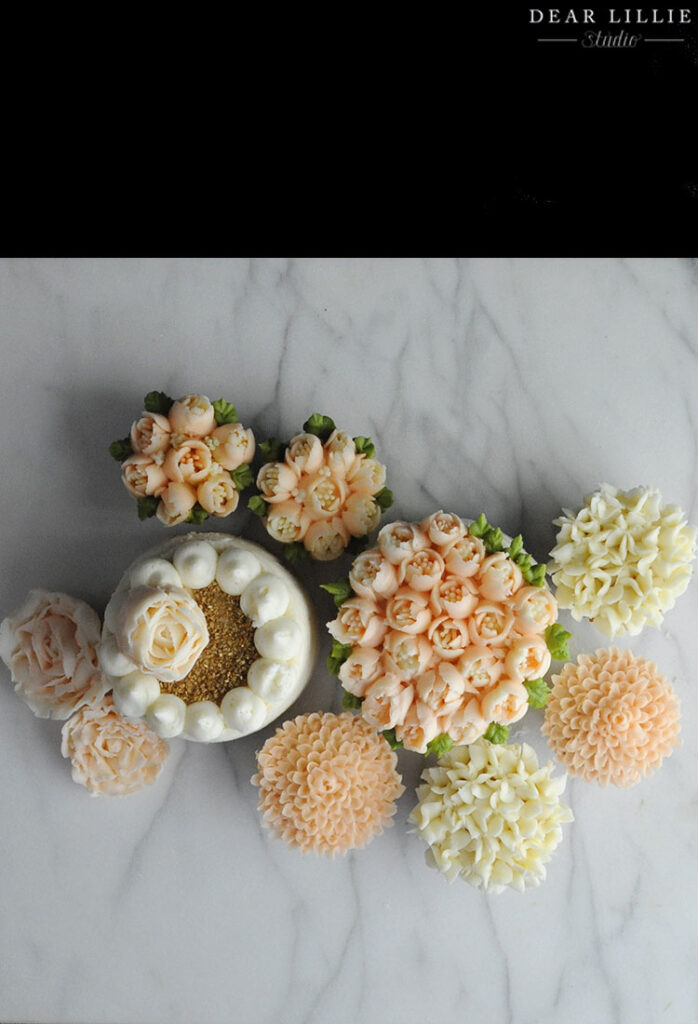
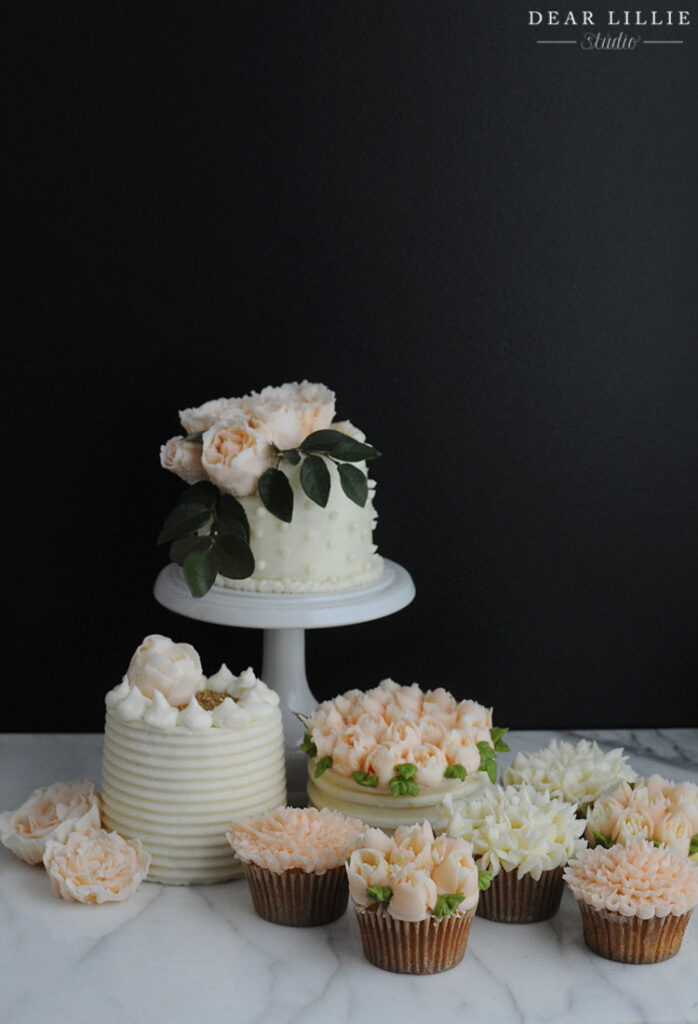
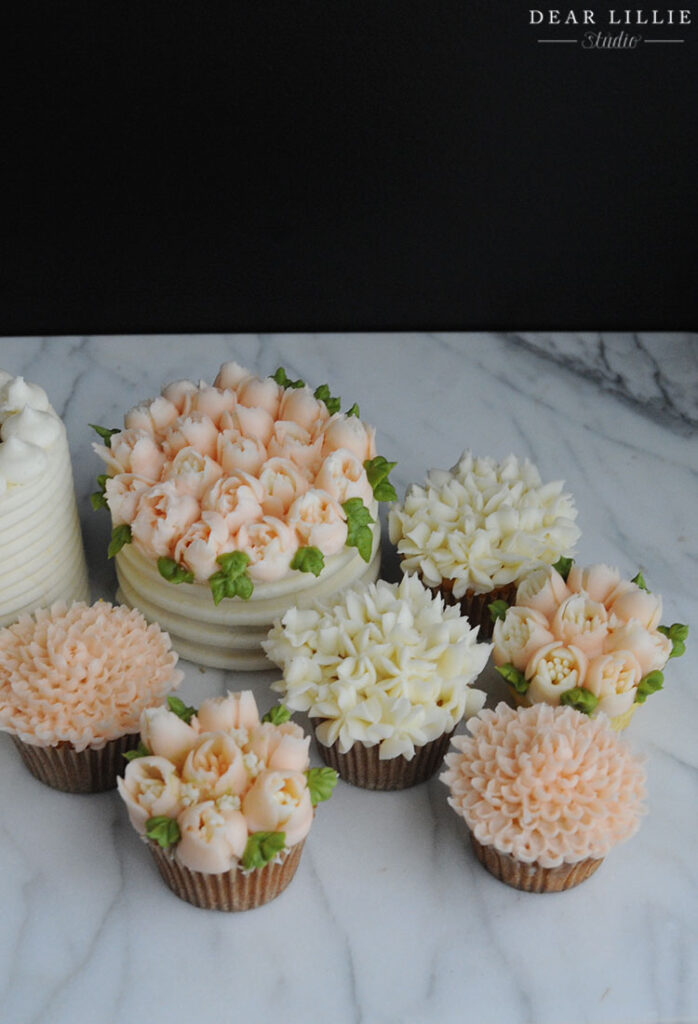
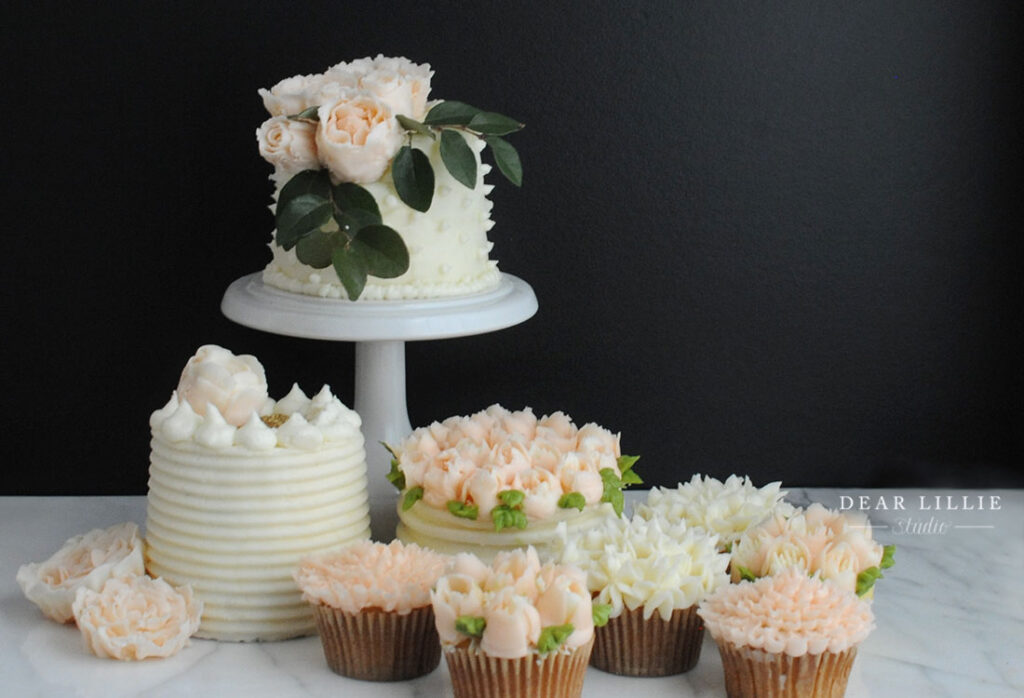
A couple of weeks ago I decided to play around with a bunch of different flowers and had fun making these buttercream flowers on these cupcakes and mini cakes I think I am about ready to start taking some videos for tutorials now. In fact I am planning on starting to take some this coming week (although it may be another week or so before I figured out how to edit and upload them). I took a time-lapse of the chocolate cake I made this past week to try to figure out the filming angle (I don’t want to be in the videos so trying to get the angle where it’s just focused in the actual cake/cupcakes) and I at least think I’ve got that part figured out!
So there aren’t any video tutorials in this post but I hope to have some soon. I will list each tool I used though including the decorating tip I used for each cake/cupcake.
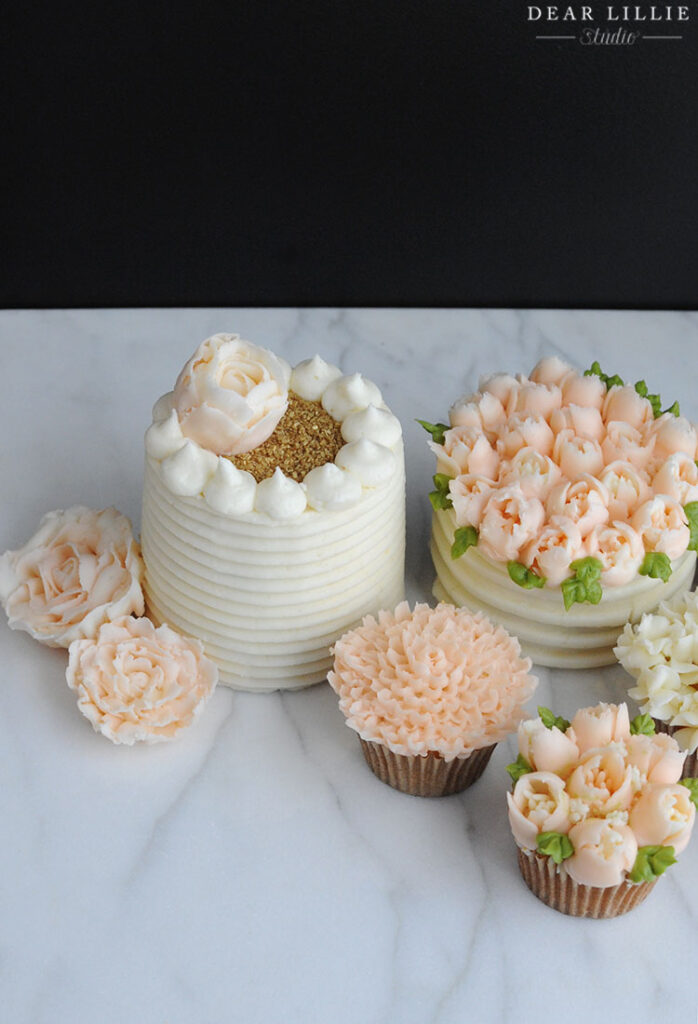
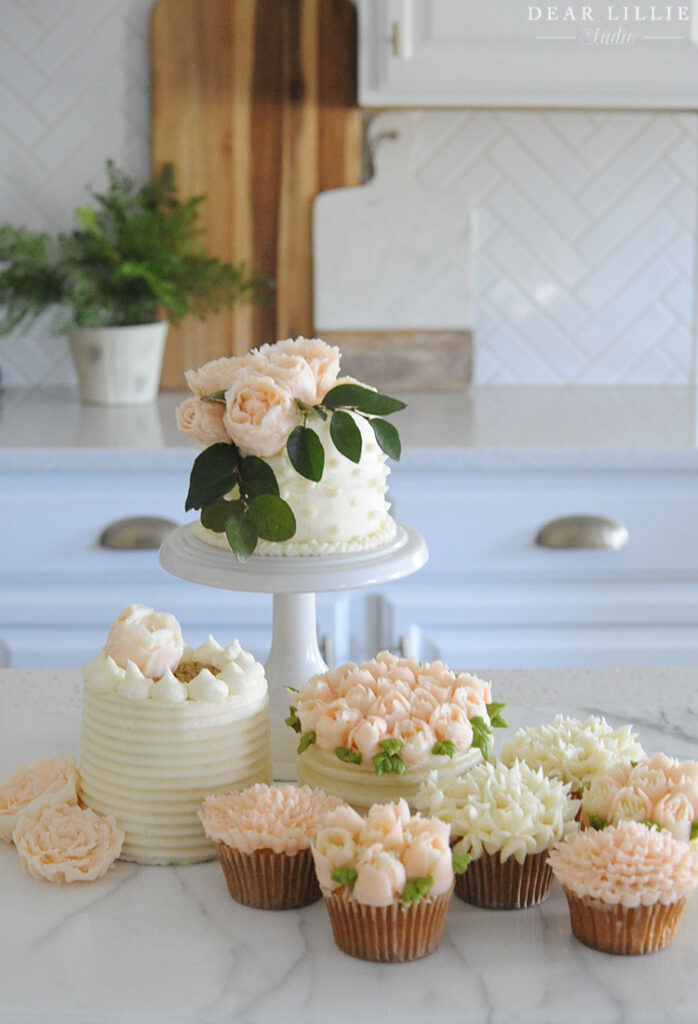
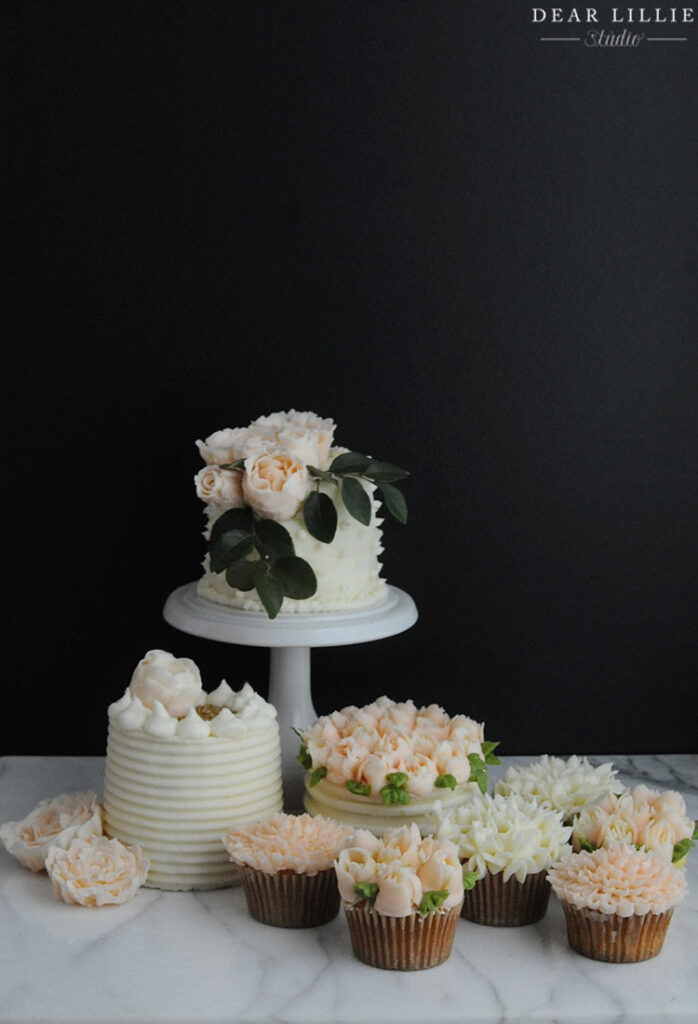
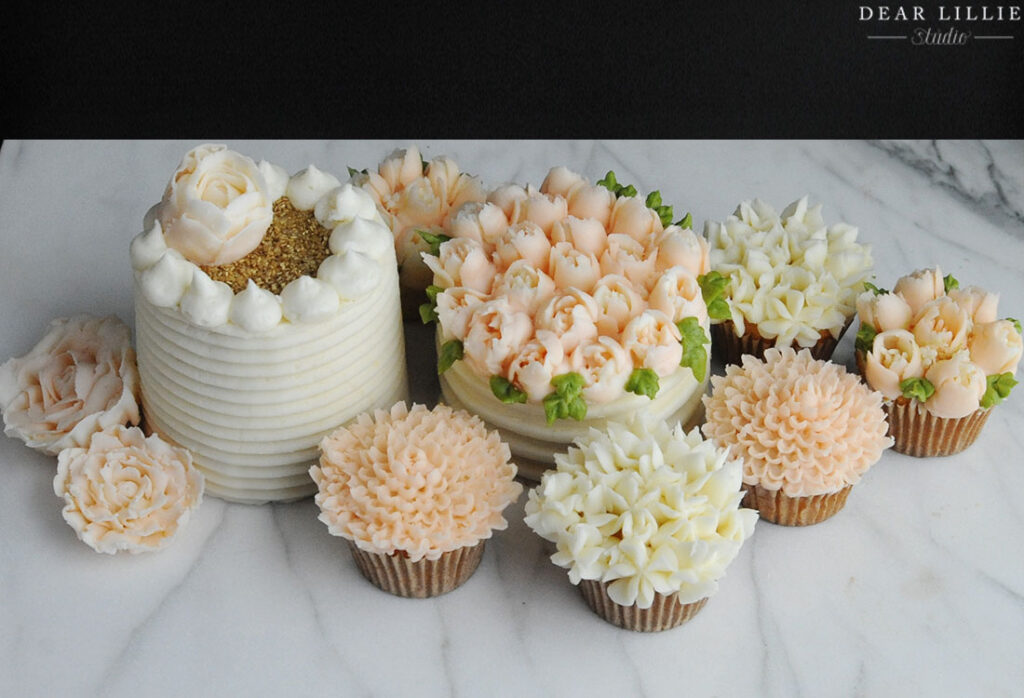
For these I made a bunch of regular sized cupcakes and then three mini cakes. This post is really more about the decorating and not the baking but I will include that info here for those that are wondering. For each of the mini cakes I used one 8″ round yellow cake (as I have mentioned before, my husband and children have a STRONG preference for cake mixes vs from scratch so I typically just use this for the actual cake part) and then used a metal round cutter that was a little over 3″ and cut it into 3 different circles that I used to layer the mini cakes. So for these I basically used 2 mixes and filled three 8″ pans (which in turn made three mini cakes that each contained three layers) and then used the rest of the batter to make a bunch of cupcakes. The three mini cakes are all layered with chocolate icing in between the layers and then basic American buttercream on the outside.
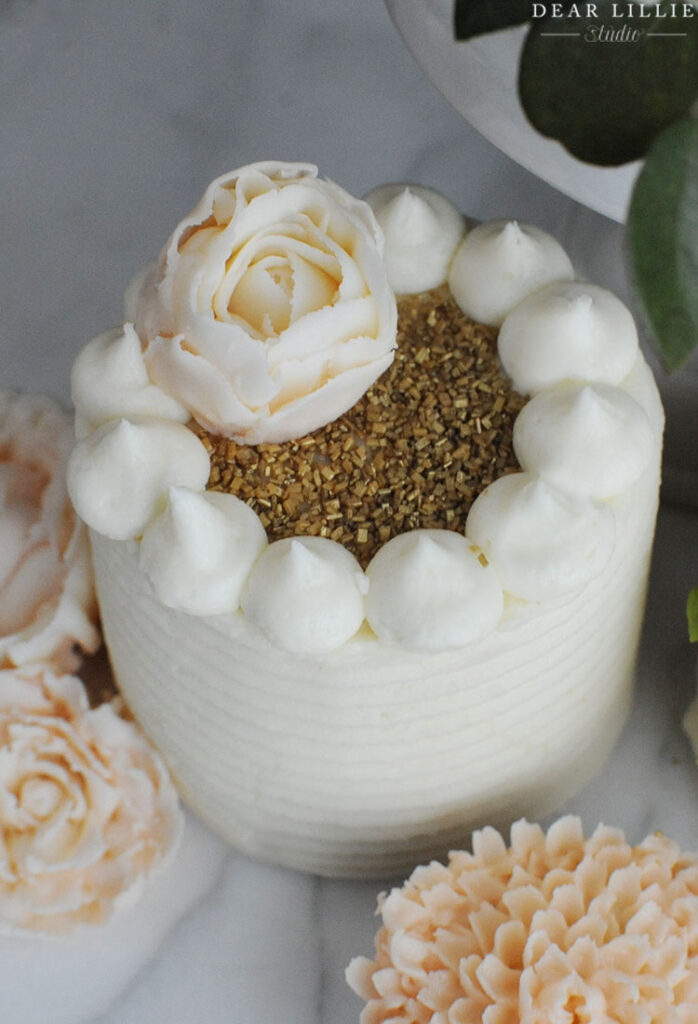
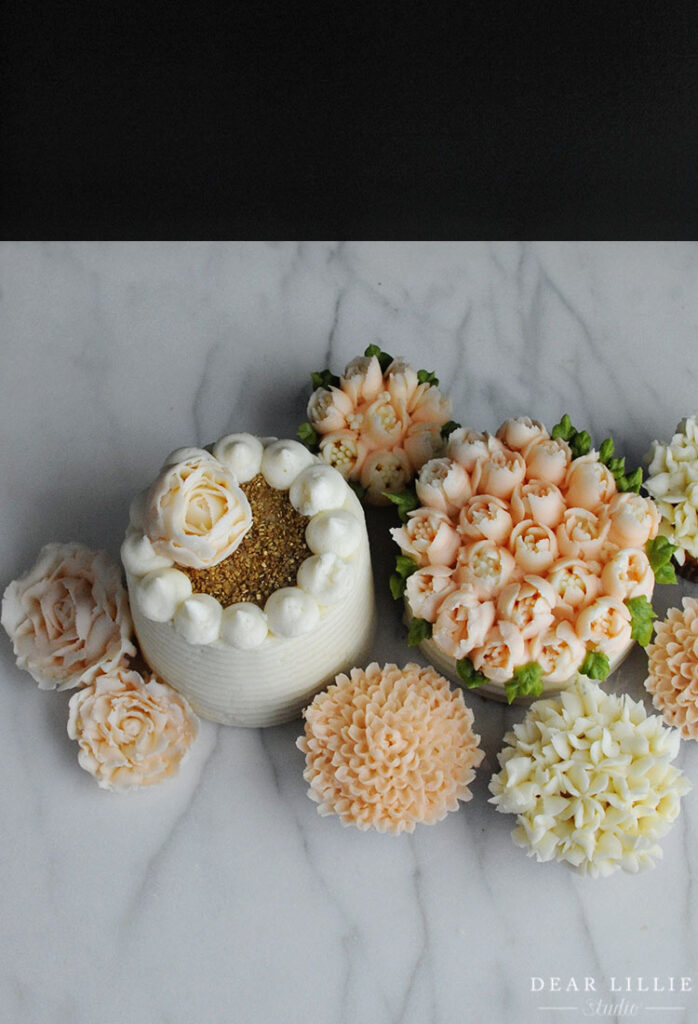
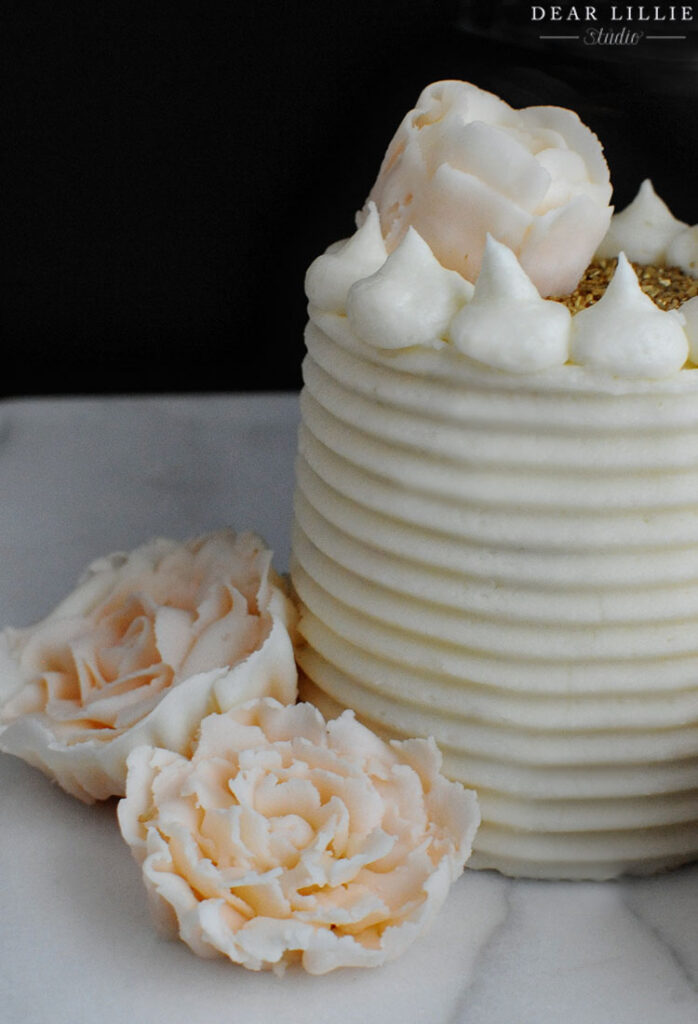
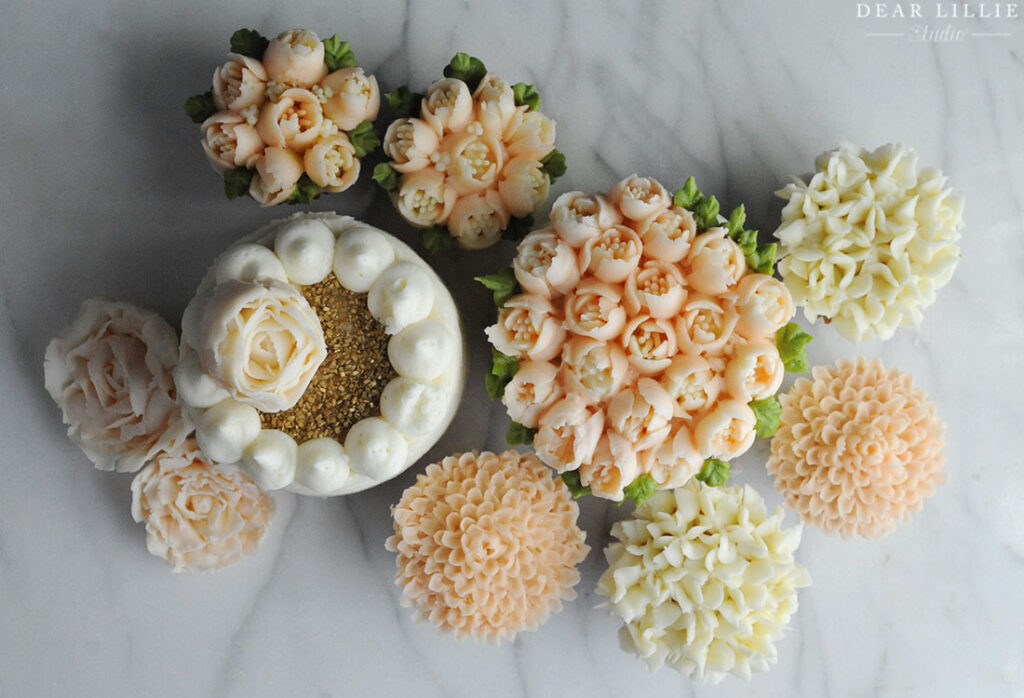
So first we will start with this mini cake. To get the ribbing about the edge I used one of these tools. I really like that this set comes with several different options to play around with. I used another one for the cake that has the tulips on top of it! Then I used this frosting tip to make the little dallops on top. (This tip set is great because these are the three tips I used the most and you can’t beat this price, I’ve had most of my basic tips for years now!) Then I sprinkled some gold sprinkles onto the center. After that I added a flower. I intended on making peonies but they really ended up looking more like garden roses. They were by far the hardest of everything in this batch of mini cakes and cupcakes and I feel like I need to play around with them a bit more before I’ll feel comfortable doing a tutorial for them. For those I used these tips.
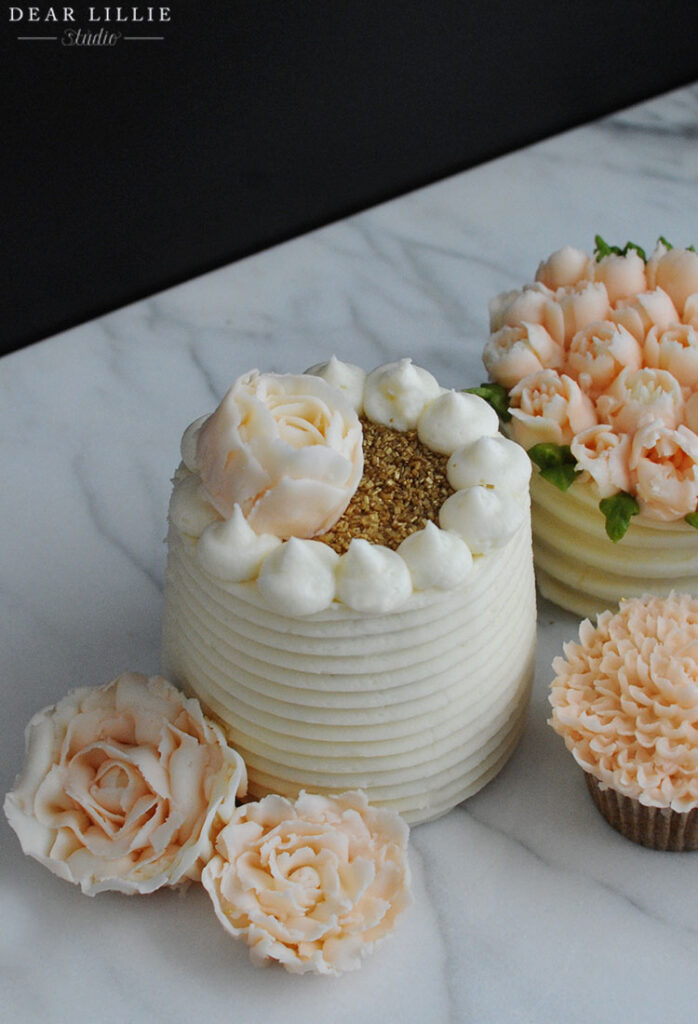
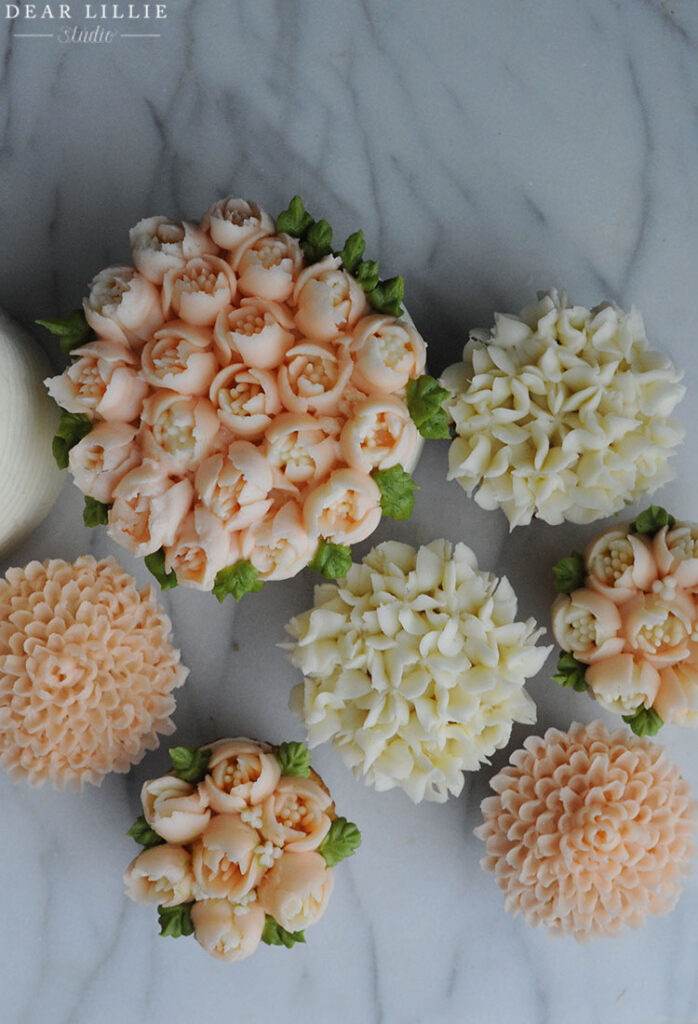
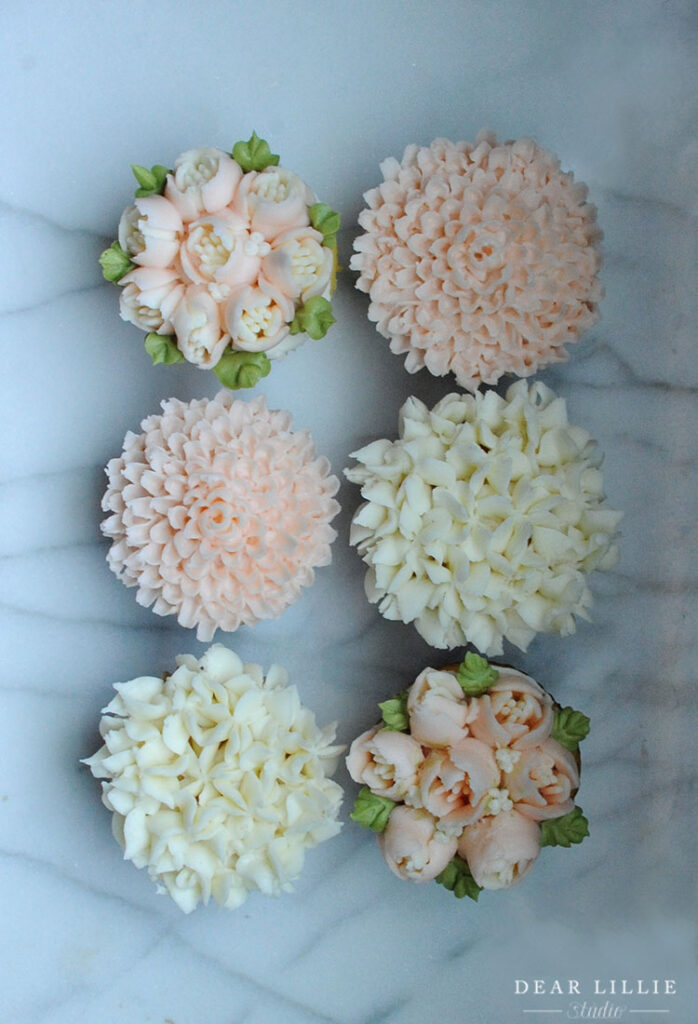
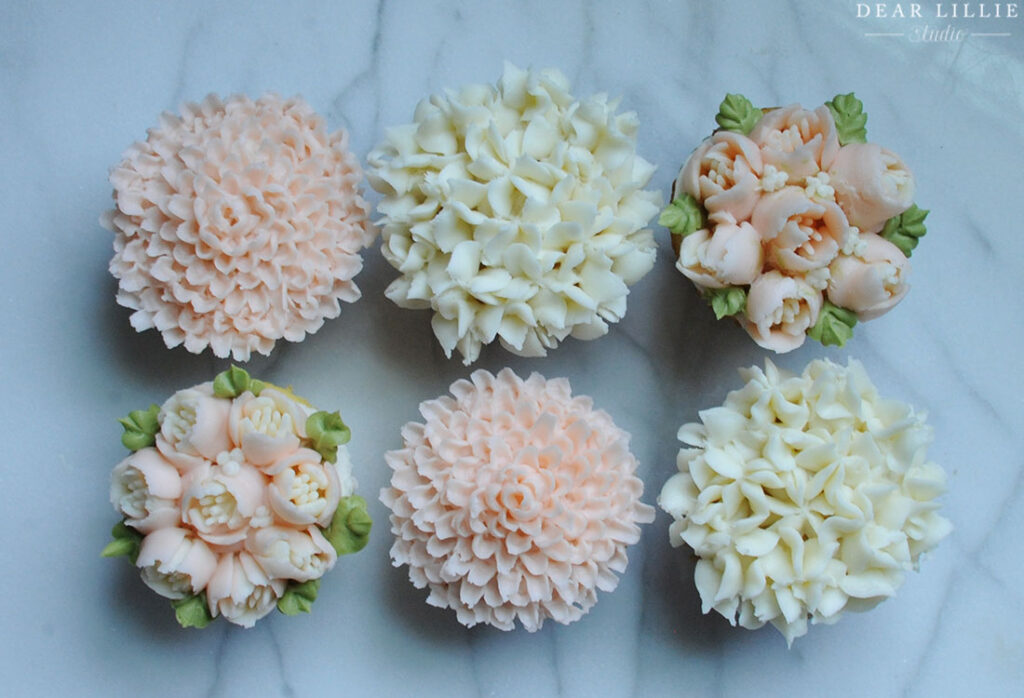
Next up we’ve got the tulips! The tulips look so much more difficult than they actually are! The tip itself does so much of the work for you! There is a little bit of a learning curve in practicing the speed in which you pull it up but other than that they are really quite easy! I will be doing a tutorial for the hyndrageas first because I think they are the easiest, and then plan on doing the tulip tutorial second because they are the second easiest in my opinion. This is the tip set I used and I was very very happy with them! I’ve used a few different ones from the set so far and have been very pleased. The main think I recommend for the tulips is to use two different shades for the flowers – have a darker and lighter version (or in this case I did a pale peachy pink and then cream) and it gives the flowers a more realistic look. I will include a video of how I do this when I do the tutorial. And then I just used a basic leaf tip for the leaves.
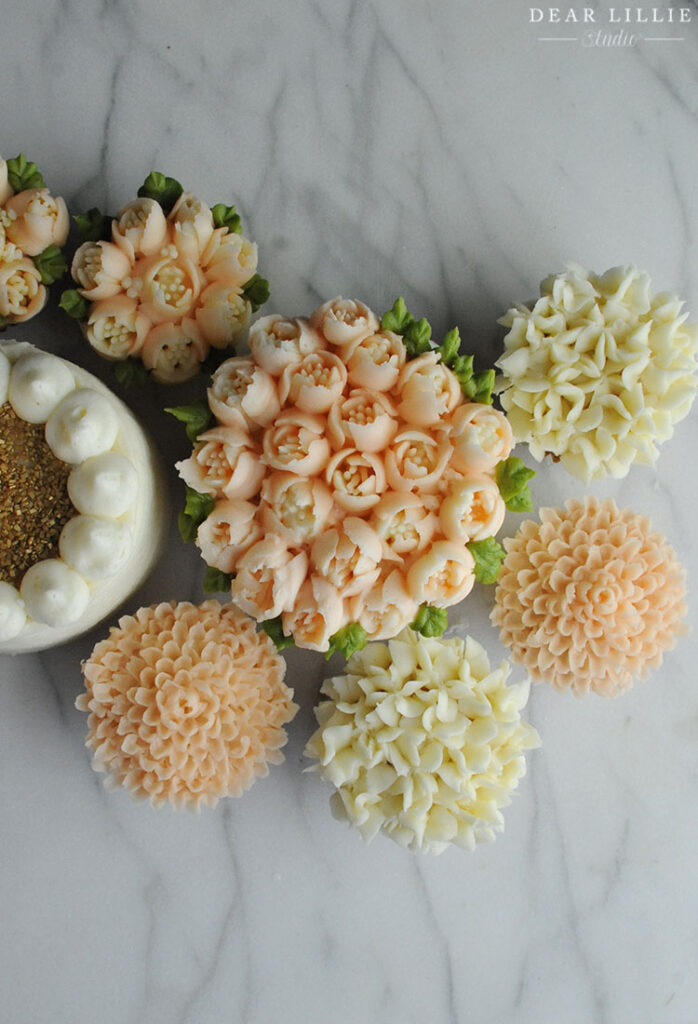
And for the stripes/ribbing on the tulip mini cake I used another tool from the same set as I used for the cake with the little dallops on top. I like that there are several different options for stripes/ribbing with these tools.
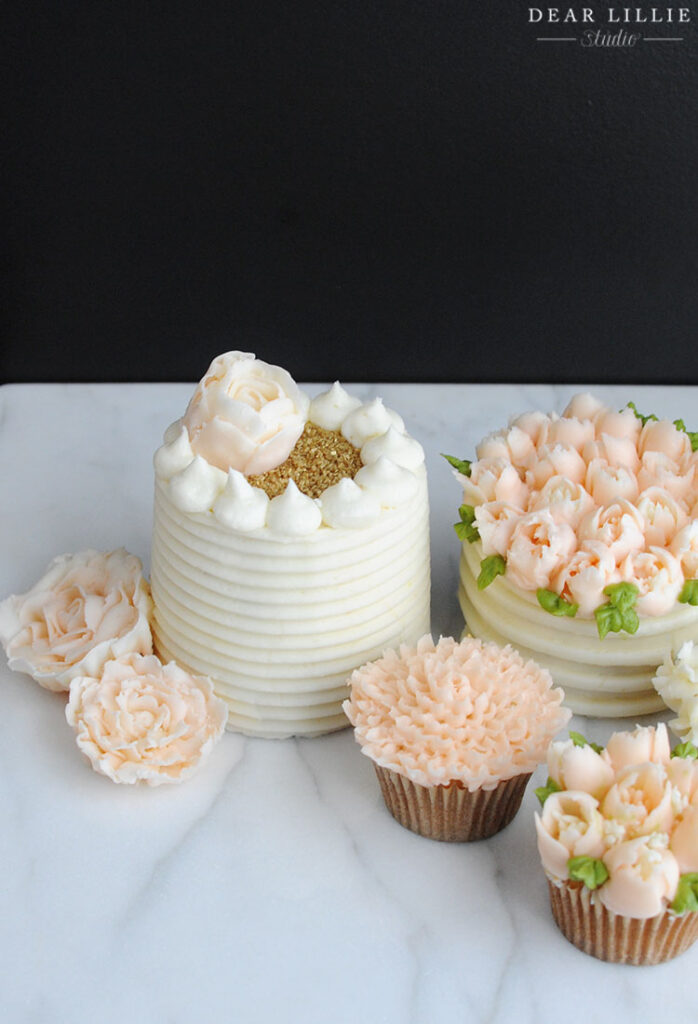
And the last floral cupcakes are the mums. For me, they definitely were more difficult/time consuming than the tulips and hydrangeas although I would probably consider them easier than the peonies. This was the tip I used for them.
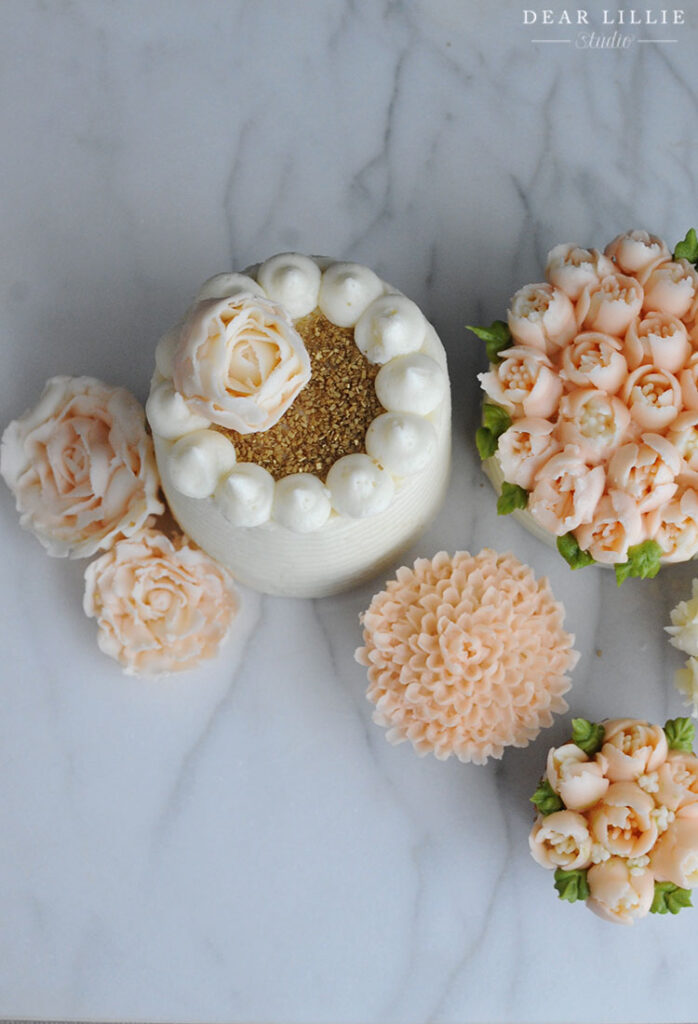
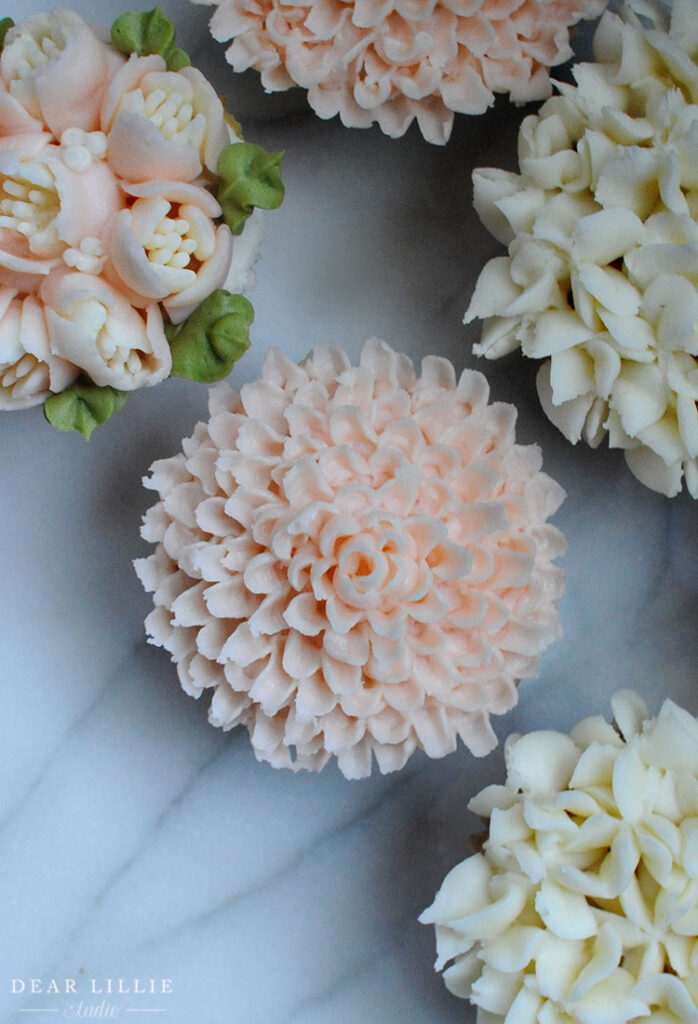
And then lastly for the little dots on the cake on the stand I used this tip.
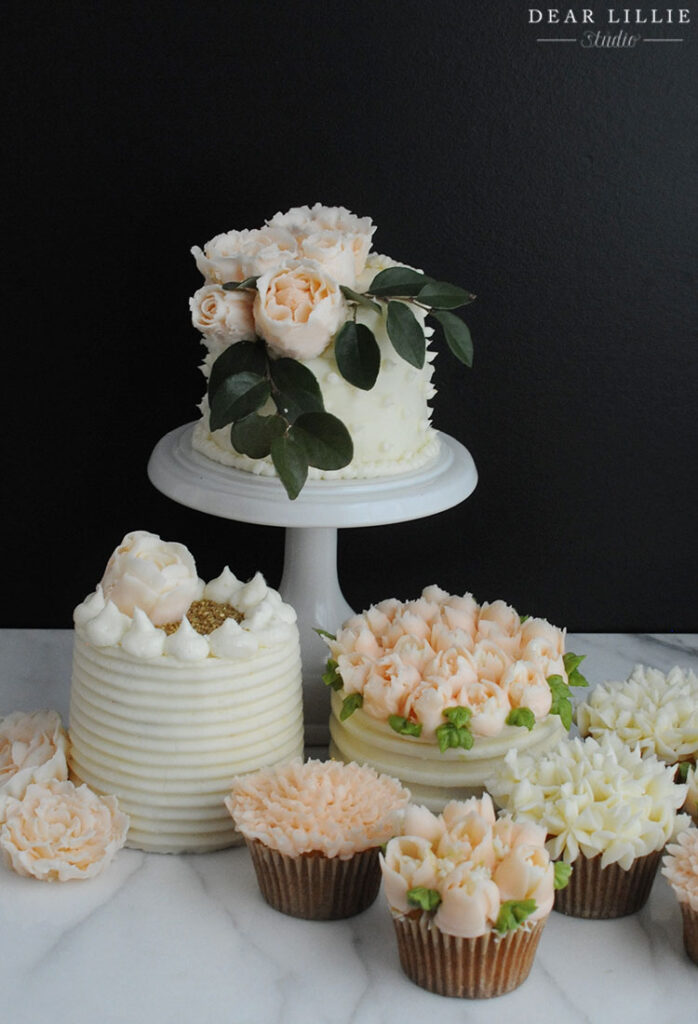
Some other items I’d definitely recommend are a revolving cake stand for decorating the cakes (not necessary for the cupcakes), and cake boards for the mini cakes as well. And you this angled spatula is very helpful as well as pastry bags. And I use gel paste for coloring my icing. Most of my colors are from Hobby Lobby just because that’s what I already have but these are very similar. And the pretty little cake stand is from Casafina.
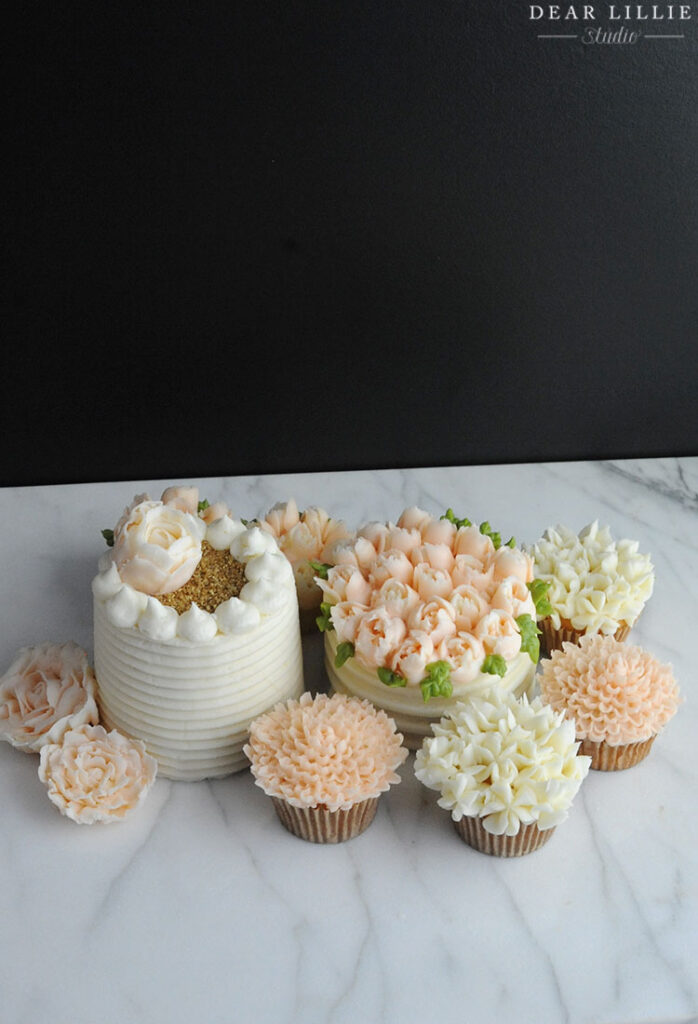
And here are a bunch more pictures:
Here are some other cake posts of ours:
Reese’s Chocolate Cake with Peanut Butter Frosting
Pink Tulip Cake for Valentine’s Day
White Tulip Cake Made with Russian Piping Tips
My Favorite Peanut Butter Frosting
Chocolate Valentine’s Day Cupcakes – Three Simple Ways to Dress up a Basic Chocolate Cupcake
Hydrangea And Basic Rose Cupcakes Video Tutorials
I hope you all have a wonderful Sunday!
Warmly, Jenni
