I started working on our primary bathroom makeover in January and it is finally finished! As I mentioned a few weeks ago, I was trying to do this makeover on a tight budget, and relied heavily on paint and cosmetic changes like the peel and stick black and white tiles to make the room look more visually appealing without doing anything major to the space because if we live here long enough I would love to completely rip out the shower and install a beautiful new tile shower (maybe something like this or like this) and then remove the existing tub and put in a freestanding one like this or like this. So with that in mind I only wanted to make inexpensive changes or swap things out that I could use down the road in the bigger remodel (so things like the mirrors, faucets, sconces, and counters I was okay with changing now) but I didn’t want to install a beautiful new tile floor knowing it would have to be ripped out if we redo the shower and tub area down the road. That being said, the existing linoleum floor was pretty unappealing so the peel and stick tile was the best solution!
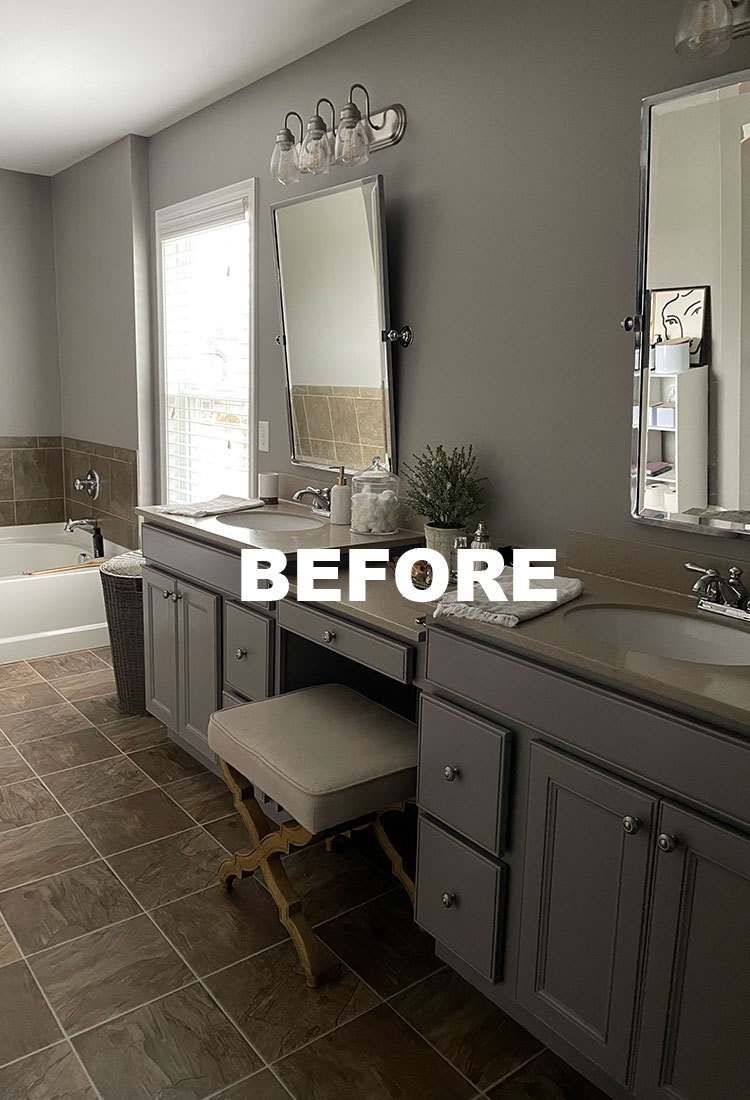
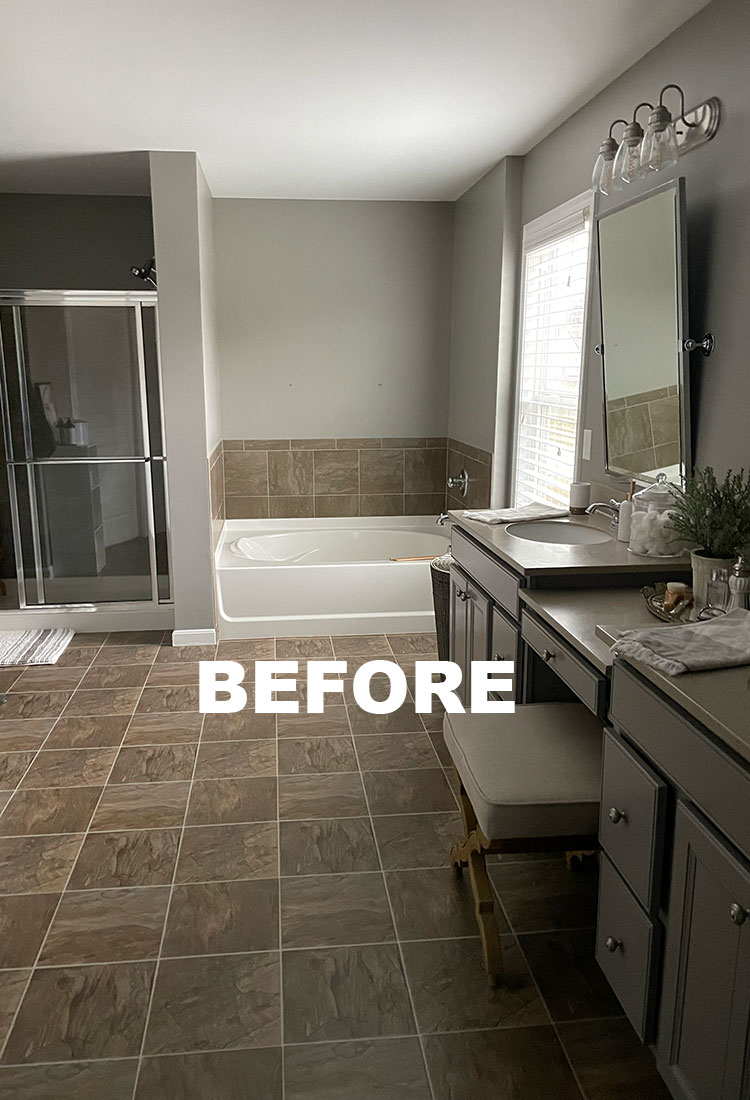
You can see my mood board for the space here in this post. And here is a BEFORE shot:
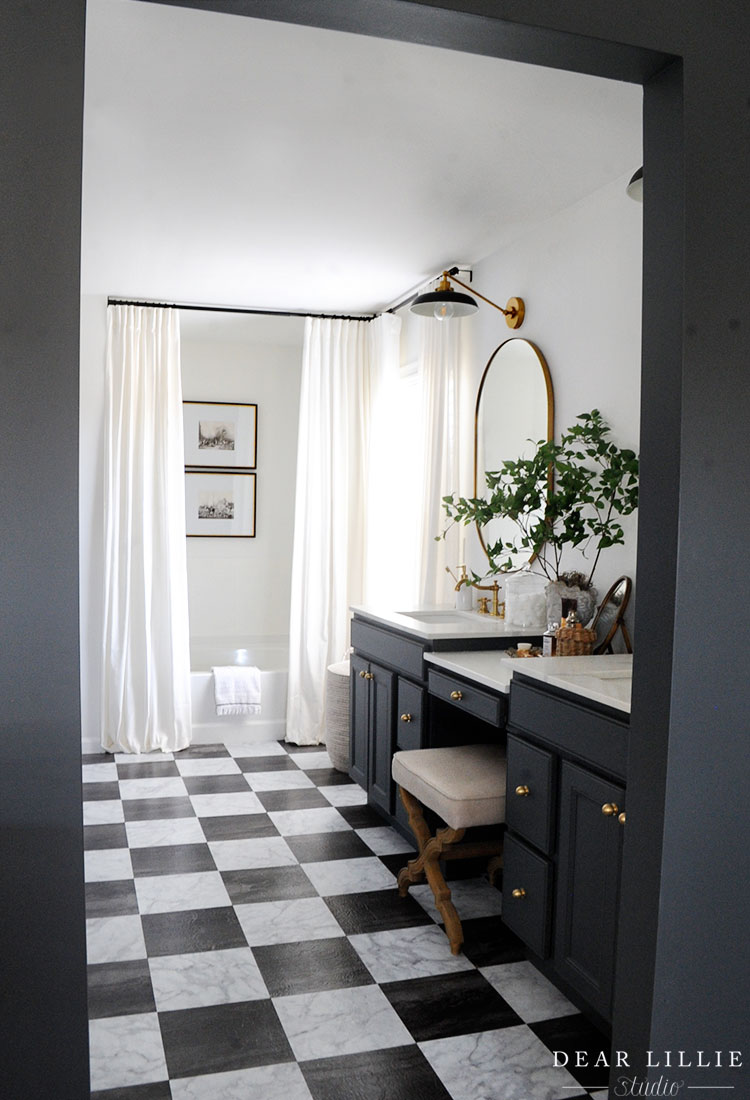
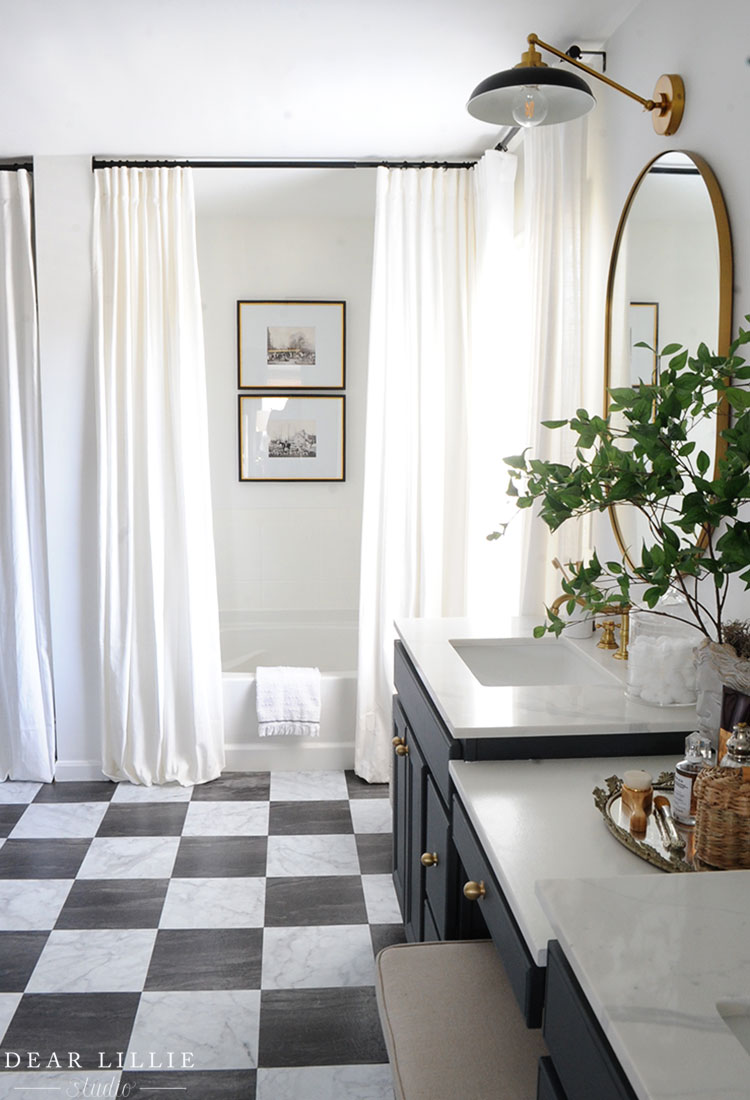
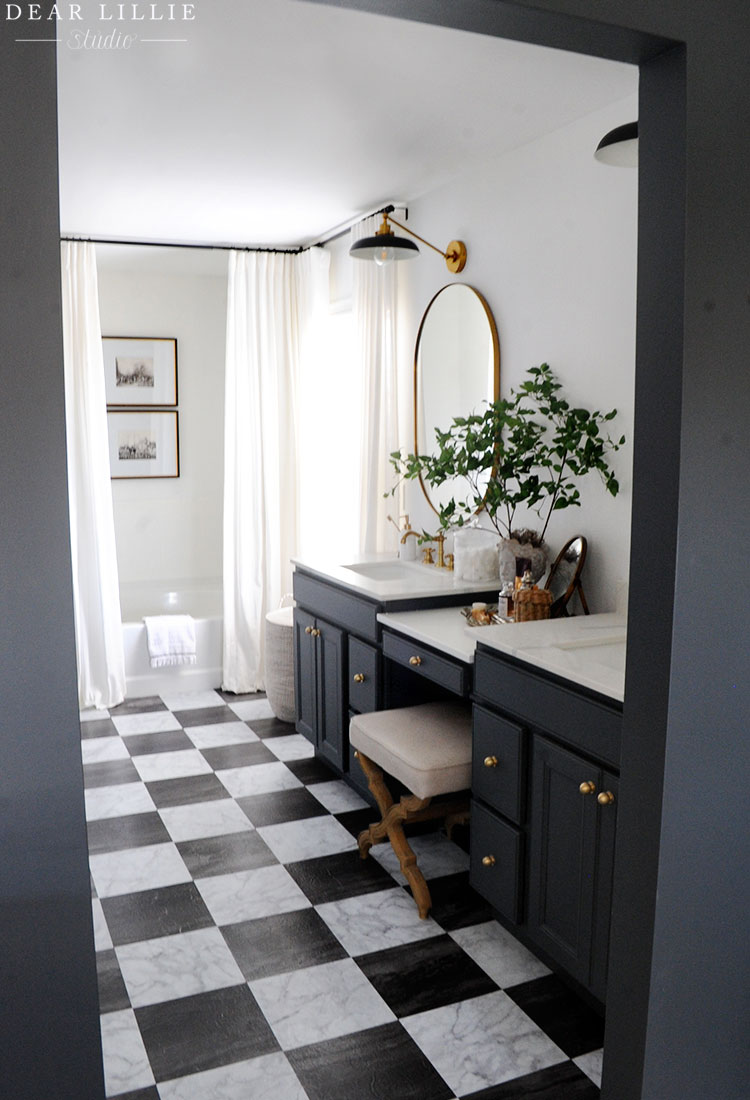
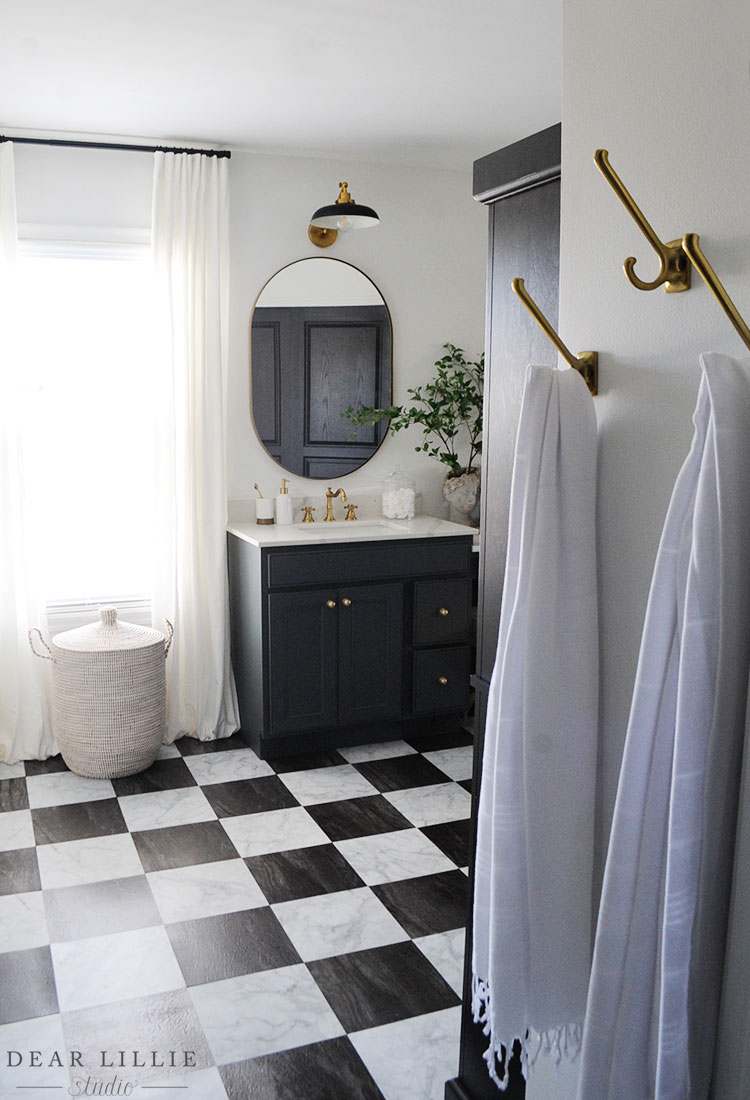
And here is a similar angle now:
Another BEFORE angle:
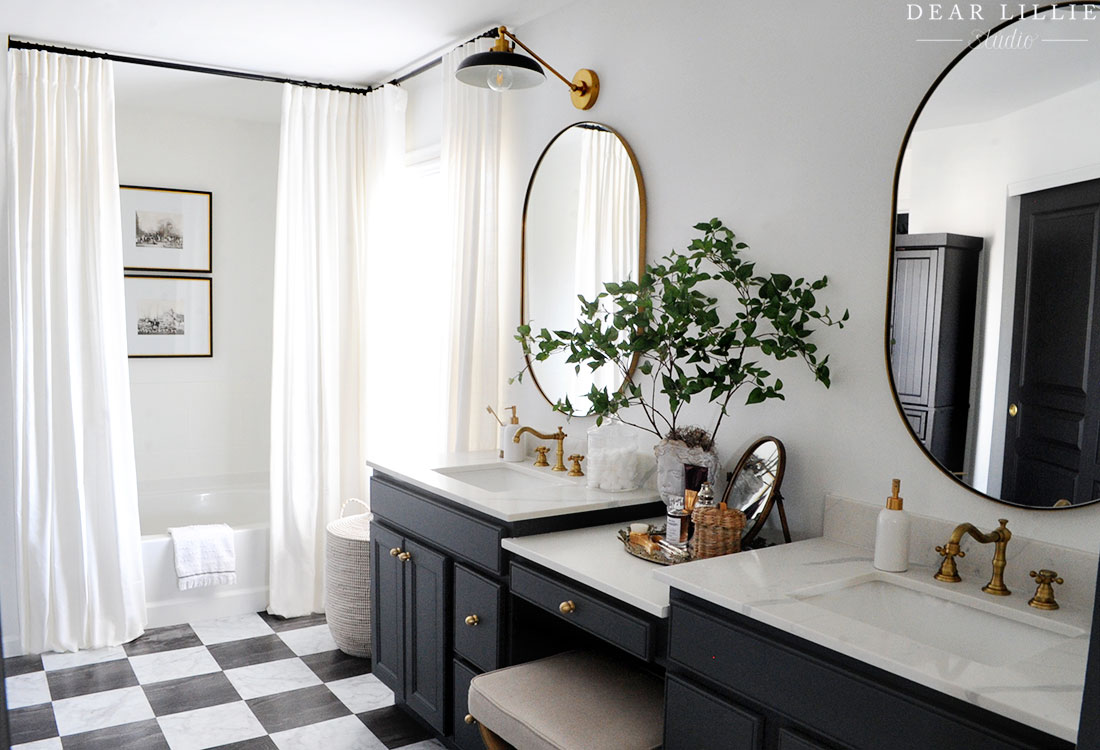
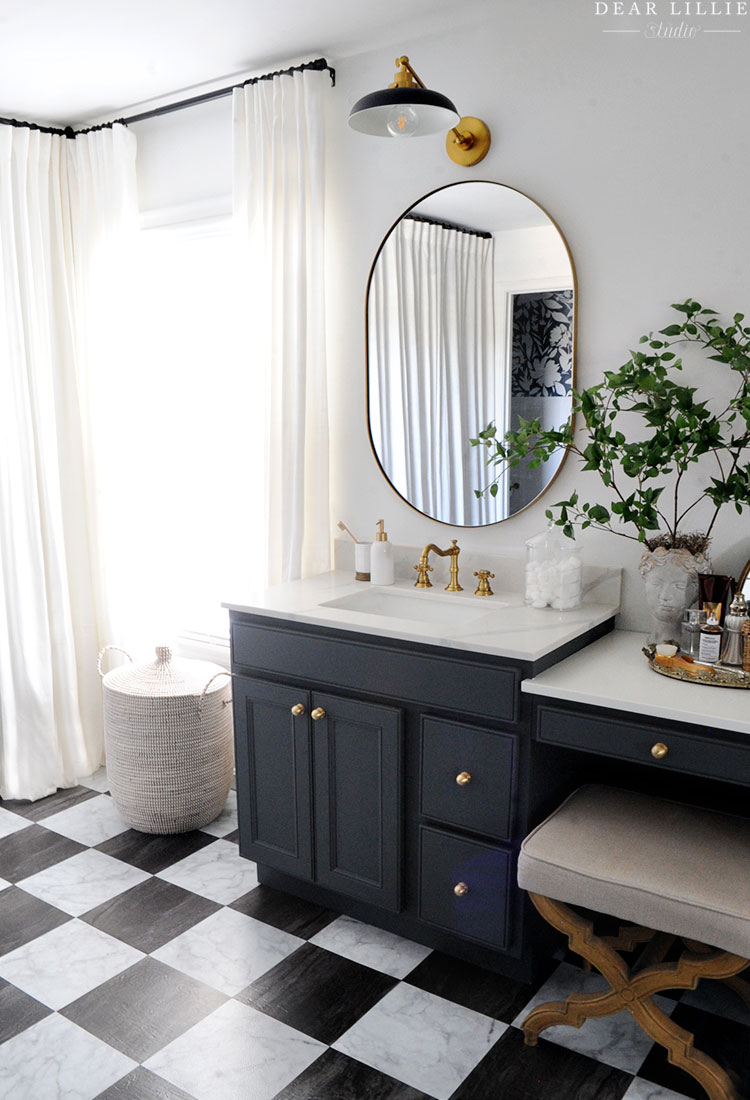
And now:
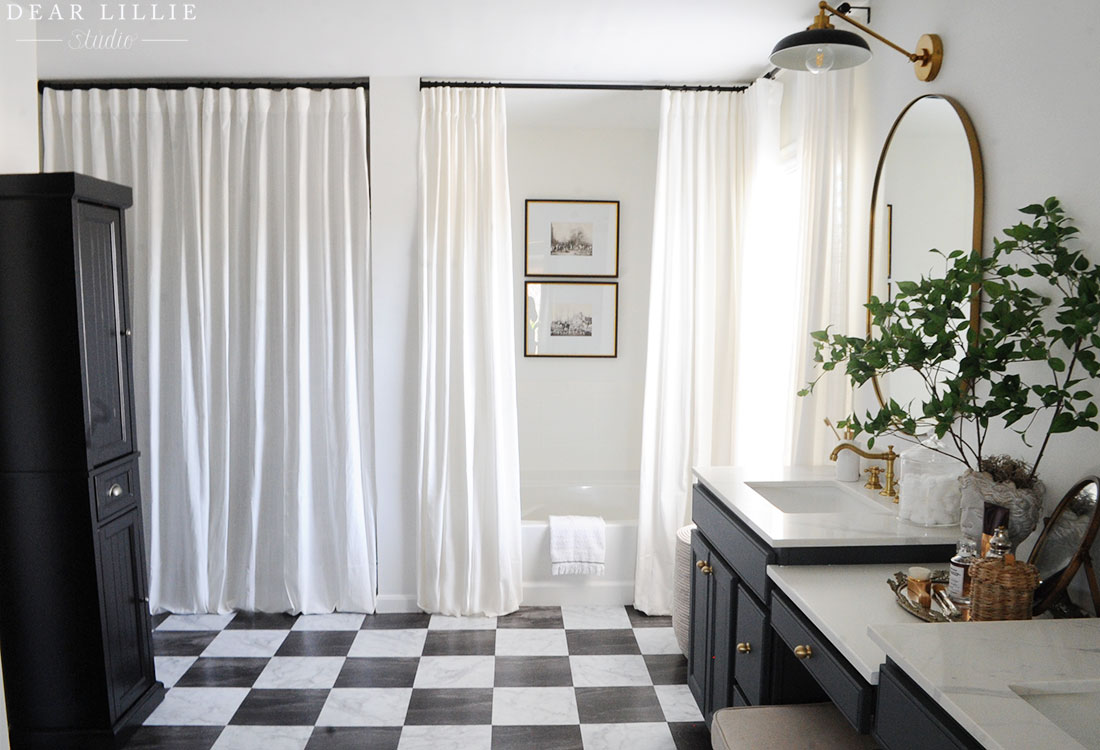
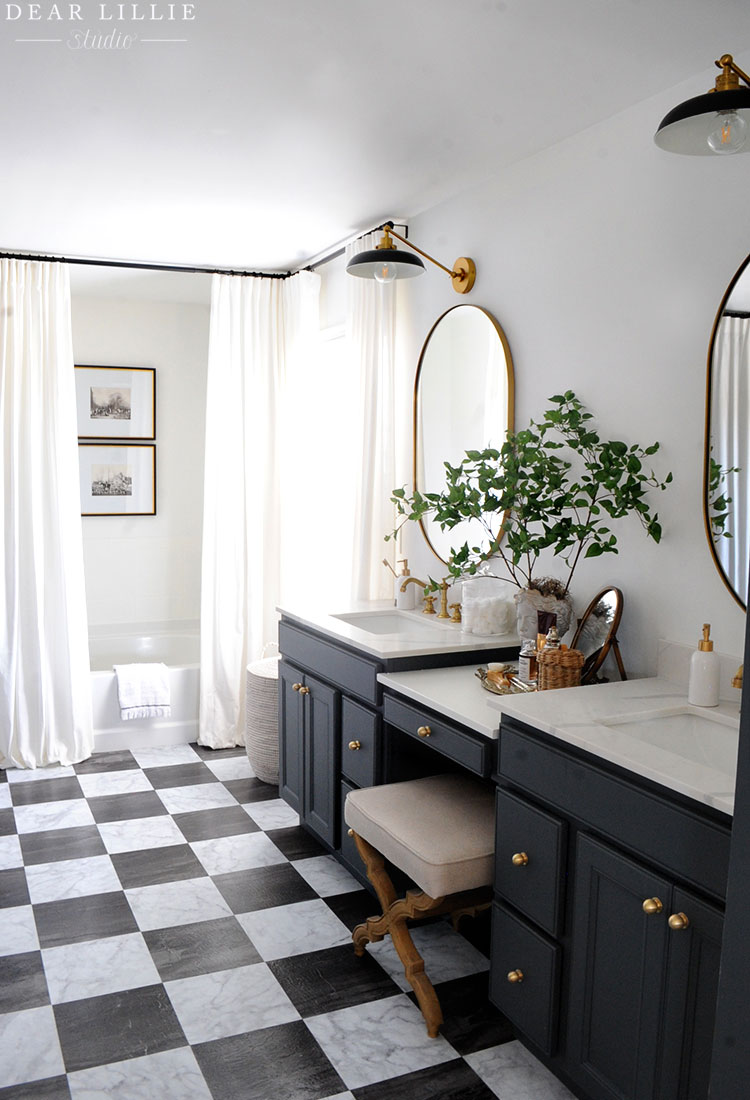
A wider view of that angle:

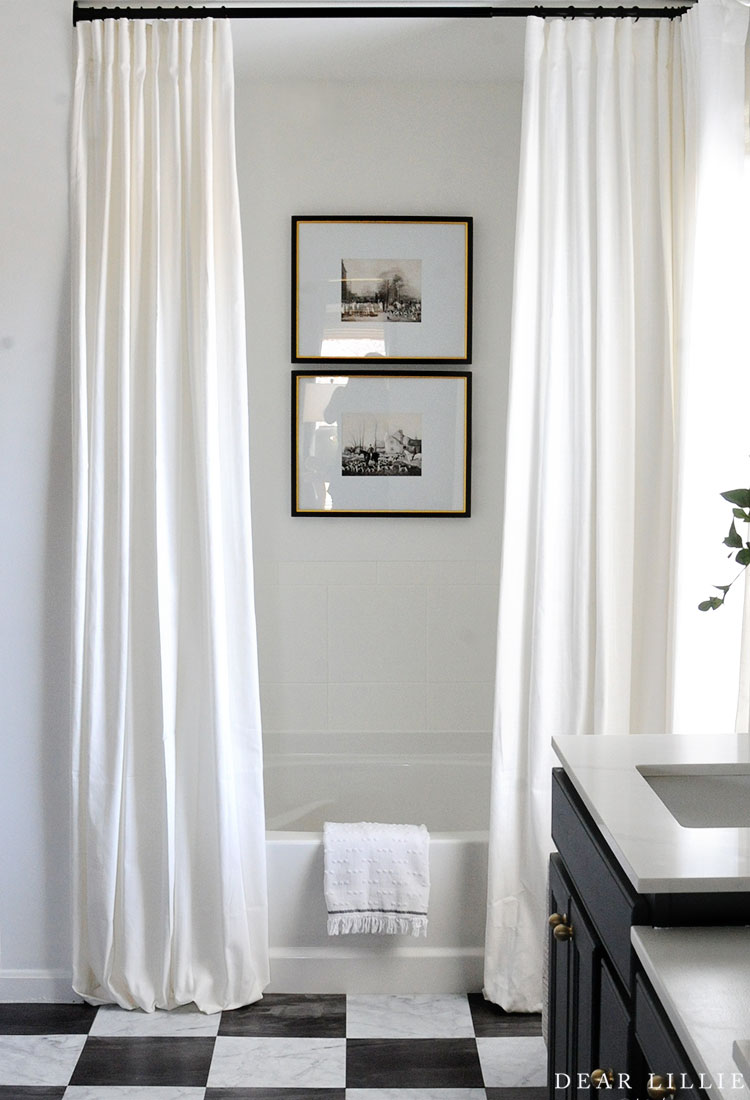
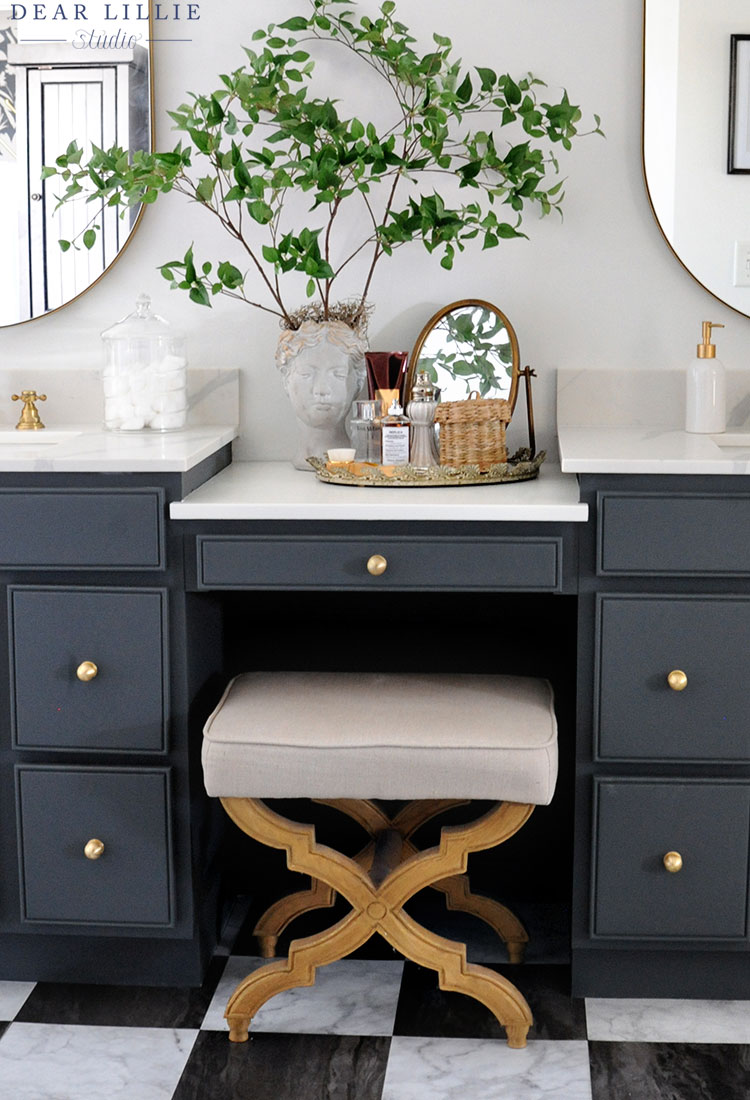
To keep my costs down for this makeover, I used curtains to more or less hide the shower, and to soften the tub area. Along with painting the walls (Pure White by Sherwin Williams) I also painted the tile surrounding the tub. I used two coats of primer (linked in the source list) on the tiles and also on the vanity area between the two sinks and then painted over the primer once I had followed the instruction on drying time with two coats (or maybe even three…I can’t remember now) of Alabaster White by Sherwin Williams in a semi-gloss finish. That helps mimic the look of the tile and counter. I’d like to find a quartz remnant to replace the vanity area counter to match the two counters where the sinks are (I got those for just $299 each! and they make SUCH an improvement on the space) but until I find one, paint was the next best option.
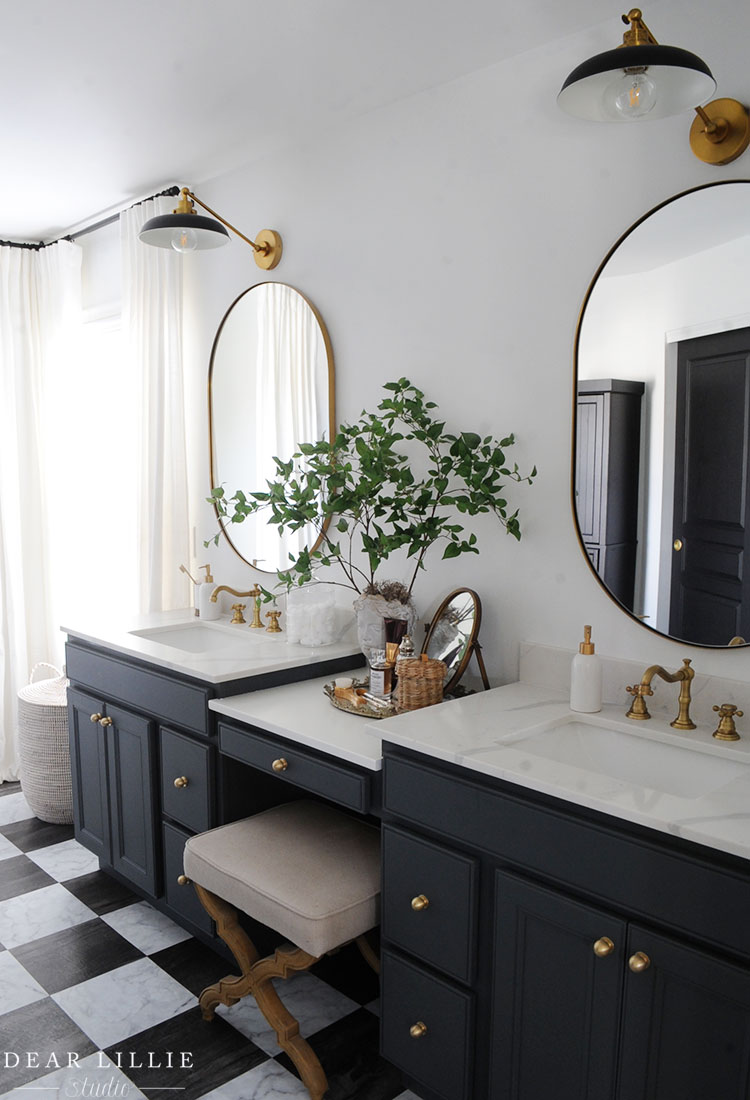
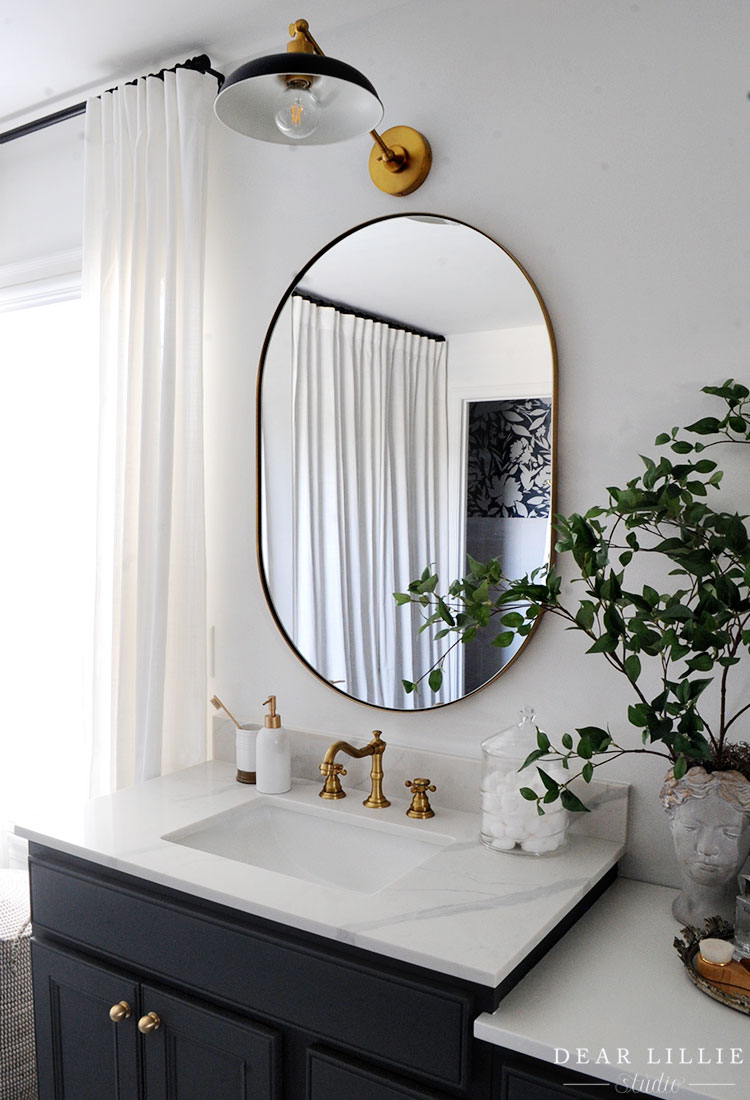
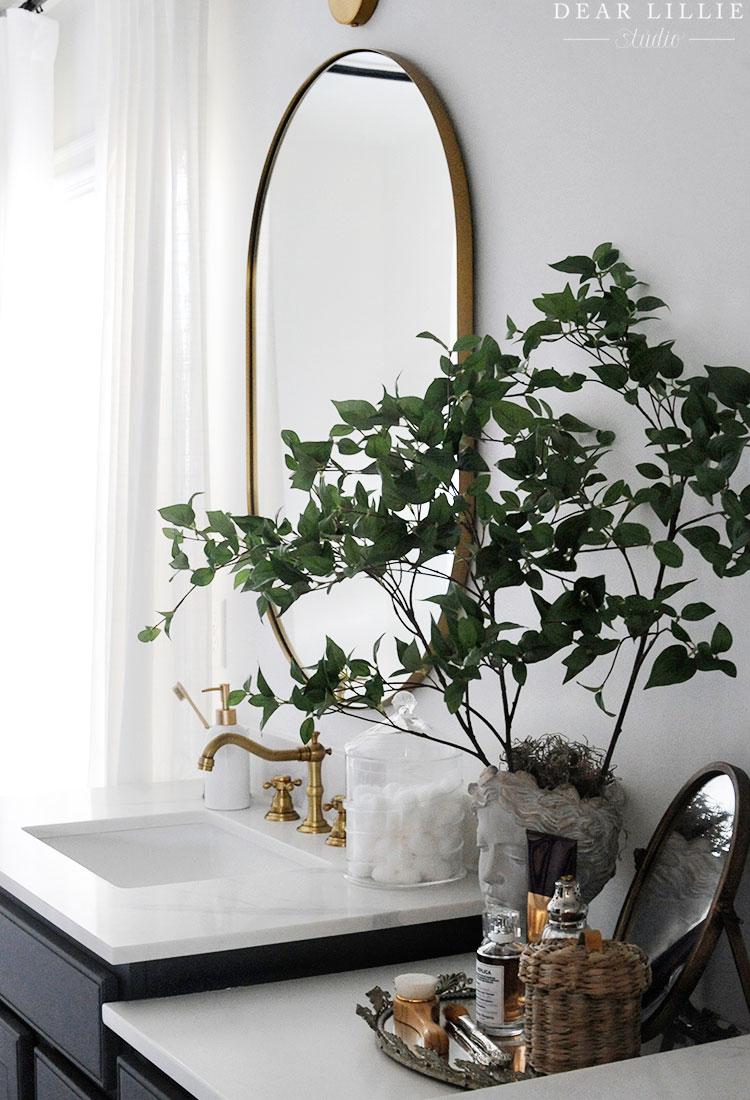
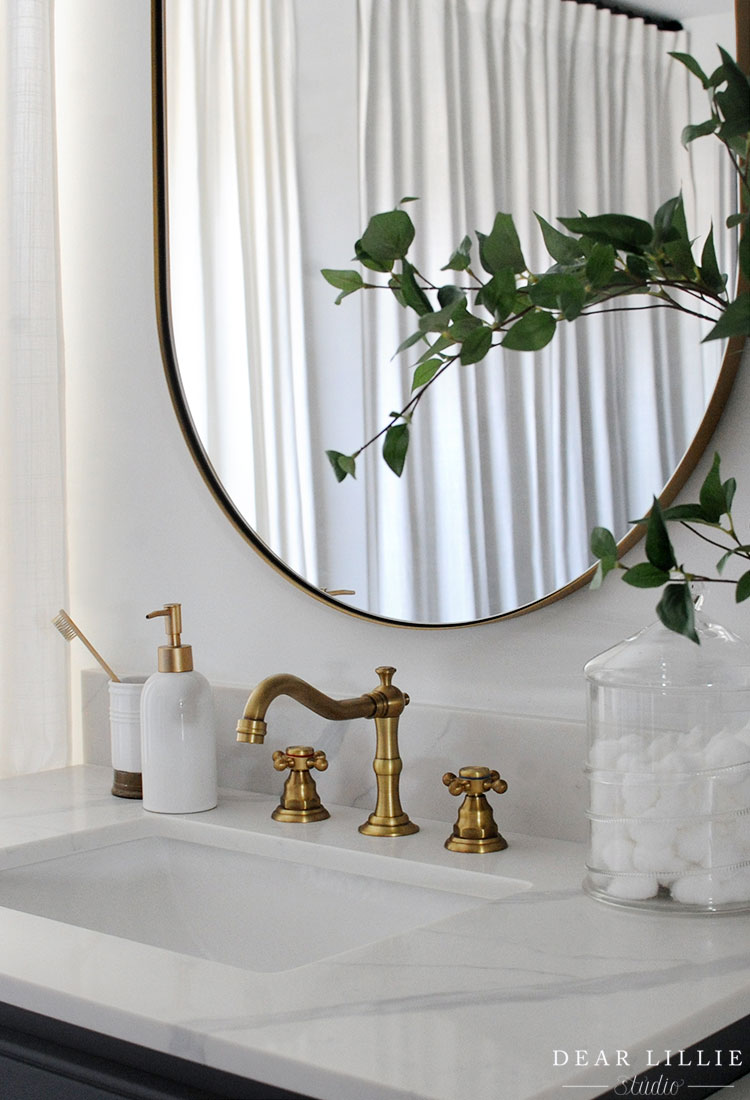
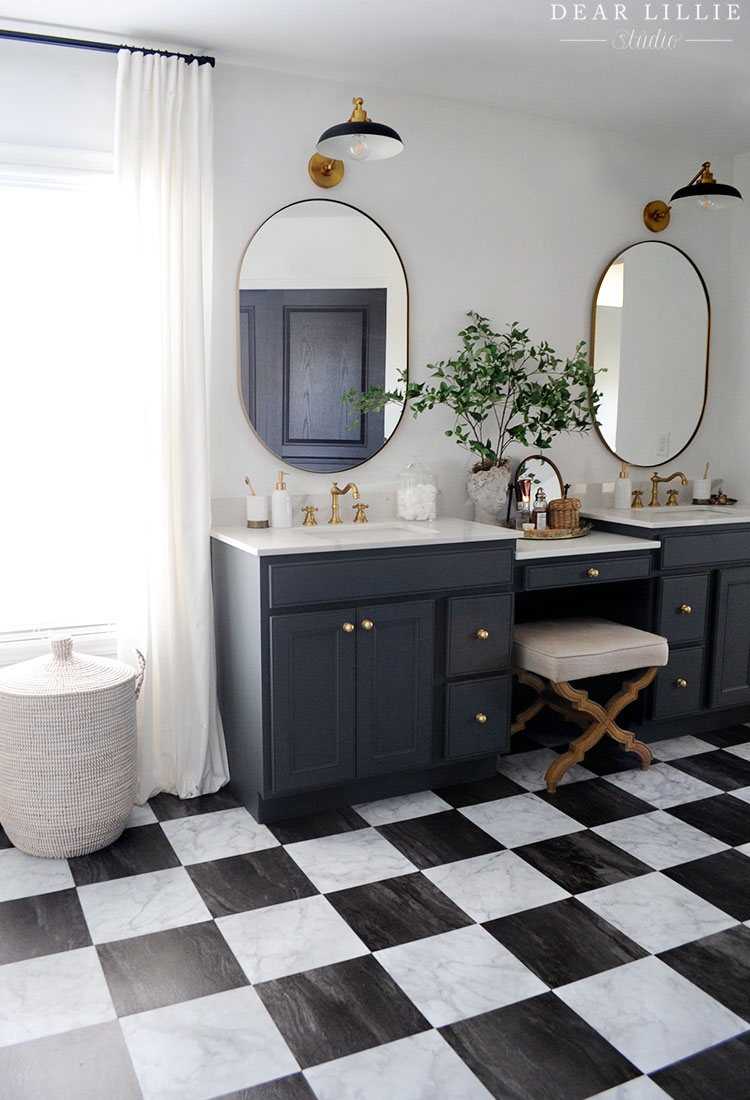
Then I swapped out the mirrors, light fixtures, faucets and knobs to help the space feel more our style. All those things were chosen knowing we could keep them in here when we do the larger makeover.
Here’s another BEFORE angle: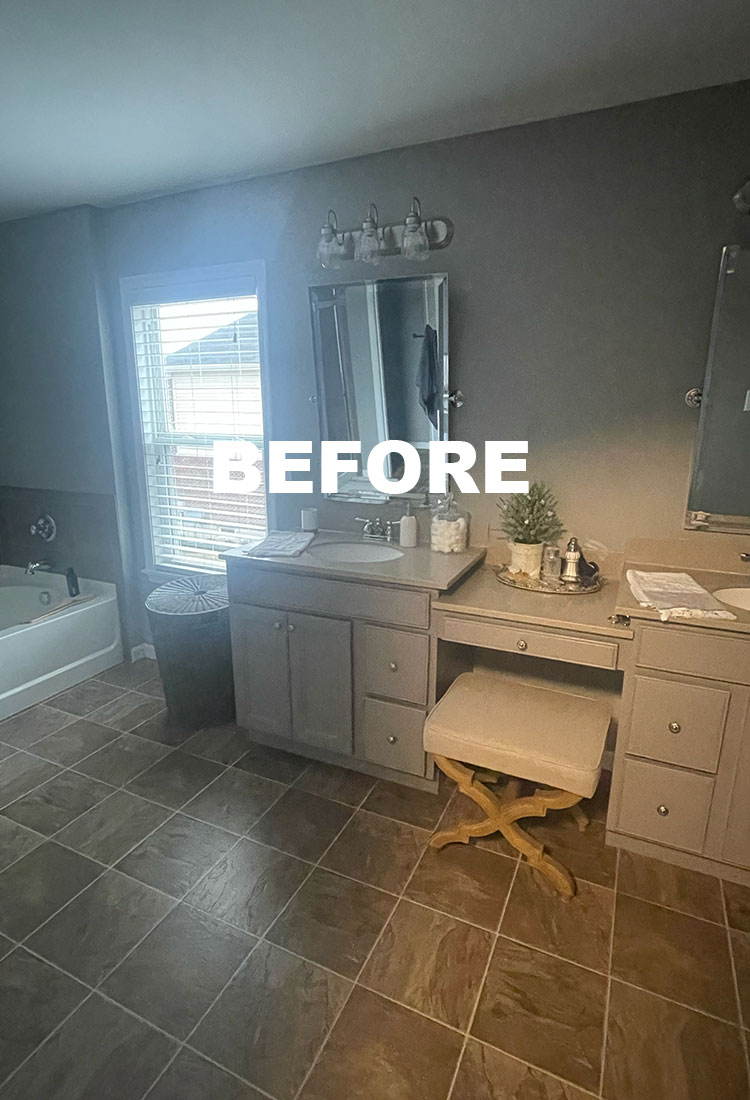
And now: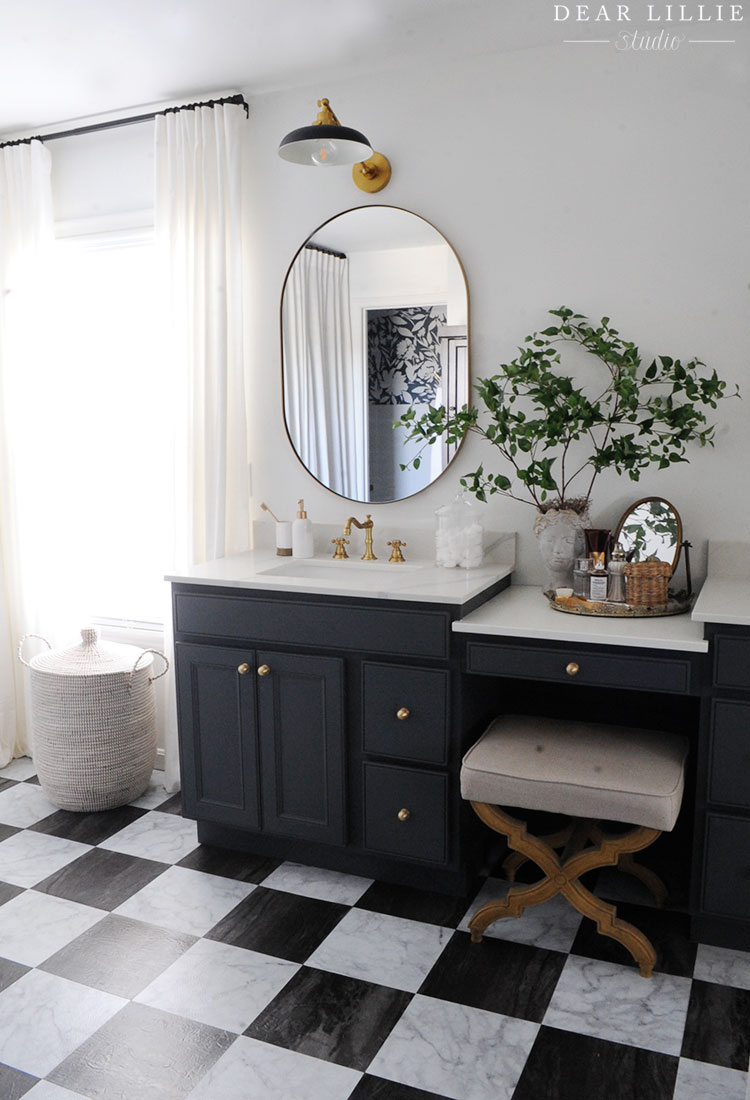
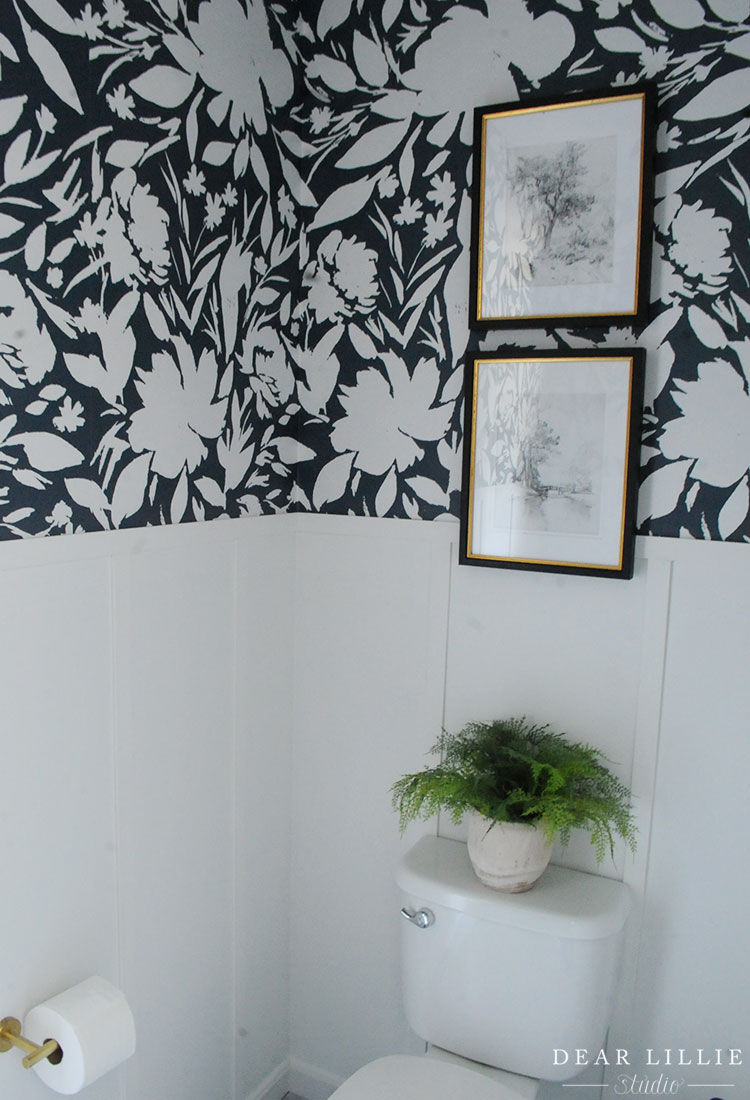
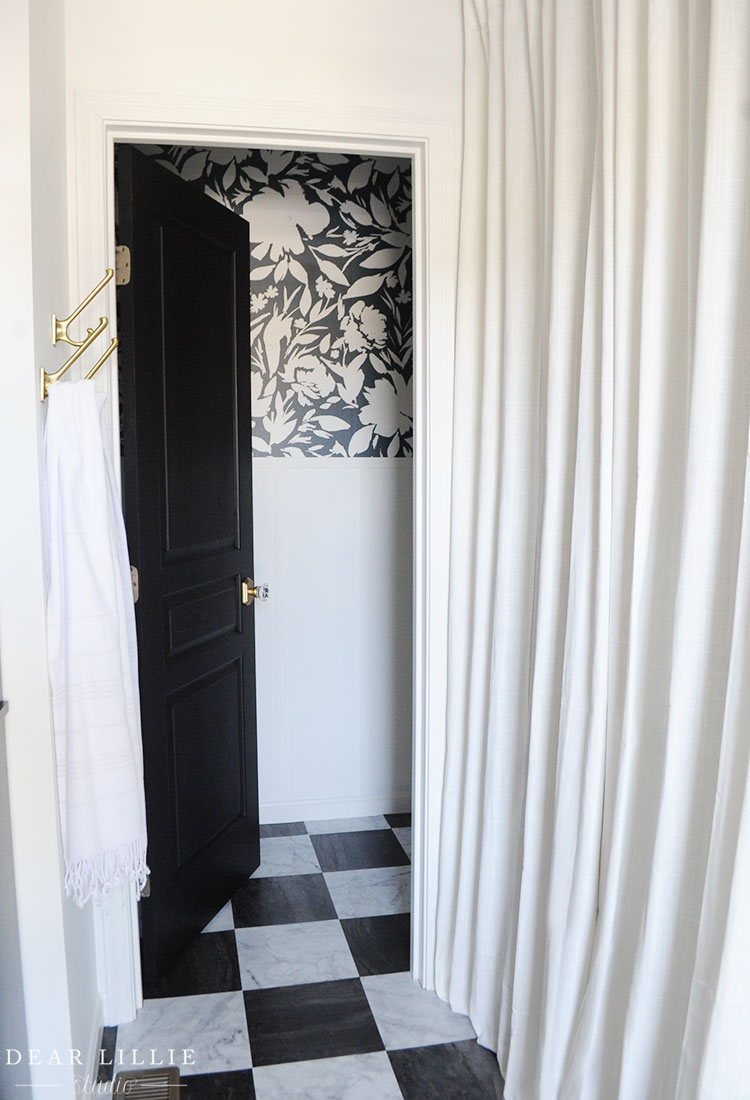
In the water closet area, I swapped the light fixture (which you can’t see in these photos but I shared in our instagram stories), then removed the pointless towel rod, and used lattice board to add a board and batten style treatment to the lower portion of the wall and then wallpapered the upper portion using this wallpaper from Love Vs. Design (Lush Gardenia Wallpaper – Smooth Peel and Stick option with “Velvet” Background and “Cotton” Floral Color). I also painted the door (Black Magic by Sherwin Williams) to match the other doors in the house that I have painted so far and swapped out the doorknob for this one. And then I added a linen cabinet (it wasn’t really what I was looking for visually but I only had a very narrow space to work with so it fit and we needed the storage so I went with it). Despite the large size of this bathroom there is not much in the way of storage.
Here’s a BEFORE of that angle: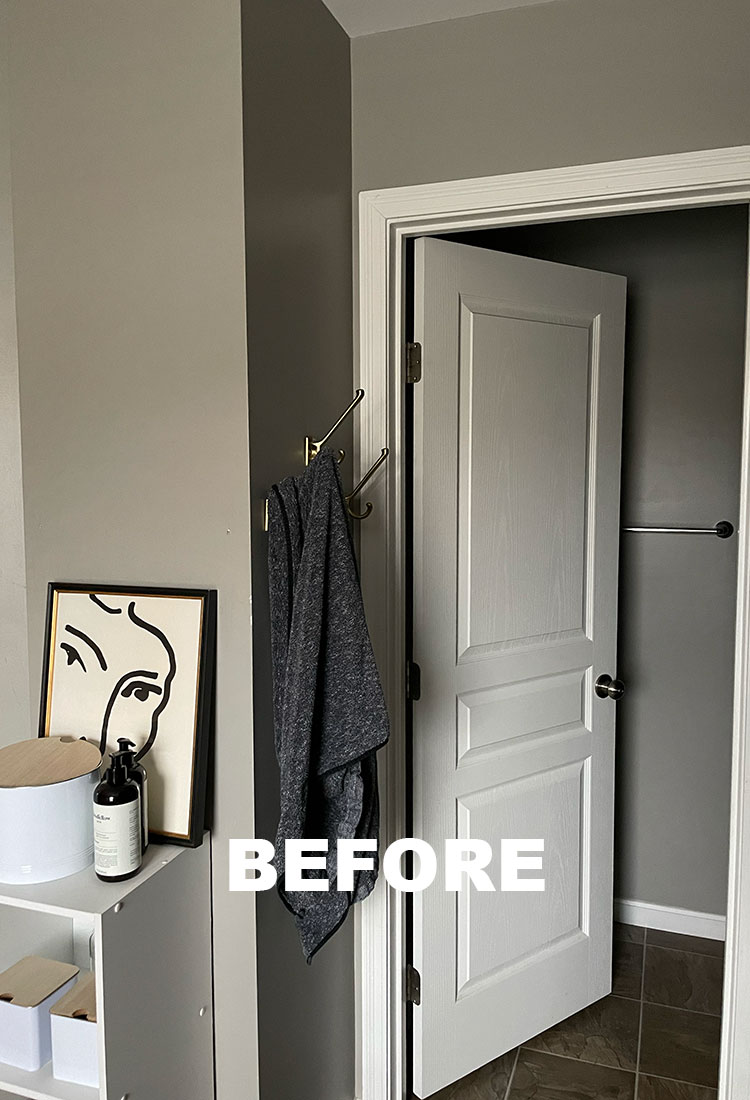
And now: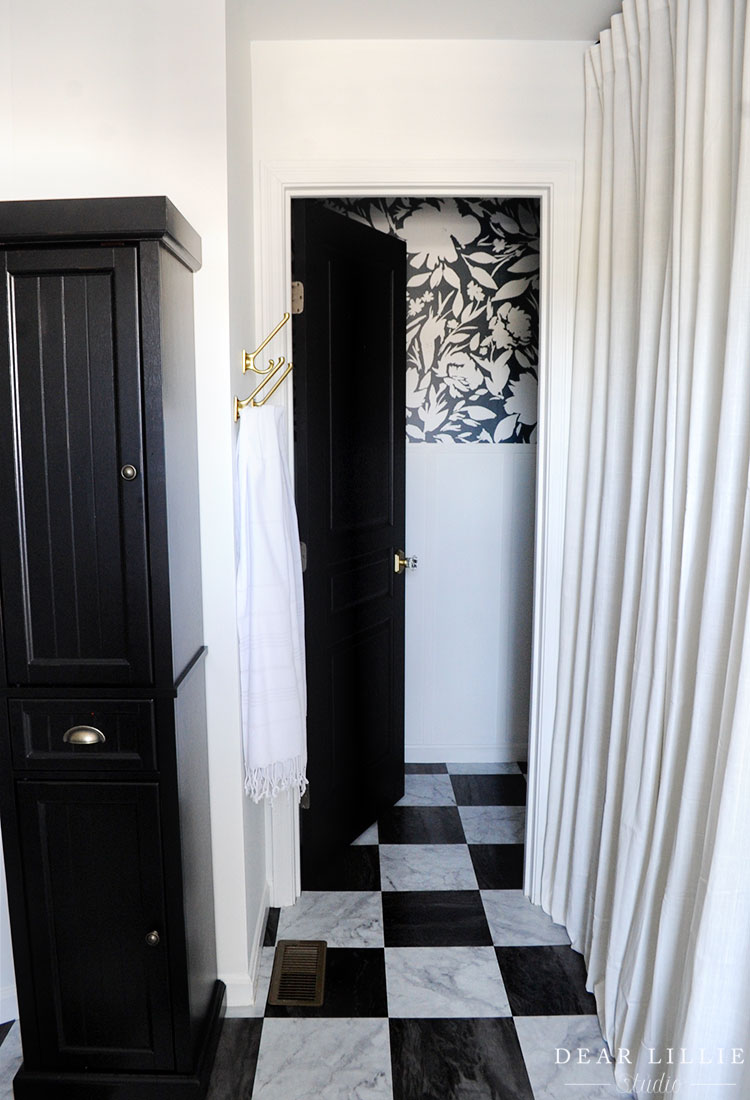
And another BEFORE angle: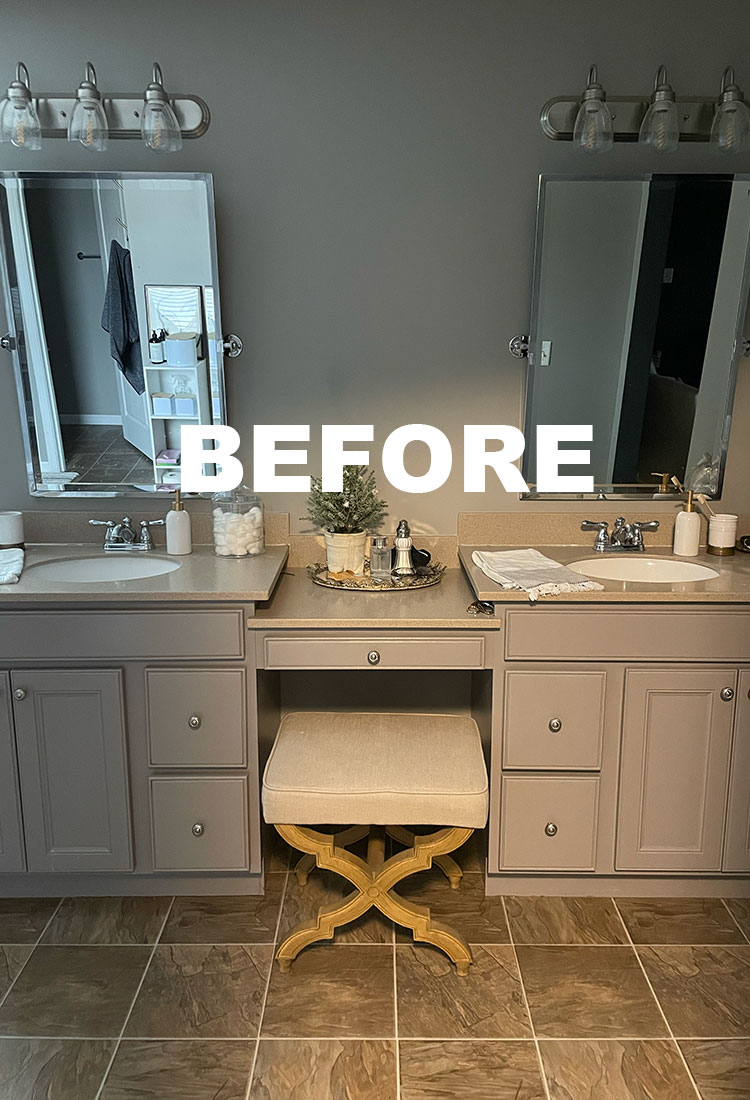
and now:
The peel and stick tile made a big impact on the overall look of the space. I used this same brand back a couple of houses ago in our primary bathroom and was pleased with the results so decided to go the same route this time. I don’t know if they would work for a permanent fix but they are great for a cosmetic makeover. They are really budget friendly (this bathroom is huge and I spent right around $200 and even had leftover tiles) and very easy to work with. I had initially been eyeing these tiles because they came together as a black and white grouping but when I priced them out it was going to be almost $1000 which I didn’t want to do for something that I will be ripping out down the road if we live here long enough to get to a larger makeover. So with that in mind, I decided to make up my own black and white pattern by buying packs of black tiles and packs of marble looking tiles and just doing my own mix of black and white tiles. This company also has a grouping of tiles that are sold together but they are more gray toned and I wanted something a bit darker than that, so this mixing worked out perfectly for me!

Adding some artwork helped break-up the all white going on in the tub area and because it’s just a tub not a shower they are fine being here.

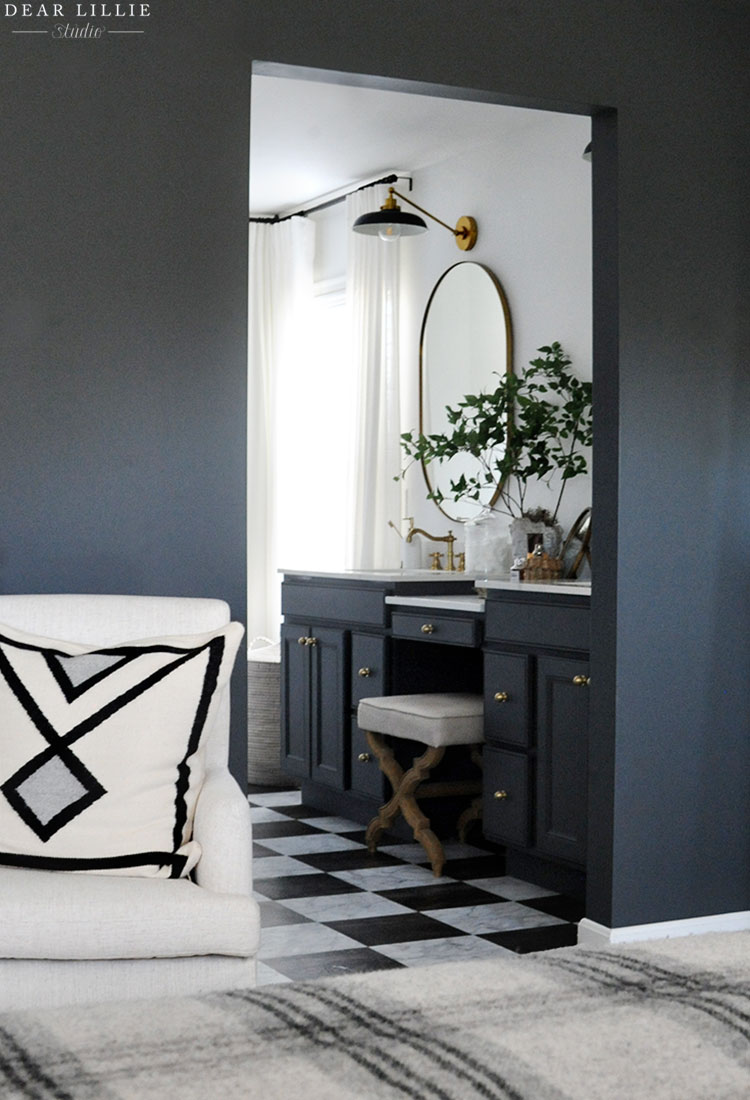
and here is how it coordinates with our bedroom:
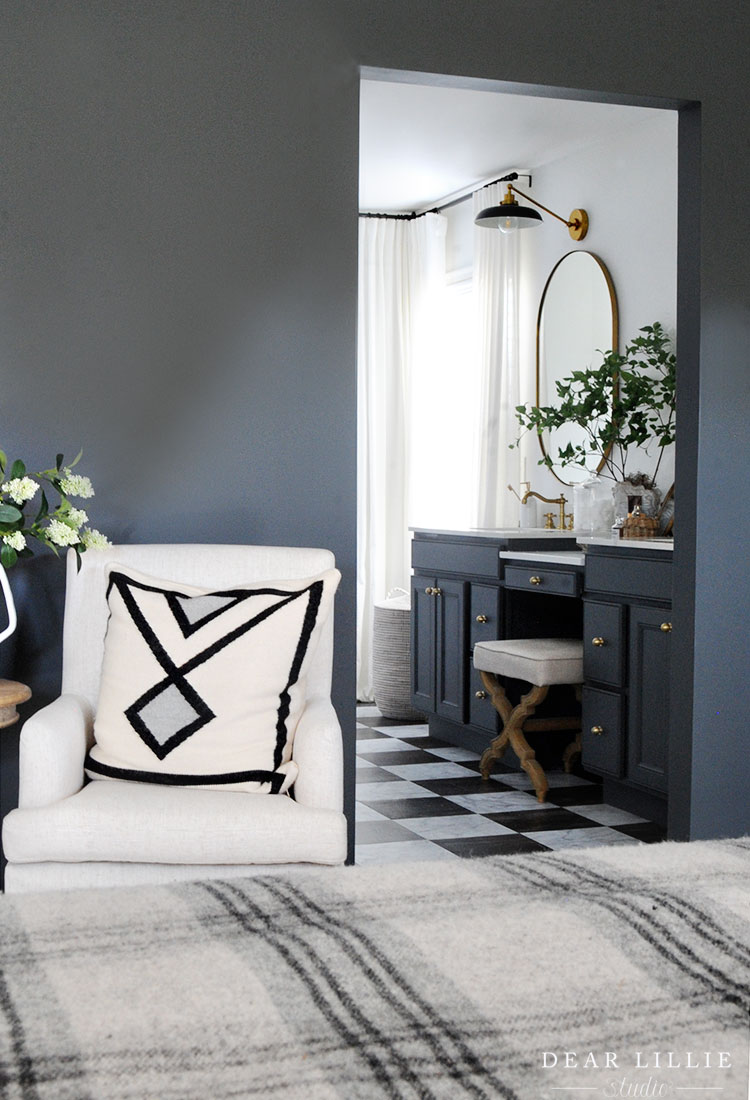
The fact that there isn’t a door drives me crazy but I am still trying to decide exactly what I want to do for that so it’s like that for now…but it’s high on my list of next projects! You can find our bedroom source list here. (The little chair can be found here, and the pillows were from Serena and Lily years and years ago).
That’s it for today! If you like bathroom before and afters we have done quite a few inexpensive cosmetic bathroom makeovers (you can find some of those here, here, here, here, here, and here) along with several more in-depth ones (you can see some of those here, here and here).
SOURCE LIST:
Wall Color and Board and Batten Color – Pure White by Sherwin Williams
Cabinet Color – Down Pipe by Farrow and Ball (color matched at Sherwin Williams using their Emerald line)
Doors – Black Magic by Sherwin Williams in a Satin Finish
Painted Tub Tile and Center Vanity Counter Primer – Amazon
Painted Tub Tile and Center Vanity Counter Paint Color – Alabaster White by Sherwin Williams in a Semi-gloss finish
Wallpaper – Love Vs. Design Lush Gardenia Wallpaper – Smooth Peel and Stick option with “Velvet” Background and “Cotton” Floral Color
Dark Floor Squares – Can be found here, here and here
Light Floor Squares – Can be found here, here and here
Covered Basket – Serena and Lily
Cabinet Knobs – Amazon
Door Knob – Amazon
Countertops and Sinks – Lowe’s
Faucets – Wayfair
Mirrors – Amazon
Sconces – Visual Comfort
Artwork above tub – similar can be found here (frames I’ve had for years)
Artwork in Water Closet – can be found here and here (frames I’ve had for years)
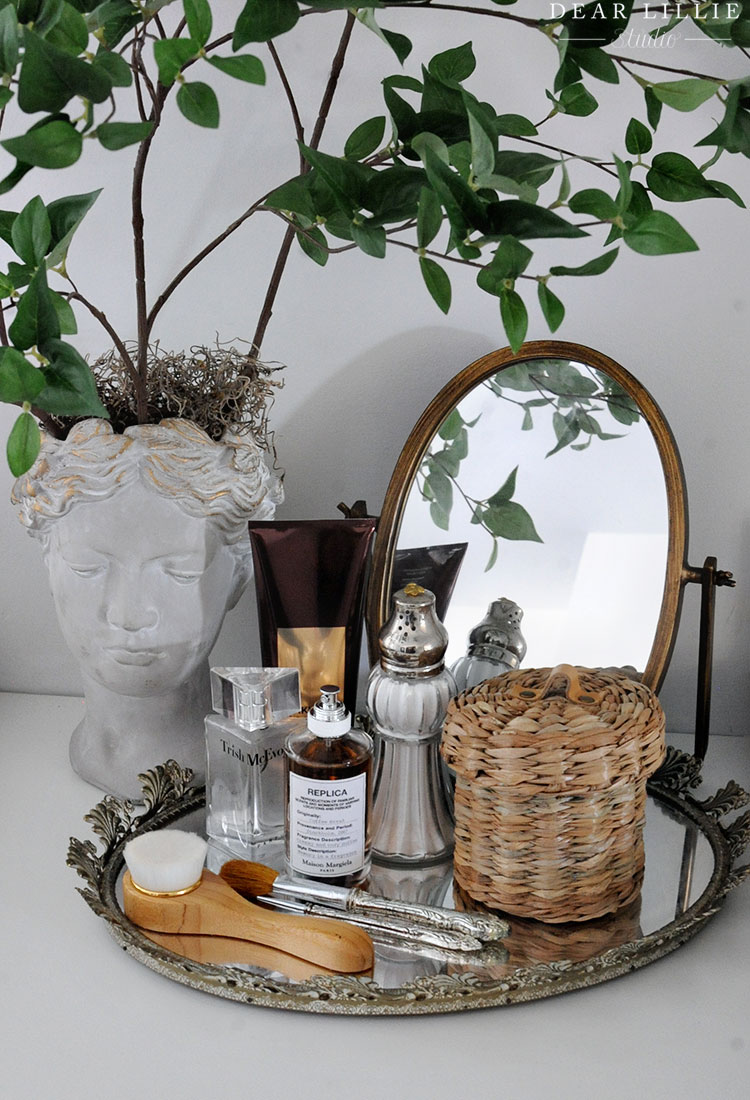
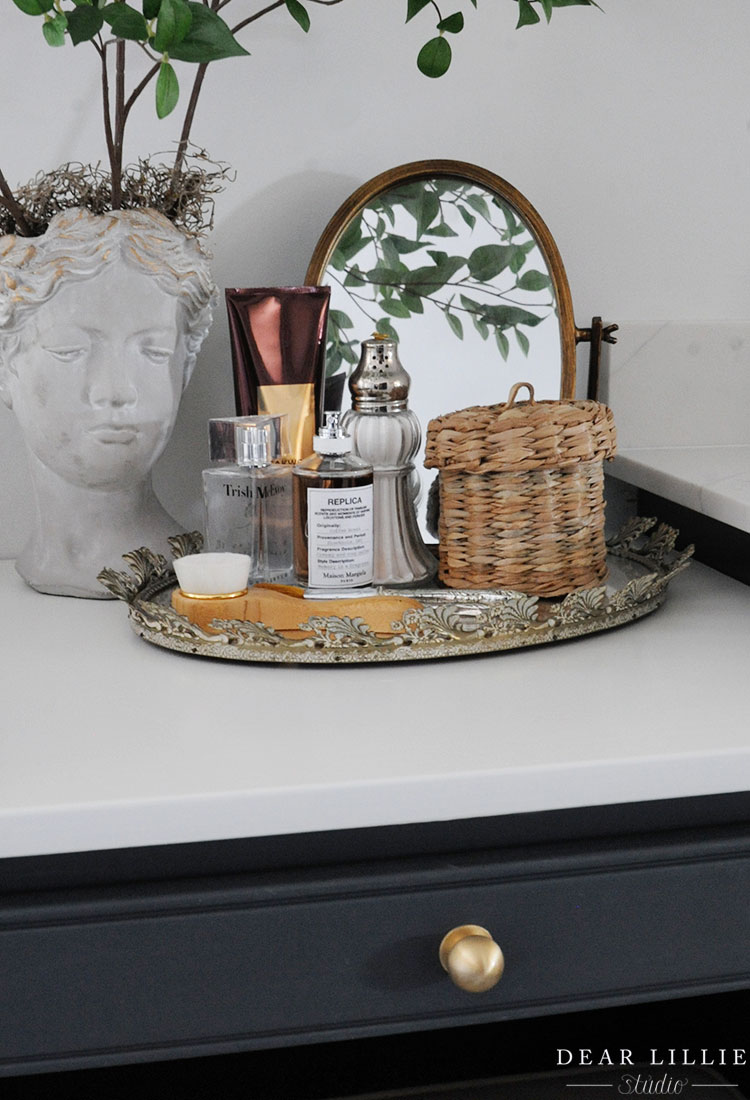
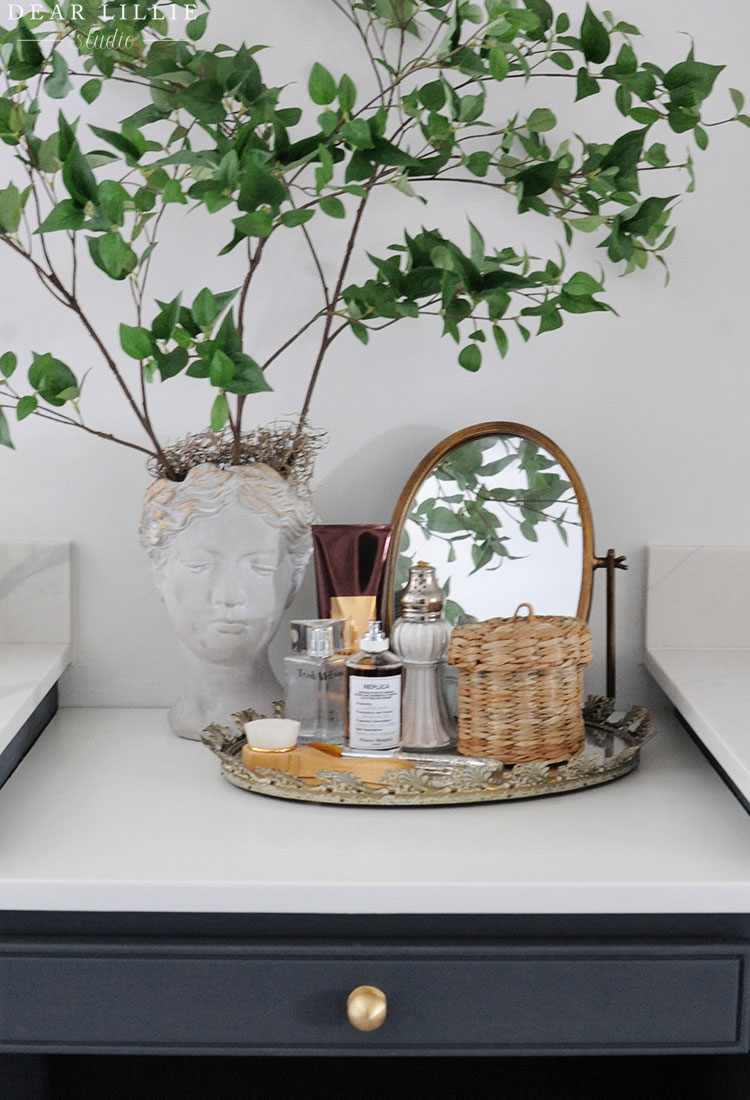
Mirrored Tray – Vintage – sort of similar one here
Items on Tray – have had most for years
Small Mirror – Amazon
Trish McEvoy Perfume – Nordstrom
Replica Perfume – Sephora
Grecian Bust Vase – Anthro
Faux Branches – Target
Wicker Storage Canister on Counter – Target
Soap Dispenser – Amazon
Toothbrush Holders – have had for years
Toothbrush – Amazon
Toilet Paper Holder – Amazon
Fern on Toilet – Target
Shower Curtain Rod – Amazon
Curtain Rod – Amazon
Curtain Rings – Amazon
Drapery Panels – IKEA Ritva Panels 98″
Linen Cabinet – Wayfair
Towel Hooks – IKEA
White Fringe Towels – Amazon
Glass Jar holding cotton balls – Juliska 15 plus years ago
X Bench/Ottoman – have had for years and years, similar one here
Have a lovely weekend!
Warmly, Jenni


